17.17. グラフィカル・モデラーから始める
注釈
このレッスンでは、グラフィカル・モデラー(ワークフローを定義してアルゴリズムの連鎖を実行するために使用できる強力なコンポーネント)を使用します。
処理ツールを持つ通常のセッションは、単一のアルゴリズムを実行している以上のものを含んでいます。通常、それらのいくつかは、結果を得るために実行され、そしてこれらのアルゴリズムのいくつかの出力は、他のもののいくつかの入力として使用されています。
グラフィカル・モデラーを使用すると、そのワークフローは1つのモデルに入れることができます。必要なすべてのアルゴリズムが一回の実行で実行され、したがって全体のプロセスが簡素化され自動化されます。
To start this lesson, we are going to calculate a parameter named Topographic Wetness Index. The algorithm that computes it is called Topographic wetness index (twi).
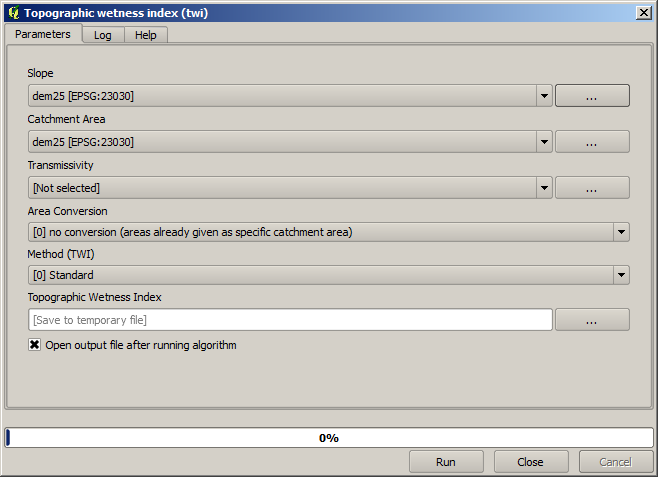
ご覧のように、2つの必須入力があります: 傾斜 と 流域面積 。オプションの入力もありますが、それは使用するつもりはありませんので無視できます。
このレッスン用のデータにはDEMしか入っていませんから、必要な入力は何もありません。しかし、傾きと流域面積を計算するアルゴリズムをすでに見ていますので、そのDEMからそれらの両方を計算する方法はわかっています。だから最初にこれらのレイヤーを計算すると、それらをTWIアルゴリズムのために使用できます。
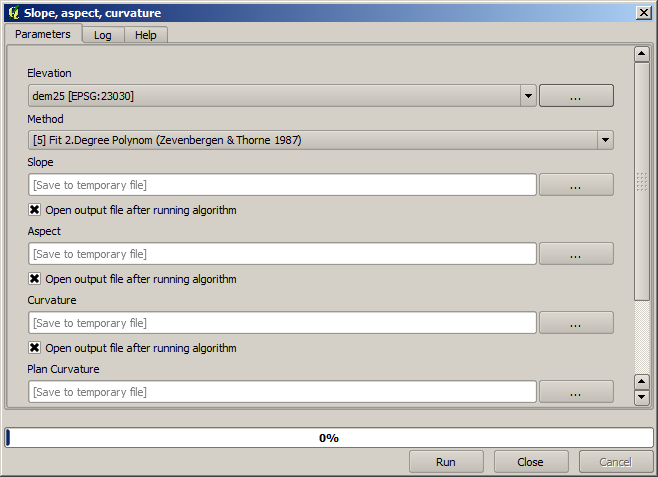
これが2つの中間レイヤーを計算するために使用すべきパラメーターのダイアログです。
注釈
傾斜はラジアンではなく度で計算しなければなりません。
そしてこれはTWIアルゴリズムのパラメーターダイアログボックスをどのように設定する必要があるかです。
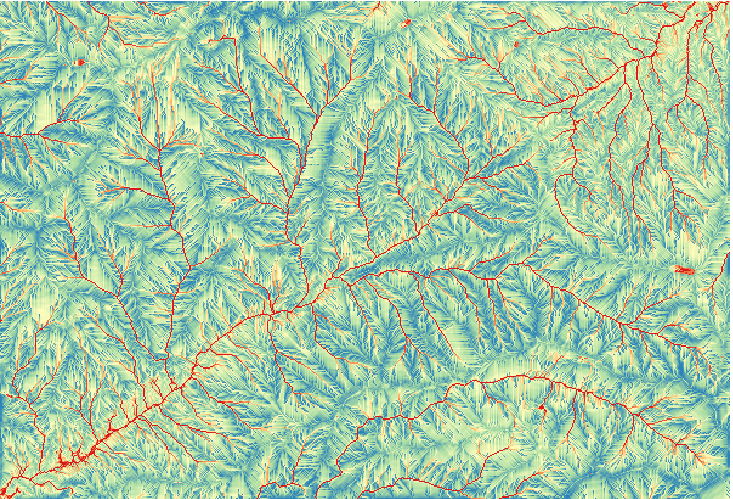
This is the result that you will obtain (the default singleband pseudocolor inverted palette has been used for rendering). You can use the twi.qml style provided.
What we will try to do now is to create an algorithm that calculates the TWI from a DEM in just one single step. That will save us work in case we later have to compute a TWI layer from another DEM, since we will need just one single step to do it instead of the three above. All the processes that we need are found in the toolbox, so what we have to do is to define the workflow to wrap them. This is where the graphical modeler comes in.
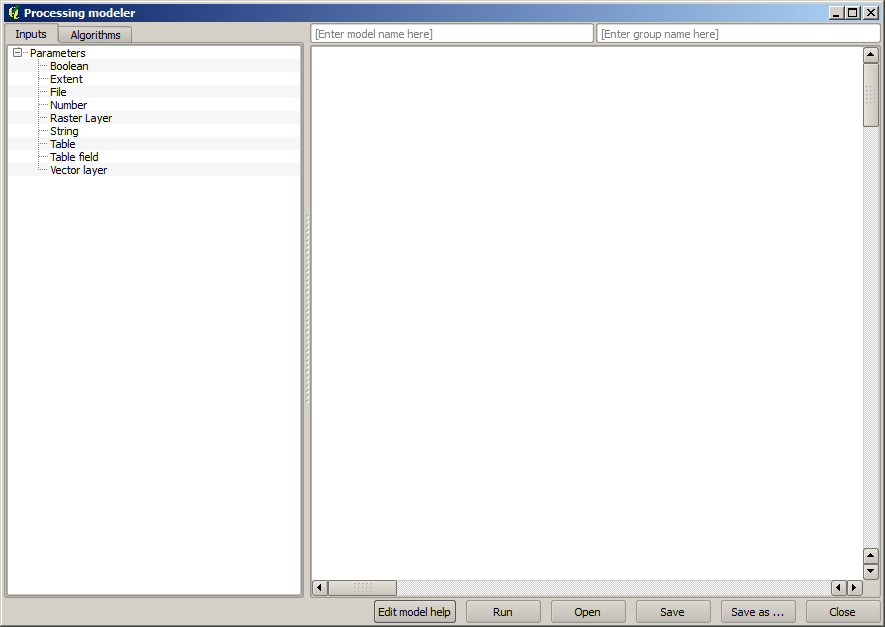
処理メニューで、メニュー項目を選択することにより、モデラーを開きます。
Two things are needed to create a model: setting the inputs that it will need, and defining the algorithm that it contains. Both of them are done by adding elements from the two tabs in the left-hand side of the modeler window: Inputs and Algorithms.
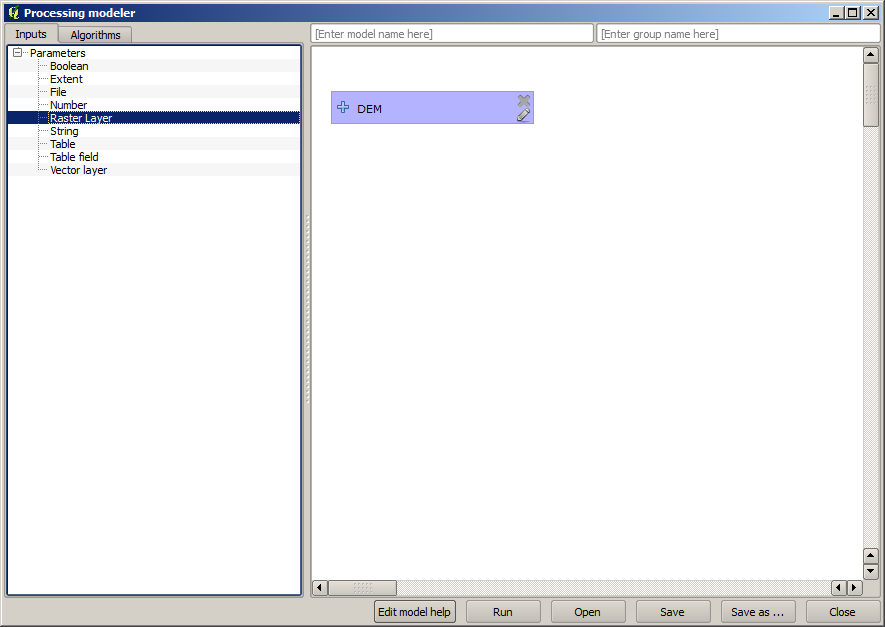
入力から始めましょう。このケースでは追加することがあまりありません。DEMを持つラスターレイヤーが必要なだけで、それが唯一の入力データとなります。
Double click on the Raster layer input and you will see the following dialog.
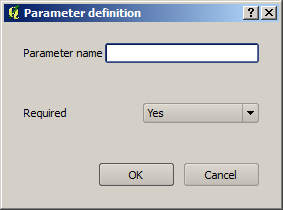
Here we will have to define the input we want:
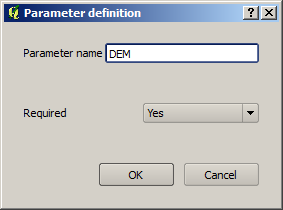
Since we expect this raster layer to be a DEM, we will call it
DEM. That's the name that the user of the model will see when running it.Since we need that layer to work, we will define it as a mandatory layer.
これがダイアログを設定する方法です
Click on OK and the input will appear in the modeler canvas.
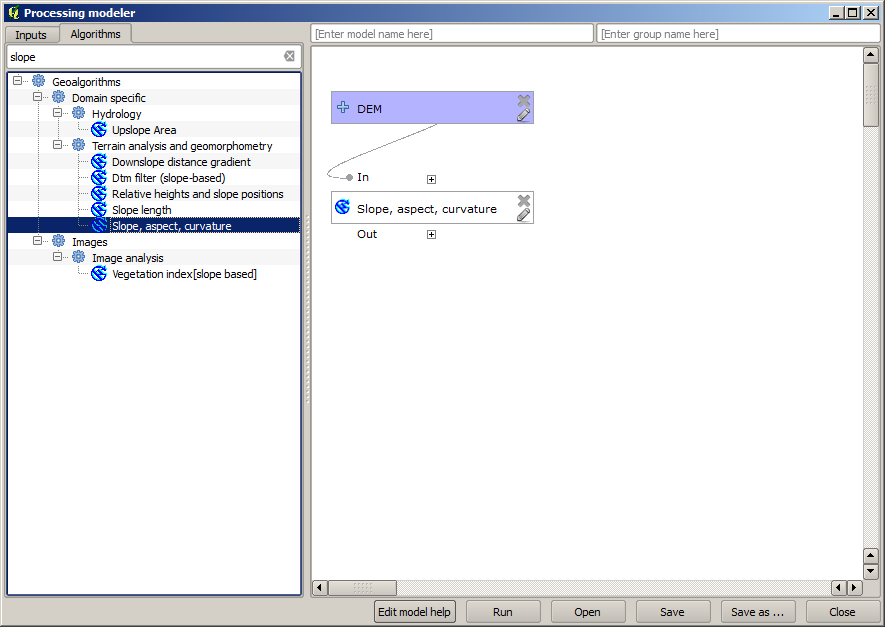
Now let's move to the Algorithms tab.
The first algorithm we have to run is the Slope, aspect, curvature algorithm. Locate it in the algorithm list, double-click on it and you will see the dialog shown below.
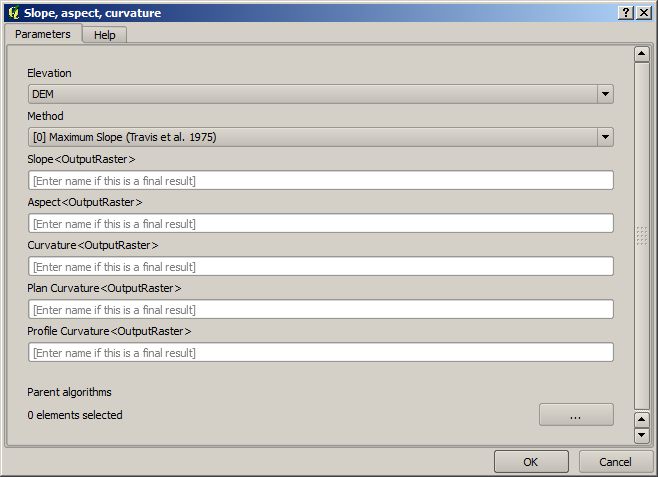
This dialog is very similar to the one that you can find when running the algorithm from the toolbox, but the element that you can use as parameter values are not taken from the current QGIS project, but from the model itself. That means that, in this case, we will not have all the raster layers of our project available for the Elevation field, but just the ones defined in our model. Since we have added just one single raster input named
DEM, that will be the only raster layer that we will see in the list corresponding to the Elevation parameter.アルゴリズムにより生成された出力は、アルゴリズムがモデルの一部として使用される場合、少し異なって処理されます。各出力を保存するファイルパスを選択する代わりに、その出力が中間層であるか(そしてモデルの実行後に保存しないようにするか)、または最終出力であるかを指定する必要があります。この場合、このアルゴリズムによって生成されるすべてのレイヤーは中間です。そのうちの1つ(傾斜レイヤー)のみを使用しますが、取得したい最終結果であるTWIレイヤーを計算するために必要なだけなので、それを保存する必要はありません。
最終的な結果ではないレイヤーの場合、対応するフィールドは残しておかなければなりません。そうしないと、後でモデルを実行したときに表示されるパラメーターダイアログボックスでレイヤーを識別するために使用される名前を入力する必要があります。
There is not much to select in this first dialog, since we do not have but just one layer in our model (The DEM input that we created). Actually, the default configuration of the dialog is the correct one in this case, so you just have to press OK. This is what you will now have in the modeler canvas.
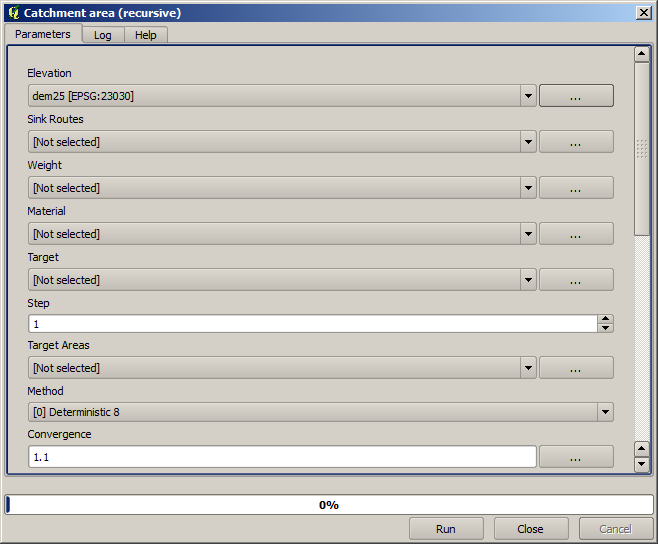
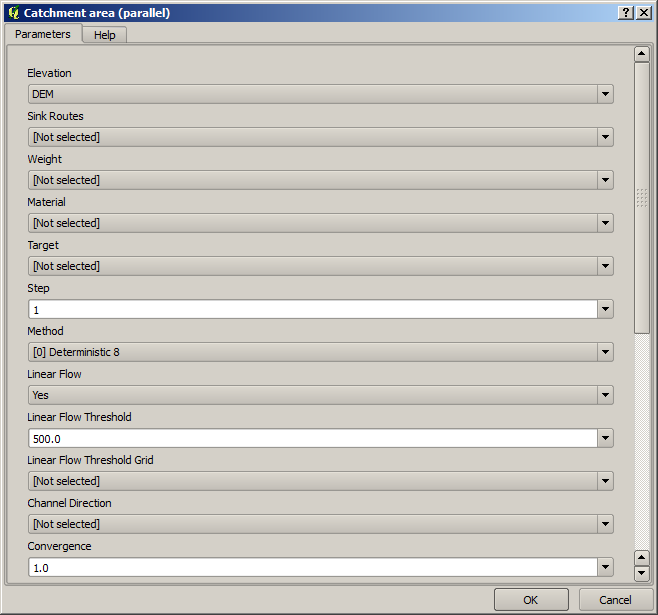
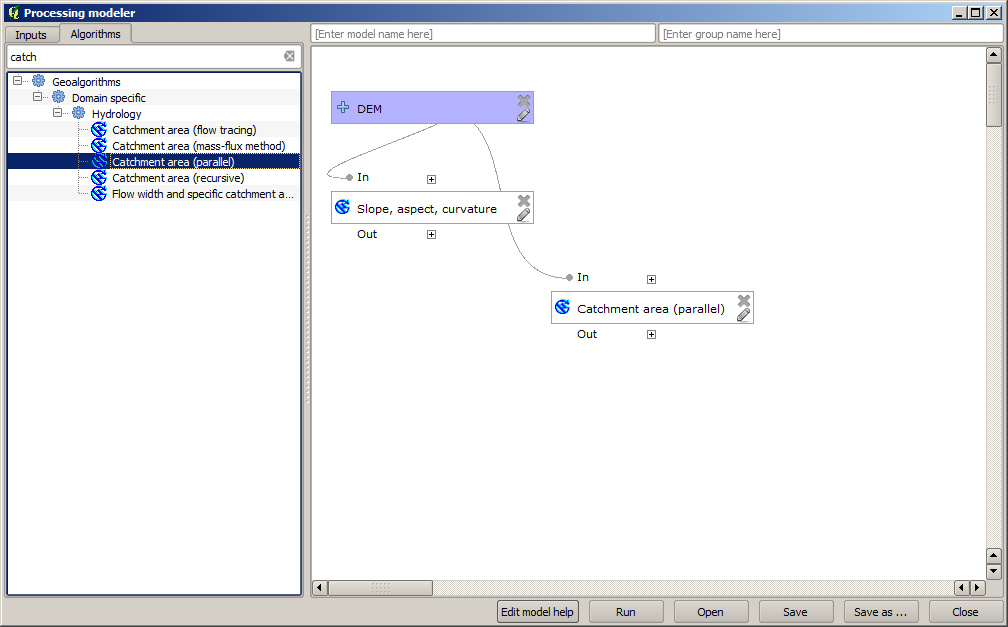
モデルに追加する必要がある第2のアルゴリズムは、集水域のアルゴリズムです。 流域面積(Paralell) という名前のアルゴリズムを使用します。再びDEMレイヤを入力として使用し、それが生成する出力ouputsはどれも最終的なものでないので、これが対応するダイアログをどう埋める必要があるかです。
今、モデルは、次のようになります。
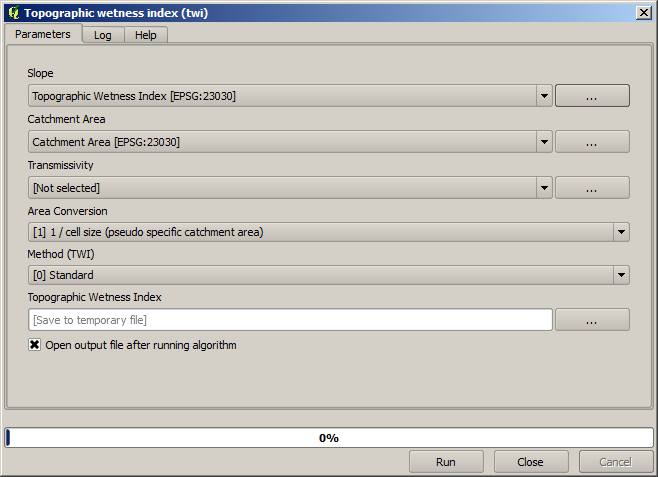
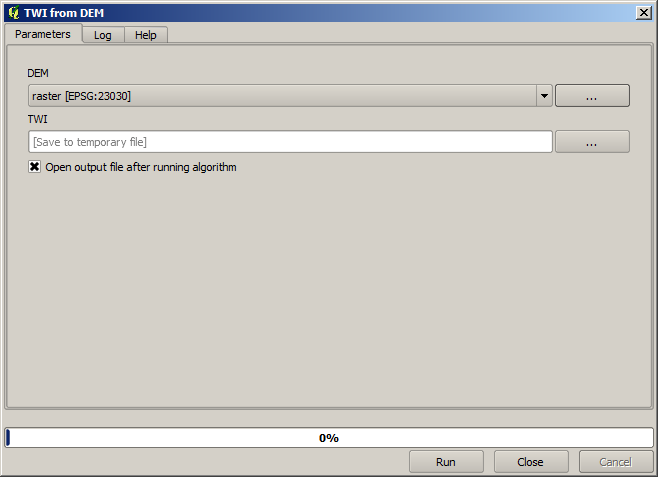
The last step is to add the Topographic wetness index algorithm, with the following configuration.
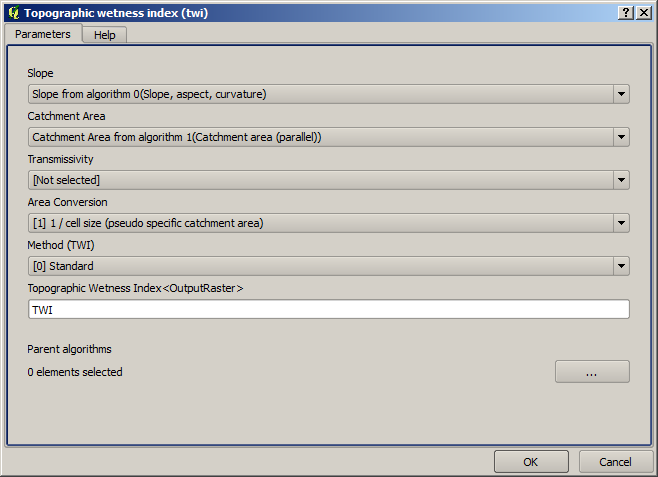
この場合、入力としてDEMを使用しない代わりに、以前に追加アルゴリズムによって計算される傾斜および流域レイヤーを使用します。新しいアルゴリズムを追加すると、それらが作り出す出力が他のアルゴリズムのために利用可能になり、それらを使用してアルゴリズムをリンクし、ワークフローを作成します。
In this case, the output
TWIlayer is a final layer, so we have to indicate so. In the corresponding textbox, enter the name that you want to be shown for this output.今、モデルが完成すると、それは次のようになります。

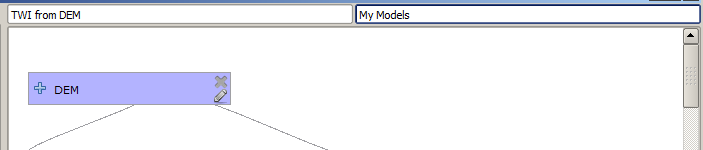
Enter a name and a group name in the upper part of the model window.
Save it clicking on the Save button. You can save it anywhere you want and open it later, but if you save it in the models folder (which is the folder that you will see when the save file dialog appears), your model will also be available in the toolbox as well. So stay on that folder and save the model with the filename that you prefer.
Now close the modeler dialog and go to the toolbox. In the Models entry you will find your model.
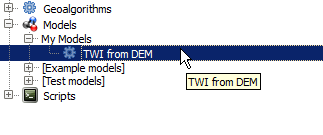
You can run it just like any normal algorithm, double-clicking on it.
ご覧のように、パラメーターダイアログは、対応するアルゴリズムを追加するときに最終的な出力として設定した出力と共に、モデルに追加の入力を含みます。
入力としてDEMを使用して、それを実行すると、1つのステップだけでTWIレイヤーが得られるでしょう。