17.17. Einstieg in den Grafischen Modellierer
Bemerkung
In dieser Lektion werden wir die grafische Modellierung verwenden. Es handelt sich um eine mächtige Komponente mit deren Hilfe man einen Arbeitsablauf definieren und mehrere Algorithmen verkettet ausführen kann.
Bei der Arbeit mit der Verarbeitungsumgebung führt man in der Regel mehr als einen Algorithmus aus. Das Erreichen des Ergebnisses erfordert es meistens, mehrere Algorithmen zu starten, wobei die Ausgabe eines Algorithmus als Eingabe für einen anderen Algorithmus verwendet wird.
Wenn man die grafische Modellierung verwendet, kann der Arbeitsablauf in ein Modell überführt werden. Das Modell führt alle erforderlichen Algorithmen auf einmal aus und vereinfacht und automatisiert so den Arbeitsprozess.
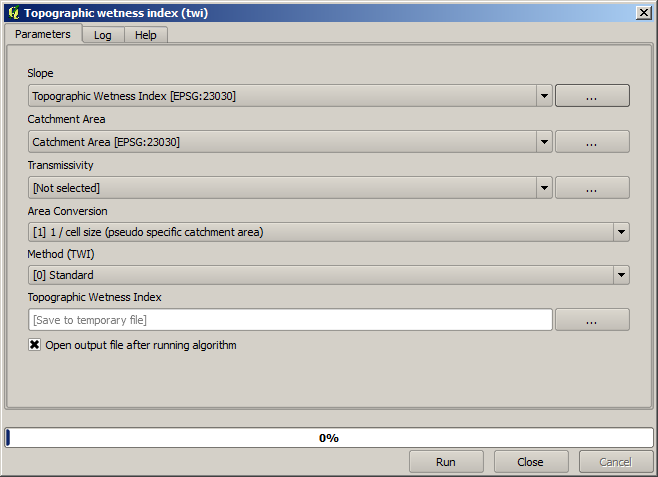
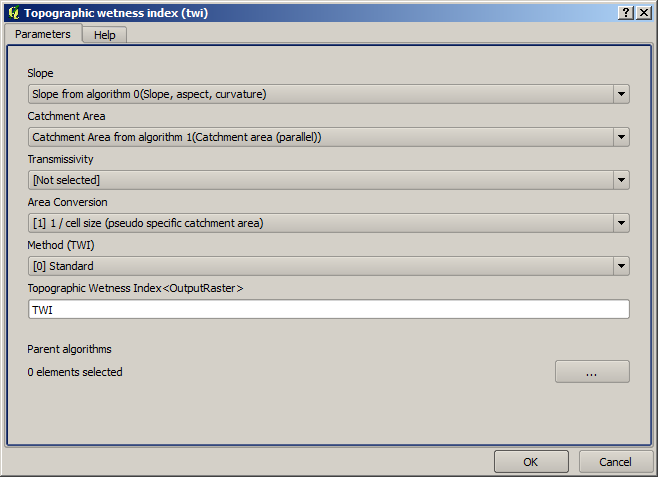
To start this lesson, we are going to calculate a parameter named Topographic Wetness Index. The algorithm that computes it is called Topographic wetness index (twi).

Wir sehen zwei Eingaben, die ausgefüllt werden müssen: Slope und Catchment area. Es gibt noch weitere optionale Eingabefelder, die wir außer Acht lassen können.
Die Daten für diese Lektion bestehen nur aus dem DEM, wir haben noch keine der benötigten Eingangsdaten. Wir wissen aber bereits, mit welchen Algorithmen man Hangneigung und Einzugsgebiete berechnen kann. Wir können diese Layer also zuerst berechnen und sie dann als Eingangsdaten für den TWI Algorithmus verwenden.
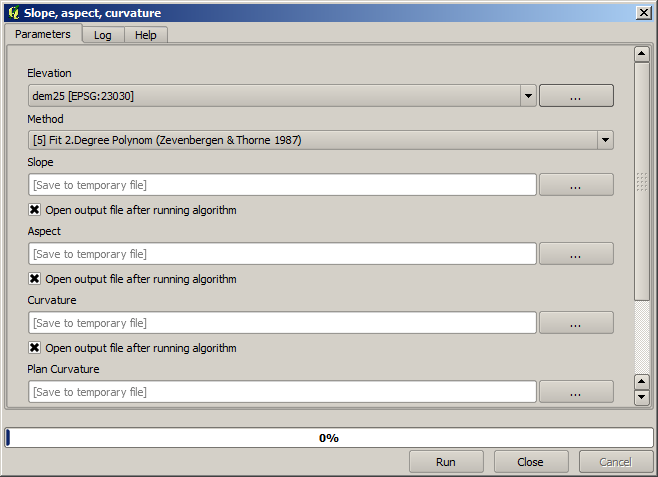
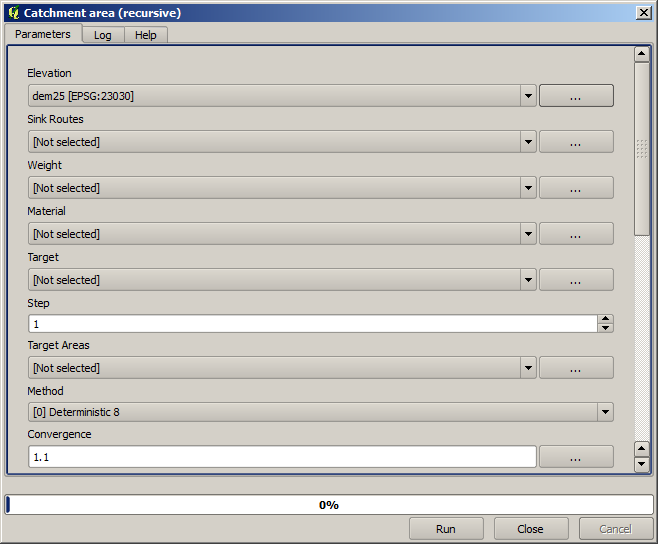
Es folgen die Paramter, die wir für die Berechnung der 2 Layer des Zwischenstandes benutzen.
Bemerkung
Die Hangneigung muss in Radiant und nicht in Grad berechnet werden.
Und so setzen wir die Paramter im Dialog des TWI Algorithmus.
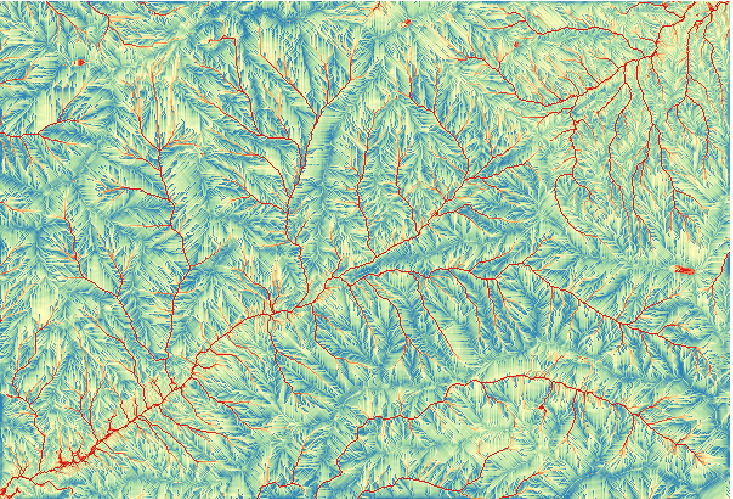
This is the result that you will obtain (the default singleband pseudocolor inverted palette has been used for rendering). You can use the twi.qml style provided.
What we will try to do now is to create an algorithm that calculates the TWI from a DEM in just one single step. That will save us work in case we later have to compute a TWI layer from another DEM, since we will need just one single step to do it instead of the three above. All the processes that we need are found in the toolbox, so what we have to do is to define the workflow to wrap them. This is where the graphical modeler comes in.
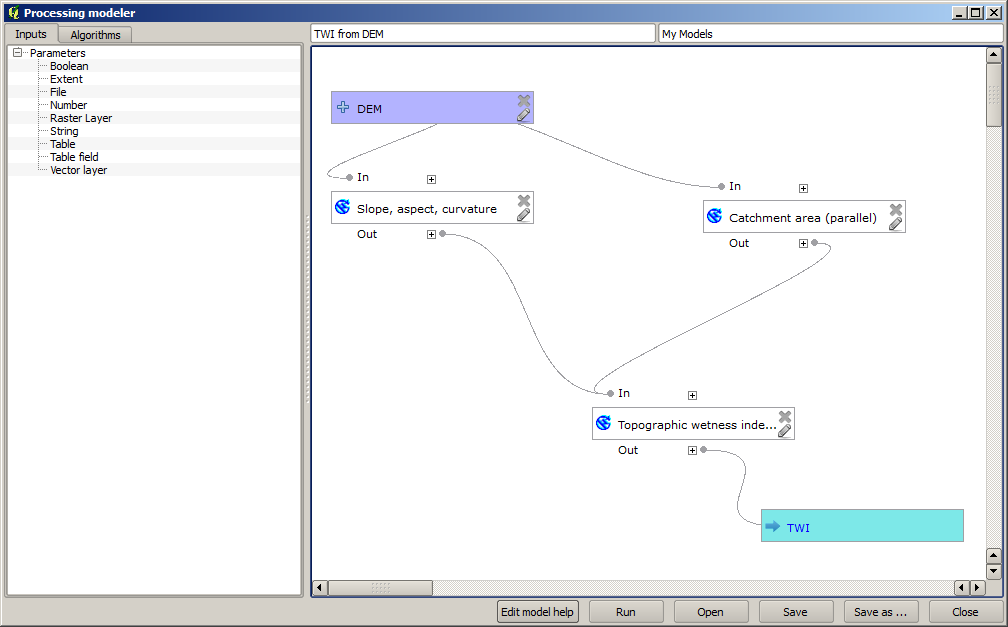
Öffnen Sie die Modellierung über den Eintrag im Verarbeitungsmenü.
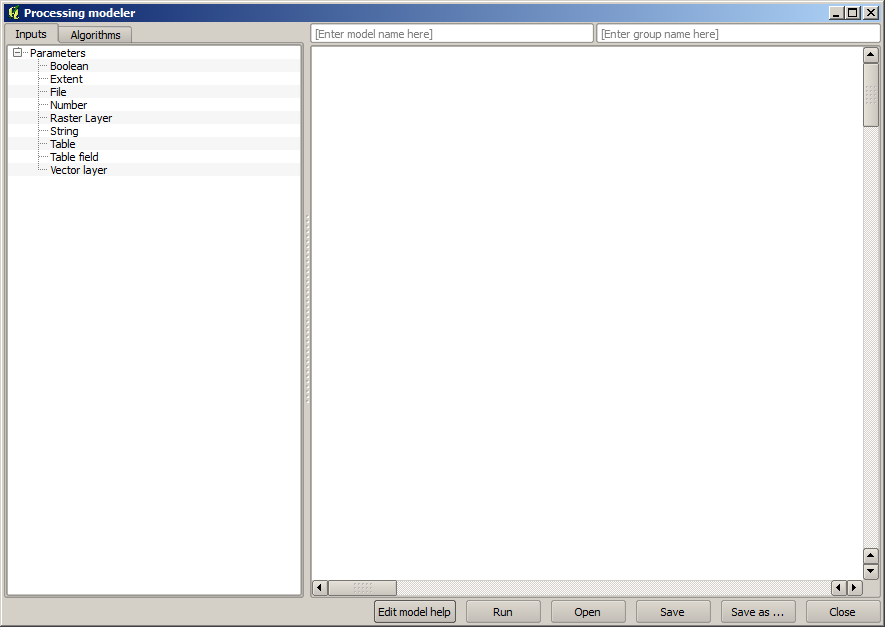
Two things are needed to create a model: setting the inputs that it will need, and defining the algorithm that it contains. Both of them are done by adding elements from the two tabs in the left-hand side of the modeler window: Inputs and Algorithms.
Wir beginnen mit den Eingabedaten. In diesem Fall muss nicht viel hinzugefügt werden. Wir brauchen als Eingabe nur den Rasterlayer mit dem DEM.
Double click on the Raster layer input and you will see the following dialog.
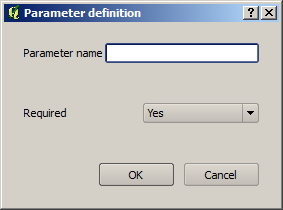
Here we will have to define the input we want:
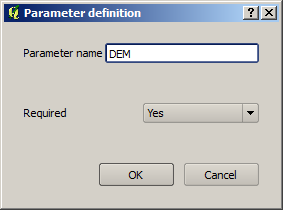
Since we expect this raster layer to be a DEM, we will call it
DEM. That’s the name that the user of the model will see when running it.Since we need that layer to work, we will define it as a mandatory layer.
Der Dialog sollte wie folgt aussehen.
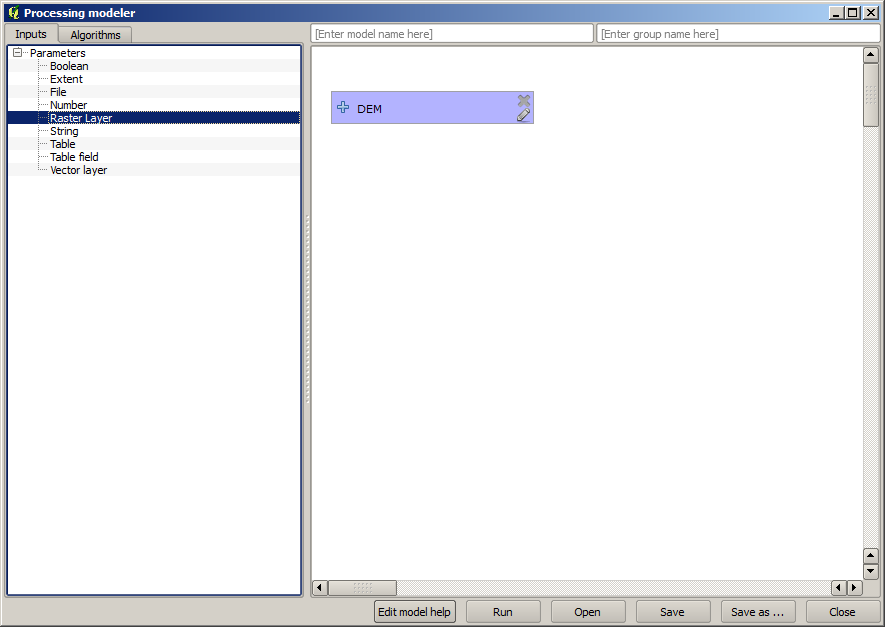
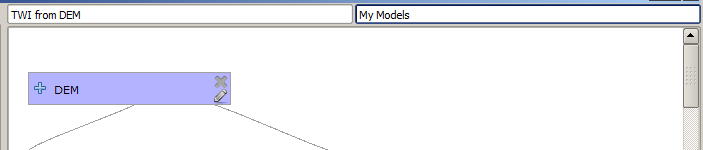
Click on OK and the input will appear in the modeler canvas.
Now let’s move to the Algorithms tab.
The first algorithm we have to run is the Slope, aspect, curvature algorithm. Locate it in the algorithm list, double-click on it and you will see the dialog shown below.
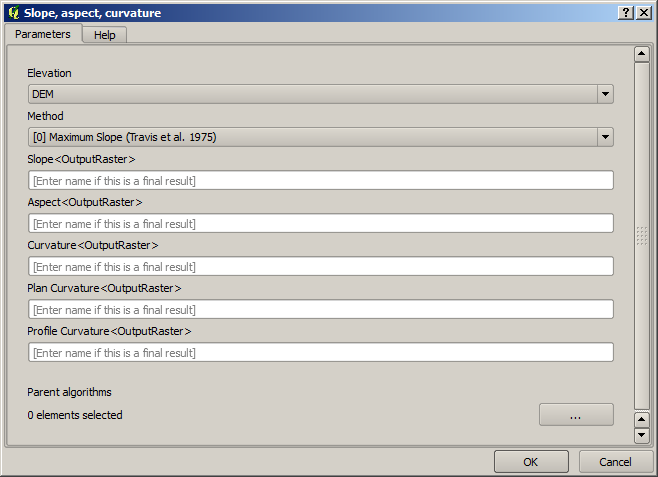
This dialog is very similar to the one that you can find when running the algorithm from the toolbox, but the element that you can use as parameter values are not taken from the current QGIS project, but from the model itself. That means that, in this case, we will not have all the raster layers of our project available for the Elevation field, but just the ones defined in our model. Since we have added just one single raster input named
DEM, that will be the only raster layer that we will see in the list corresponding to the Elevation parameter.Bei Algorithmen im Modell werden die erzeugten Ausgaben etwas anders behandelt. Anstelle der Angabe eines Dateipfades wird nur angegeben, ob die Ausgabedatei temporär (sie wird nach Ausführung des Modells verworfen) oder dauerhaft sein soll. Bei unserem Beispiel sollen alle Ausgabedateien temporär sein. Den einzigen Layer den wir verwenden (der Layer mit der Hangneigung), wird nur zur Berechnung des TWI Layers benötigt. Der TWI Layer ist unser Endergebnis, das wir behalten wollen.
Wenn ein Layer kein dauerhaftes Ergebnis darstellt, sollte man das zugehörige Feld leer lassen. Ansonsten muss ein Name vergeben werden, der dann zur Identifikation im Parameter Dialog verwendet und später beim Aufruf des Modells angezeigt wird.
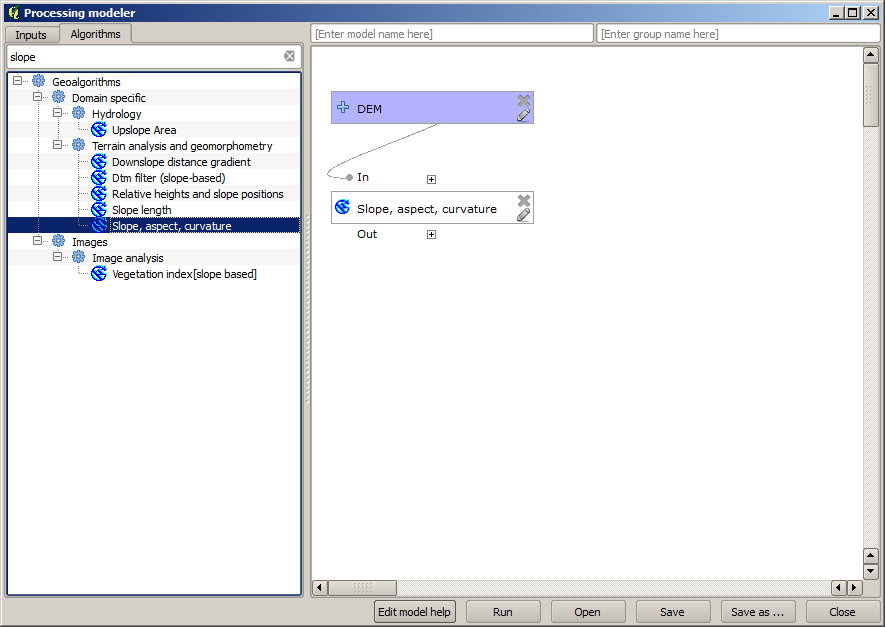
There is not much to select in this first dialog, since we do not have but just one layer in our model (The DEM input that we created). Actually, the default configuration of the dialog is the correct one in this case, so you just have to press OK. This is what you will now have in the modeler canvas.
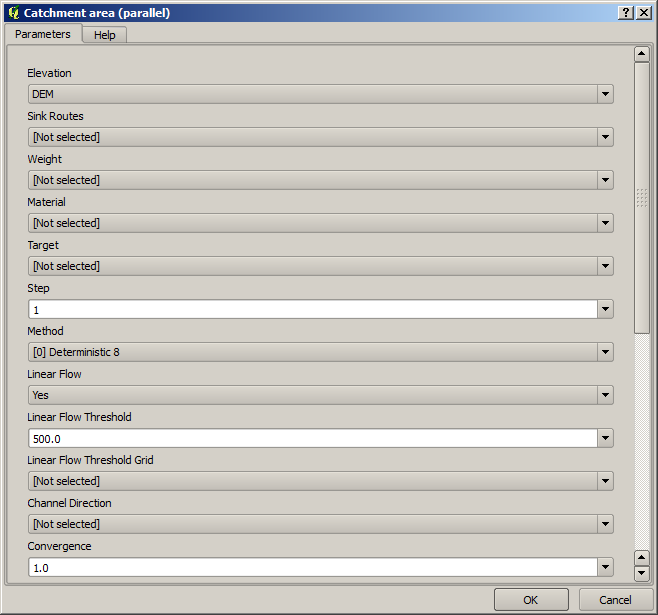
Als nächstes müssen wir einen Algorithmus zur Erzeugung des Einzugsgebietes in unser Modell einfügen. Wir verwenden den Algortihmus Catchment area (Paralell). Als Eingabe verwenden wir erneut den DEM Layer. Die Ausgaben sind alle temporär. Der ausgefüllte Dialog sieht wie folgt aus.
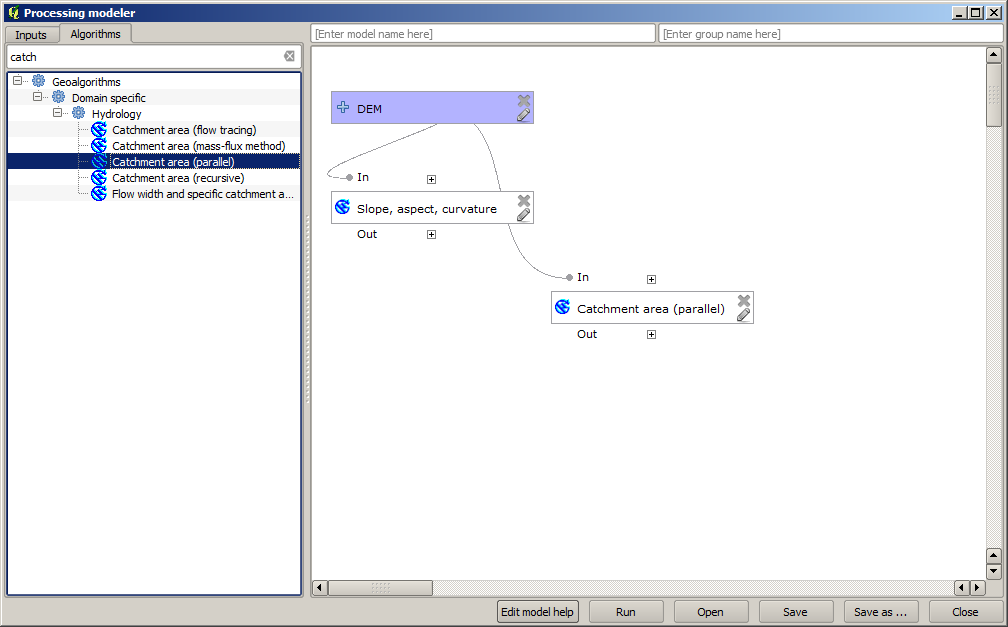
Ihr Modell sollte nun wie folgt aussehen.
The last step is to add the Topographic wetness index algorithm, with the following configuration.
In diesem Fall nutzen wir nicht das DEM als Eingabe. Wir verwenden statt dessen die Layer Hangneigung und Einzugsgebiet, die von den anderen Algorithmen erstellt werden. Beim Einfügen von neuen Algorithmen wird deren Ausgabe für andere Algorithmen verfügbar. Durch die Nutzung der Ausgabe für andere Algorithmen erstellt man den Arbeitsablauf.
In this case, the output
TWIlayer is a final layer, so we have to indicate so. In the corresponding textbox, enter the name that you want to be shown for this output.Unser Modell ist nun fertig und sollte in etwa so aussehen.
Enter a name and a group name in the upper part of the model window.
Save it clicking on the Save button. You can save it anywhere you want and open it later, but if you save it in the models folder (which is the folder that you will see when the save file dialog appears), your model will also be available in the toolbox as well. So stay on that folder and save the model with the filename that you prefer.
Now close the modeler dialog and go to the toolbox. In the Models entry you will find your model.
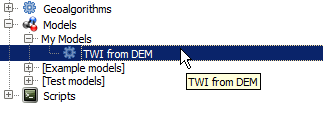
You can run it just like any normal algorithm, double-clicking on it.
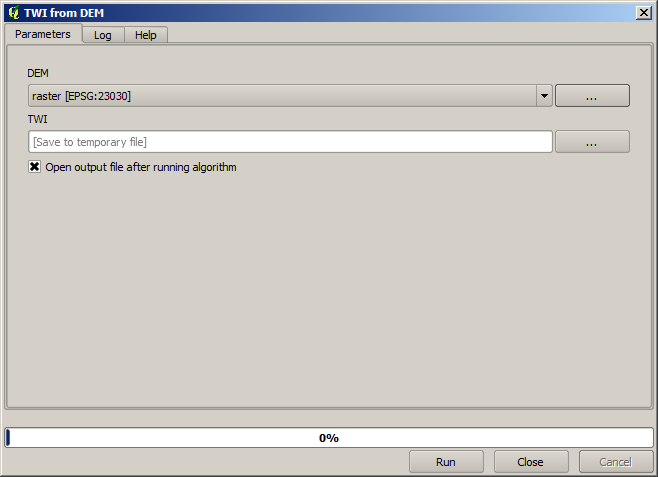
Wie man sieht enthält der Parameterdialog die vorgebenen Eingabe- und Ausgabewerte.
Beim Starten des Modells wird das DEM als Eingabe genutzt und der TWI Layer in einem einzigen Schritt erstellt.