17.4. Rularea primului nostru algoritm. Setul de instrumente
Notă
În această lecție vom rula primul nostru algoritm pentru a obține un prim rezultat.
Așa cum am menționat deja, cadrul de procesare poate rula algoritmi ai altor aplicații, dar conține, de asemenea, algoritmi nativi care nu au nevoie de nici un software extern pentru a rula. Pentru a începe explorarea cadrului de procesare, vom rula unul dintre algoritmii nativi. În particular, vom calcula centroizii setului de poligoane.
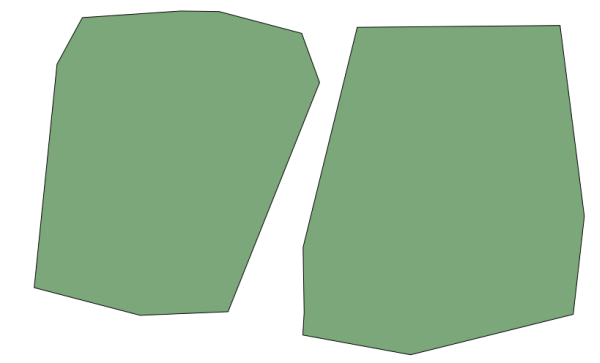
În primul rând, deschideți proiectul QGIS corespunzător acestei lecții. Acesta conține doar un singur strat, cu două poligoane
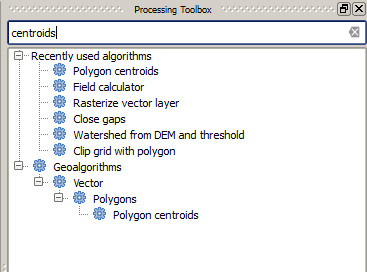
Now go to the text box at the top of the toolbox. That is the search box, and if you type text in it, it will filter the list of algorithms so just those ones containing the entered text are shown. If there are algorithms that match your search but belong to a provider that is not active, an additional label will be shown in the lower part of the toolbox.
Introduceți centroids, după care ar trebui să vedeți ceva de genul următor:
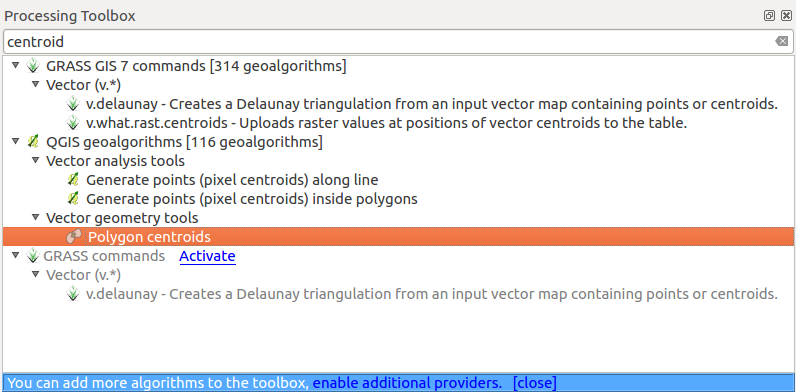
The search box is a very practical way of finding the algorithm you are looking for. At the bottom of the dialog, an additional label shows that there are algorithms that match your search but belong to a provider that is not active. If you click on the link in that label, the list of algorithms will also include results from those inactive providers, which will be shown in light gray. A link to activate each inactive provider is also shown. We’ll see later how to activate other providers.
To execute an algorithm, you just have to double-click on its name in the toolbox. When you double-click on the Polygon centroids algorithm, you will see the following dialog.
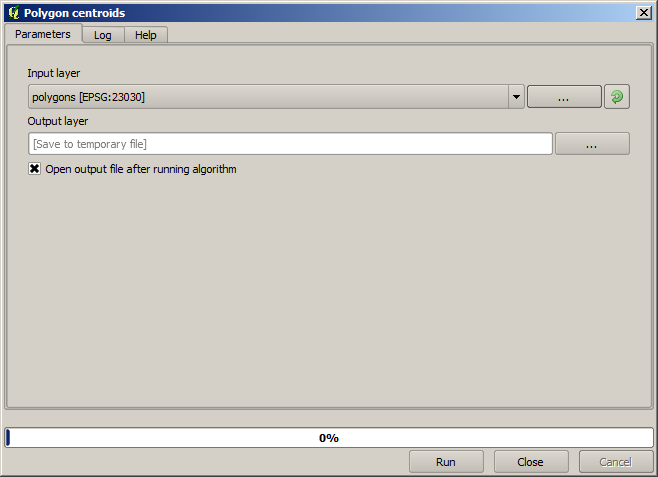
Toți algoritmii au o interfață similară, care conține practic parametrii de intrare pe care trebuie să îi completați, și ieșirile pentru care trebuie să specificați unde se păstrează. În acest caz, singura intrare pe care o avem este un strat vectorial cu poligoane.
Selectați stratul Poligoanelor ca intrare. Algoritmul are o singură ieșire, care este stratul centroizilor. Există două opțiuni pentru a defini locul de salvare a datelor de ieșire: introduceți o cale pentru fișier sau salvați-l sub numele unui fișier temporar
In case you want to set a destination and not save the result in a temporary
file, the format of the output is defined by the filename extension. To select
a format, just select the corresponding file extension (or add it if you are
directly typing the filepath instead). If the extension of the filepath you
entered does not match any of the supported ones, a default extension (usually
.dbf for tables, .tif for raster layers and .shp for
vector ones) will be appended to the filepath and the file format corresponding
to that extension will be used to save the layer or table.
In all the exercises in this guide, we will be saving results to a temporary file, since there is no need to save them for a later use. Feel free to save them to a permanent location if you want to.
Atenționare
O dată ce se închide QGIS, fișierele temporare vor fi șterse. În cazul unui proiect cu o ieșire generată temporar, la deschiderea ulterioară a proiectului, QGIS va semnala acest lucru, din moment ce fișierul nu mai există.
Once you have configured the algorithm dialog, press Run to run the algorithm.
Veți obține rezultatul următor.
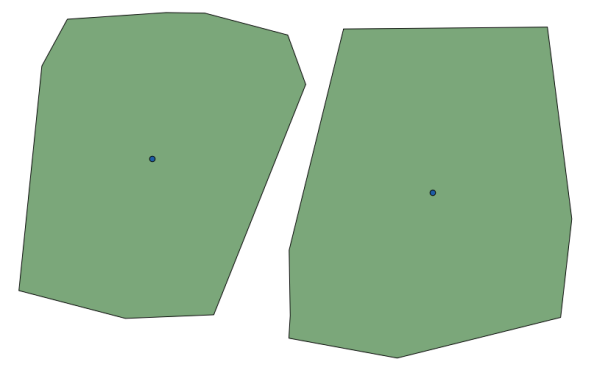
Ieșirea are același CRS ca și intrarea. Geoalgoritmii presupun că toate straturile de intrare au același CRS și, de aceea, nu vor efectua nici o reproiectare. Cu excepția cazului unor algoritmi speciali (cum ar fi cei de reproiectare), ieșirile vor avea același CRS. Vom vedea în curând mai multe despre acest lucru.
Try yourself saving it using different file formats (use, for instance,
shp and geojson as extensions). Also, if you do not want the
layer to be loaded in QGIS after it is generated, you can check off the checkbox
that is found below the output path box.