Importante
A tradução é um esforço comunitário você pode contribuir. Esta página está atualmente traduzida em 61.90%.
17.12. Definindo as medidas
Nota
Nesta lição, verificaremos como definir as medidas, que são necessárias em alguns algoritmos, especialmente uma imagem.
Alguns algoritmos requerem uma medida para definir a área a ser coberta pela análise, que desempenham geralmente para definir a extensão da camada resultante.
Quando a medida for necessária, ela pode ser definida manualmente, digitando os quatro valores que definem (X mínimo, Y mínimo, X máximo, Y máximo), mas existem outros mais práticos e formas mais interessantes de fazer. Vamos ver todos nesta lição.
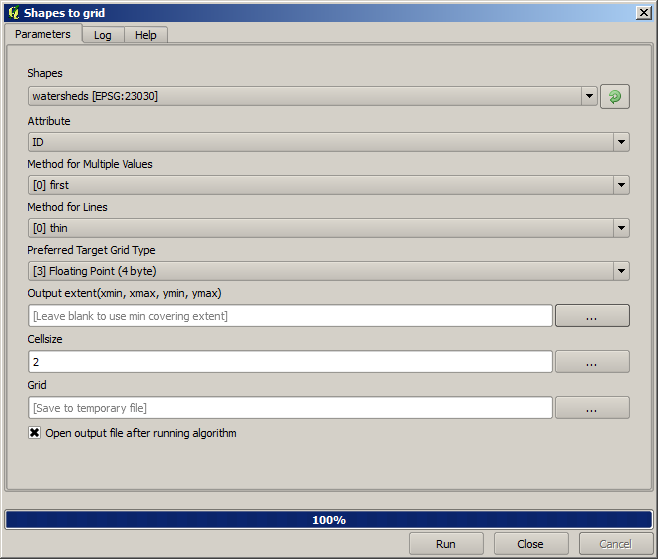
First, let’s open an algorithm that requires an extent to be defined. Open the Rasterize (vector to raster) algorithm, which creates a raster layer from a vector layer.
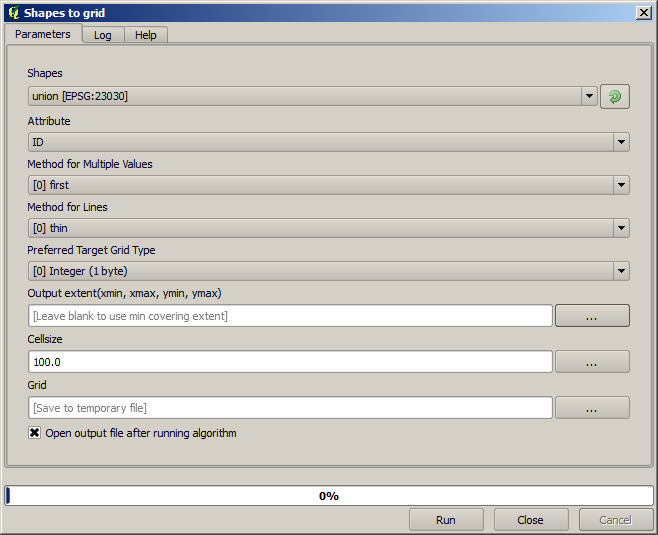
All the parameters, except for the last two ones, are used to define which layer is to be rasterized, and configure how the rasterization process should work. The two last parameters, on the other hand, define the characteristics of the output layer. That means that they define the area that is covered (which is not necessarily the same area covered by the input vector layer), and the resolution/cellsize (which cannot be inferred from the vector layer, since vector layers do not have a cellsize).
Primeiro você pode operar o tipo 4 definindo os valores explicados antes, separados por vírgulas.

Não necessita de mais explicações. Enquanto esta é a opção mais flexível, é também o menos prático em alguns casos, é por isso que outras opções sejam implementadas. Para acessá-las, você dá um clique no botão direito–lado a lado da medida na caixa de texto.
Verificar o que cada um deles faz.
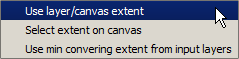
The first option is Use layer/canvas extent, which will show the selection dialog shown below.
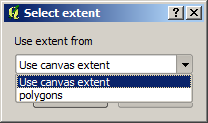
Aqui você pode selecionar a medida da tela (a memida abrangida pelo zoom atual), ou a extensão dos níveis disponíveis. Selecione-o e cliquem em OK, e a caixa de texto será preenchida automaticamente com os valores correspondentes.
The second option is Select extent on canvas. In this case, the algorithm dialog disappears and you can click and drag on the QGIS canvas to define the desired extent.
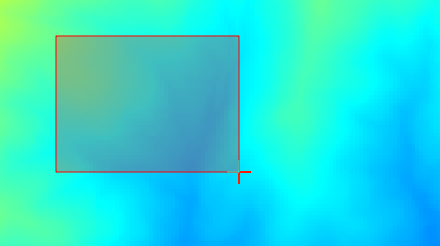
Assim que você soltar o botão do mouse, a caixa de diálogo aparecerá e a caixa de texto terá os valores correspondentes à medida.
The last option is Use min covering extent from input layers, which is the default option. This will compute the min covering extent of all layers used to run the algorithm, and there is no need to enter any value in the text box. In the case of a single input layer, as in the algorithm we are running, the same extent can be obtained by selecting that same input layer in the Use layer/canvas extent that we already saw. However, when there are several input layers, the min covering extent does not correspond to any of the input layer extent, since it is computed from all of them together.
Verificar e utilizar este método para executar o nosso algoritmo ou uma rasterização.
Fill the parameters dialog as shown next, and press OK.
Nota
In this case, better use an Integer (1 byte) instead of a
Floating point (4 byte), since the NAME is an integer with maximum
value=64. This will result in a smaller file size and faster computations.
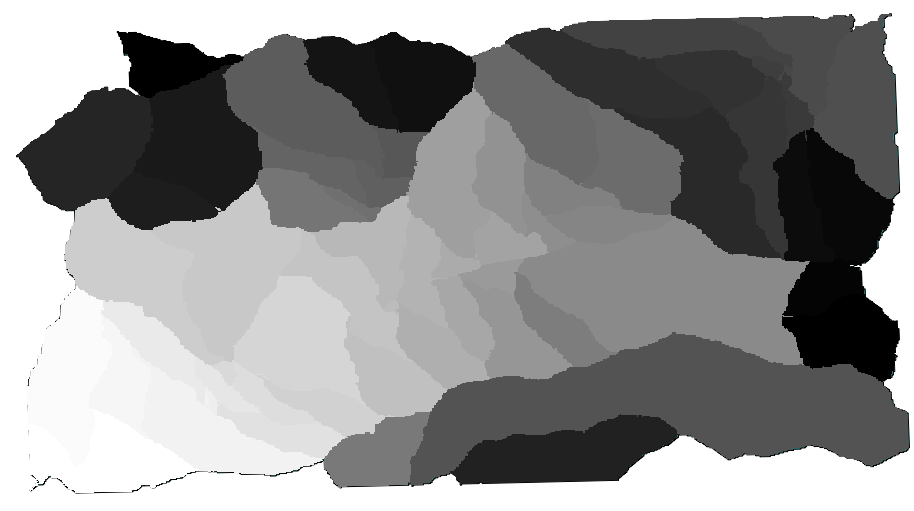
Você apresentará uma camada rasterizada, que cobre exatamente a área coberta pela camada vetorial original.
In some cases, the last option, Use min covering extent from input layers, might not be available. This will happen in those algorithm that do not have input layers, but just parameters of other types. In that case, you will have to enter the value manually or use any of the other options.
Observe que, quando existe uma seleção, é que a medida do nível de todo conjunto de recursos, não é usada a seleção para calcular a medida, mesmo que a rasterização é somente executada os itens selecionados. Nesse caso, você pode criar uma nova camada, e querer a partir da seleção, e em seguida, usá-lo como entrada.