6.3. Lesson: Forms
When you add new data via digitizing, you’re presented with a dialog that lets you fill in the attributes for that feature. However, this dialog is not, by default, very nice to look at. This can cause a usability problem, especially if you have large datasets to create, or if you want other people to help you digitize and they find the default forms to be confusing.
Fortunately, QGIS lets you create your own custom dialogs for a layer. This lesson shows you how.
The goal for this lesson: To create a form for a layer.
6.3.1.  Follow Along: Using QGIS’ Form Design Functionality
Select the roads layer in the Layers panel.
Enter Edit Mode as before.
Open its Attribute Table.
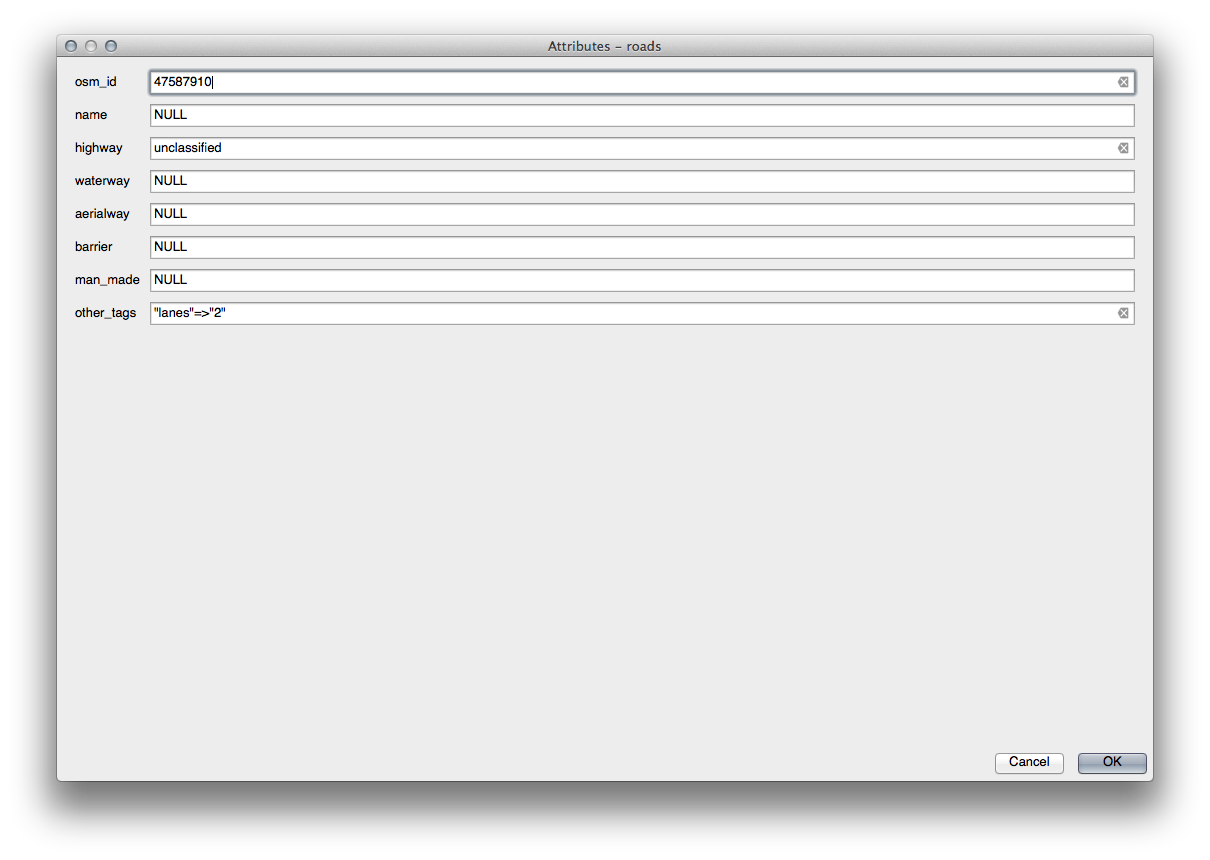
Right-click on any cell in the table. A short menu will appear, with the only entry being Open form.
Click on it to see the form that QGIS generates for this layer.
Obviously it would be nice to be able to do this while looking at the map, rather than needing to search for a specific street in the Attribute Table all the time.
Select the roads layer in the Layers panel.
Using the Identify tool, click on any street in the map.

The Identify Results panel opens and shows in a tree view the fields values and other general information about the clicked feature.
At the bottom of the panel, Check the Auto open form checkbox
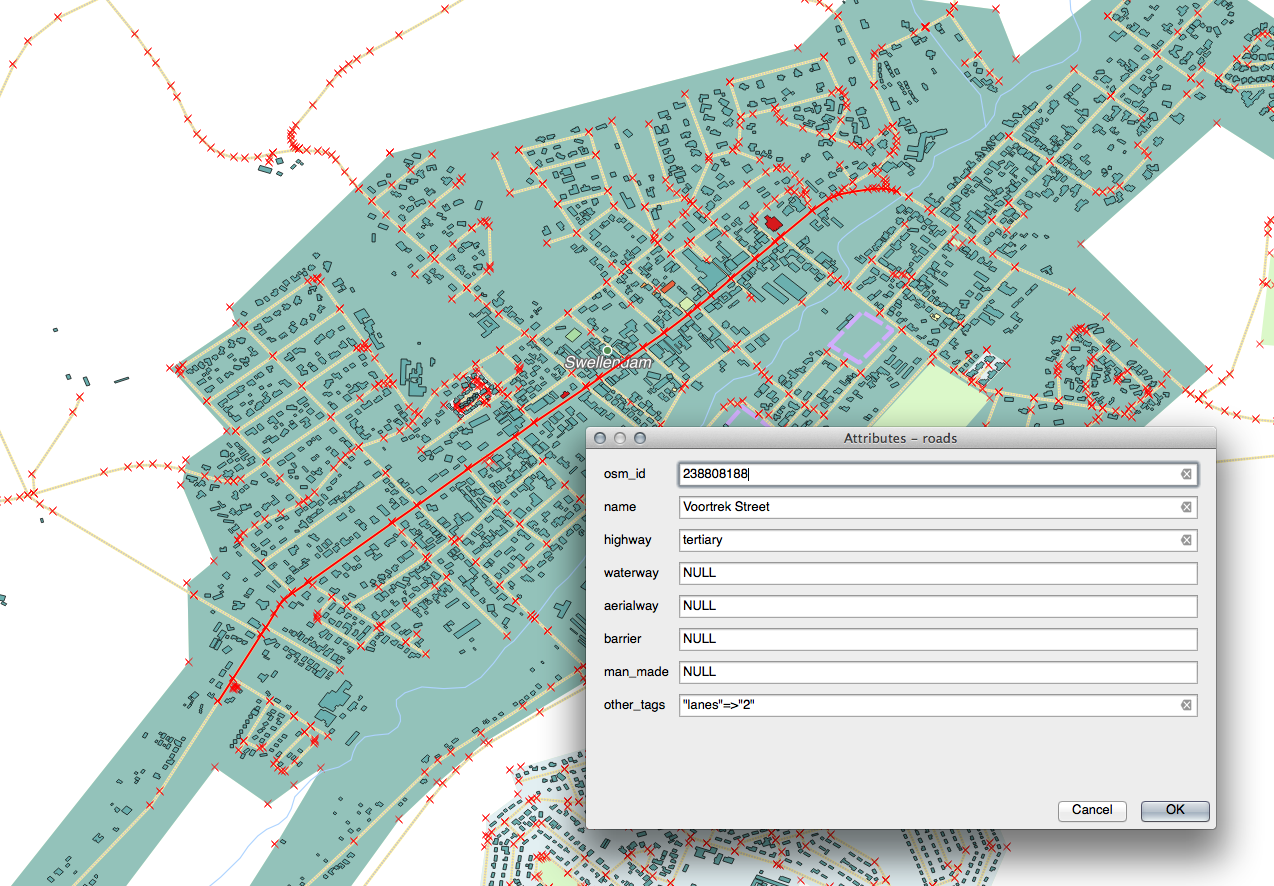
Now, click again on any street in the map. Along the previous Identify Results dialog, you’ll see the now-familiar form:
Each time you click on a single feature with the Identify tool, its form pops-up unless the Auto open form is unchecked.
6.3.2. Try Yourself Using the Form to Edit Values
If you are in edit mode, you can use this form to edit a feature’s attributes.
Activate edit mode (if it isn’t already activated).
Using the Identify tool, click on the main street running through Swellendam:
Edit its highway value to be secondary.
Save your edits.
Exit edit mode.
Open the Attribute Table and note that the value has been updated in the attributes table and therefore in the source data.
Note
If you’re using the default dataset, you’ll find that there is more than one road on this map called Voortrek Street.
6.3.3.  Follow Along: Setting Form Field Types
It’s nice to edit things using a form, but you still have to enter everything by hand. Fortunately, forms have different kinds of so-called widgets that allow you to edit data in various different ways.
Open the roads layer’s Layer Properties.
Switch to the Fields tab. You’ll see this:
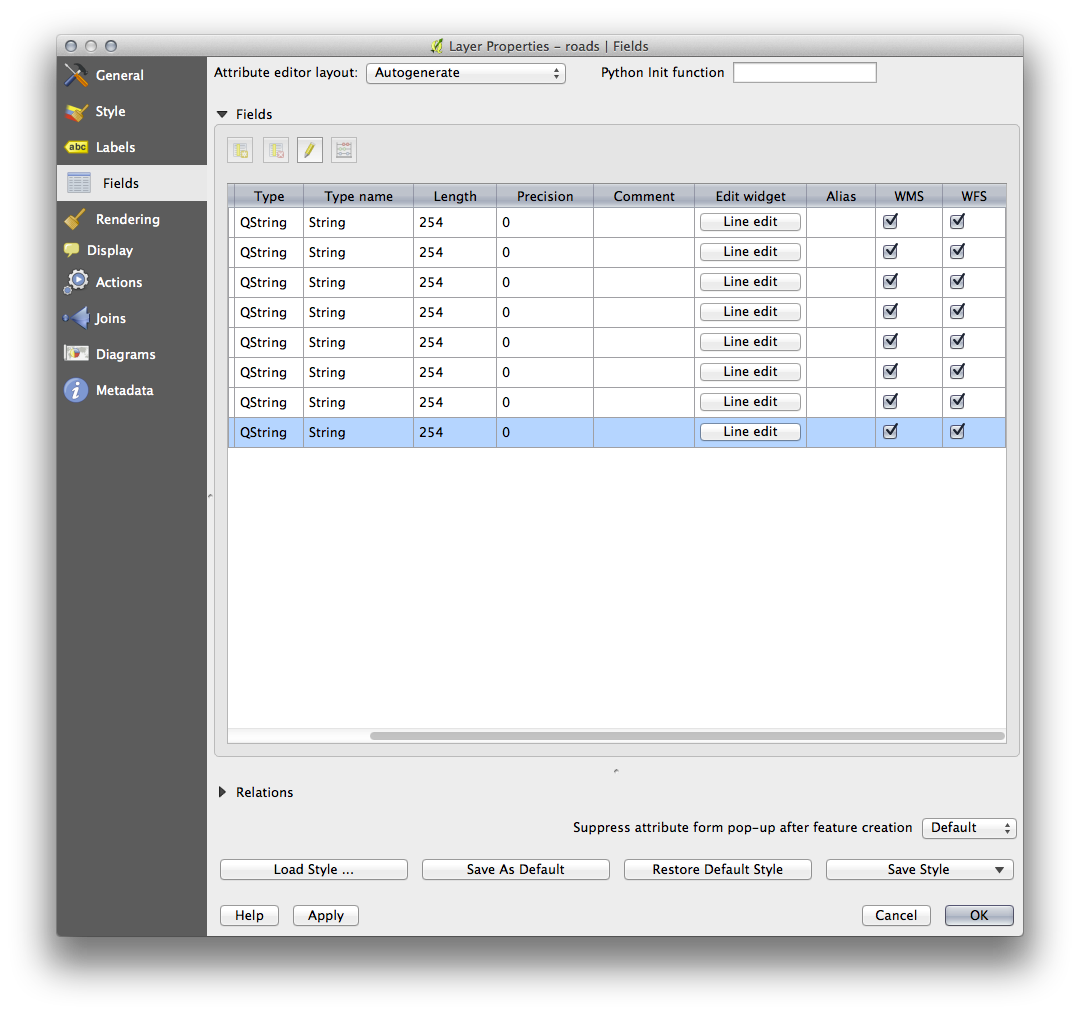
Click on the Line edit button in the same row as man_made and you’ll be given a new dialog.
Select Checkbox in the list of options:
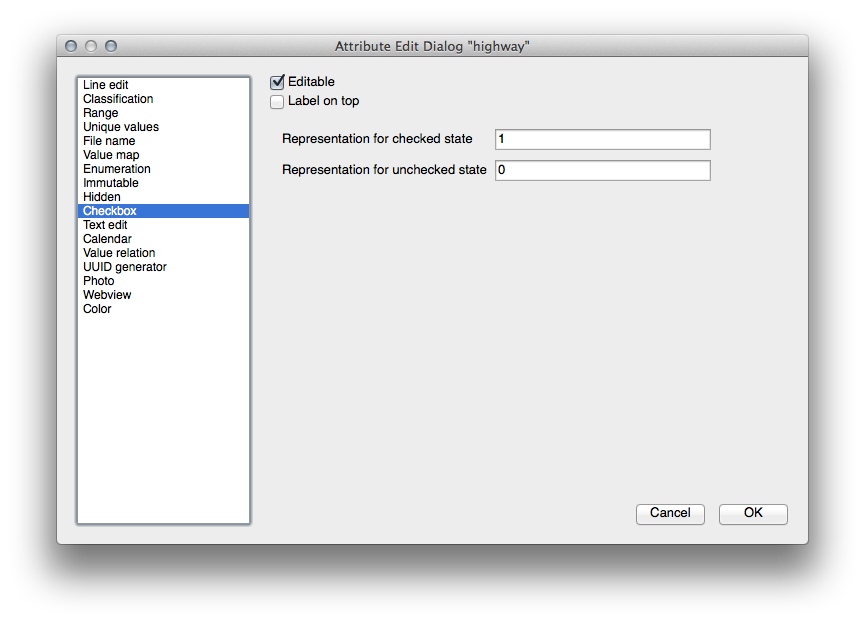
Click OK.
Enter edit mode (if the roads layer is not already in edit mode.
Click on the Identify tool.
Click on the same main road you chose earlier.
You’ll now see that the man_made attribute has a checkbox next to it denoting True (checked) or False (unchecked).
6.3.5.  Try Yourself Creating Test Data
You can also design your own custom form completely from scratch.
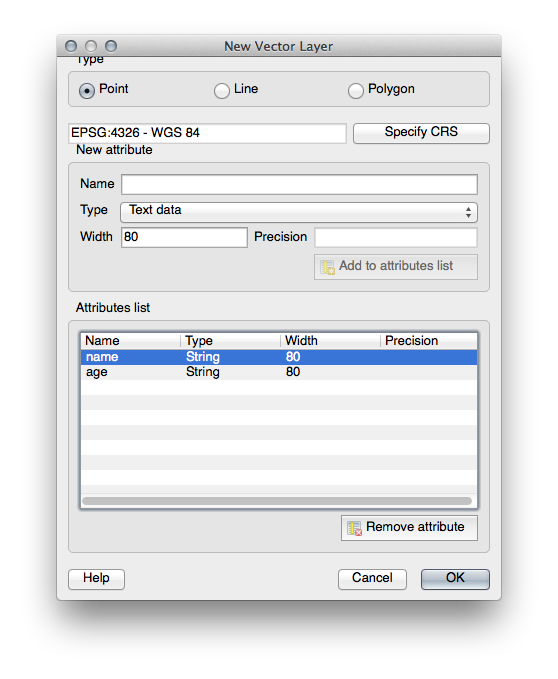
Create a simple point layer named test-data with two attributes:
Name (text)
Age (text)
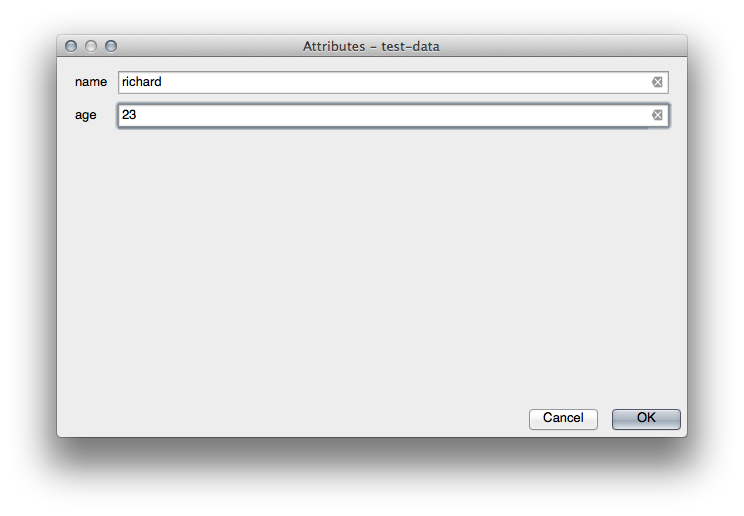
Capture a few points on your new layer using the digitizing tools so that you have a little data to play with. You should be presented with the default QGIS generated attribute capture form each time you capture a new point.
Note
You may need to disable Snapping if still enabled from earlier tasks.
6.3.6. Follow Along: Creating a New Form
Now we want to create our own custom form for the attribute data capture phase. To do this, you need to have Qt4 Designer installed (only needed for the person who creates the forms). It should be provided as part of your course materials, if you’re using Windows. You may need to look for it if you’re using another OS. In Ubuntu, do the following in the terminal:
Note
At the time of writing, Qt5 is the latest version available. However, this process specifically requires Qt4 and is not necessarily compatible with Qt5.
sudo apt install qt4-designer
… and it should install automatically. Otherwise, look for it in the Software Center.
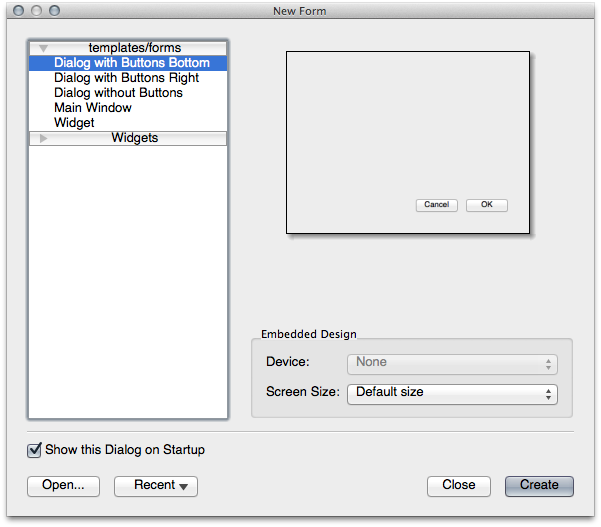
Start Designer by opening its Start Menu entry in Windows (or whatever approach is appropriate in your OS).
In the dialog that appears, create a new dialog:
Look for the Widget Box along the left of your screen (default). It contains an item called Line Edit.
Click and drag this item into your form. This creates a new Line Edit in the form.
With the new line edit element selected, you’ll see its properties along the side of your screen (on the right by default):
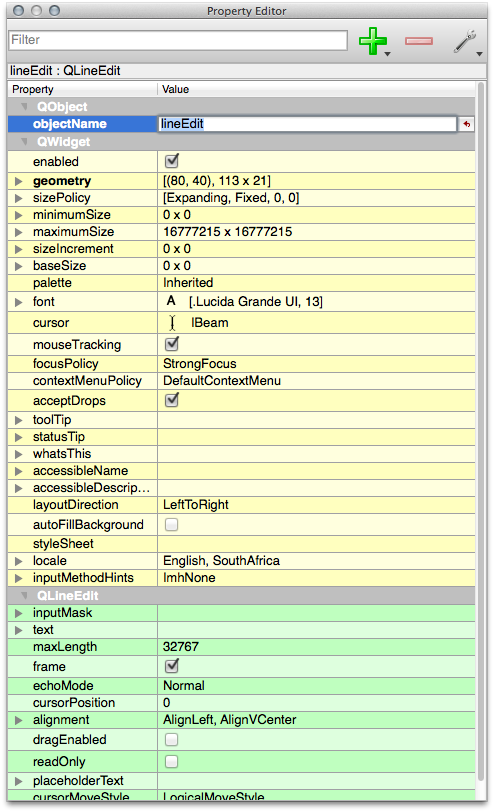
Set its name to Name.
Using the same approach, create a new spinbox and set its name to Age.
Add a Label with the text Add a New Person in a bold font (look in the object properties to find out how to set this). Alternatively, you may want to set the title of the dialog itself (rather than adding a label).
Click anywhere in your dialog.
Find the Lay Out Vertically button (in a toolbar along the top edge of the screen, by default). This lays out your dialog automatically.
Set the dialog’s maximum size (in its properties) to 200 (width) by 100 (height).
Save your new form as exercise_data/forms/add_people.ui.
When it’s done saving, you can close the Qt4 Designer program.
6.3.7. Follow Along: Associating the Form with Your Layer
Go back to QGIS.
Double click the test-data layer in the legend to access its properties.
Click on the Fields tab in the Layer Properties dialog.
In the Attribute editor layout dropdown, select Provide ui-file.
Click the ellipsis button and choose the add_people.ui file you just created:
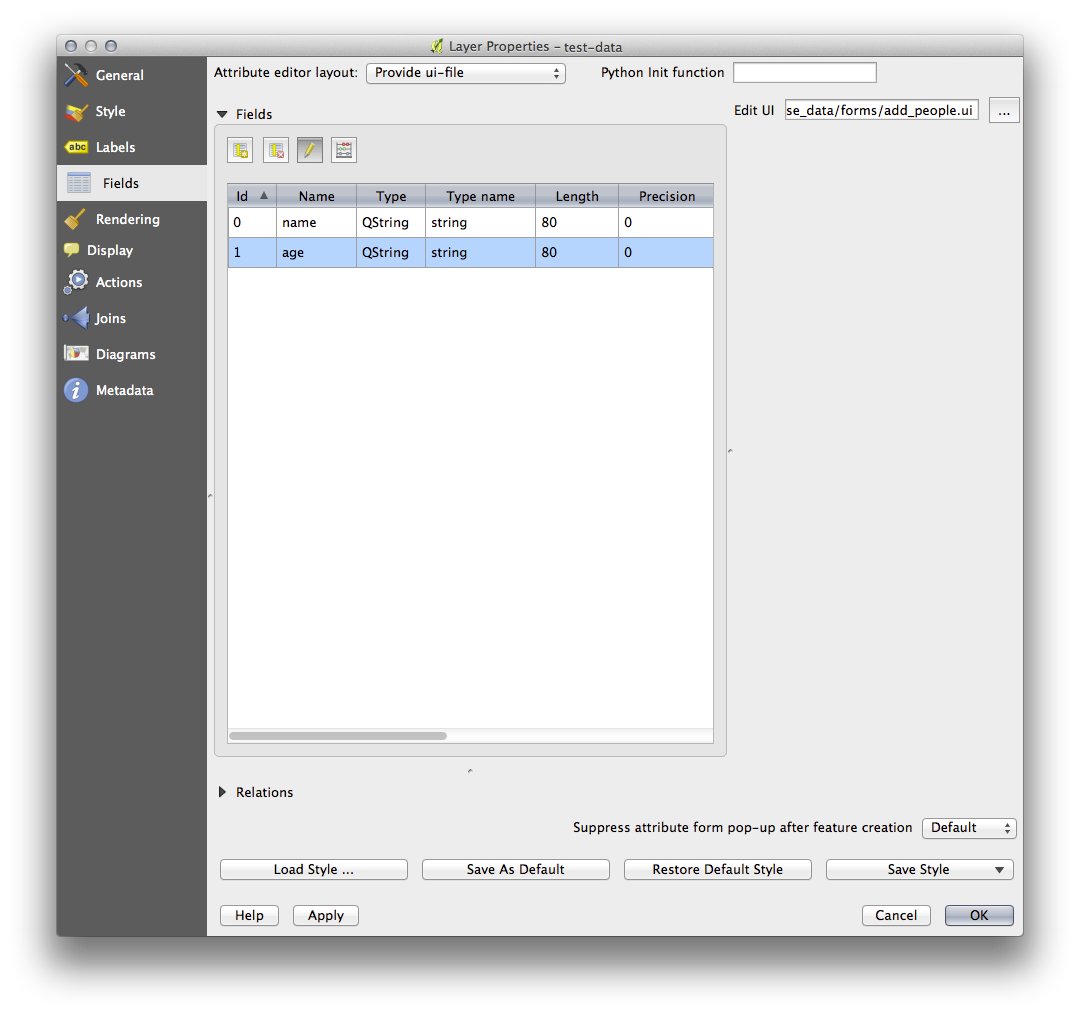
Click OK on the Layer Properties dialog.
Enter edit mode and capture a new point.
When you do so, you will be presented with your custom dialog (instead of the generic one that QGIS usually creates).
If you click on one of your points using the Identify tool, you can now bring up the form by right clicking in the identify results window and choosing View Feature Form from the context menu.
If you are in edit mode for this layer, that context menu will show Edit Feature Form instead, and you can then adjust the attributes in the new form even after initial capture.
6.3.8. In Conclusion
Using forms, you can make life easier for yourself when editing or creating data. By editing widget types or creating an entirely new form from scratch, you can control the experience of someone who digitizes new data for that layer, thereby minimizing misunderstandings and unnecessary errors.
6.3.9. Further Reading
If you completed the advanced section above and have knowledge of Python, you may want to check out this blog entry about creating custom feature forms with Python logic, which allows advanced functions including data validation, autocompletion, etc.
6.3.10. What’s Next?
Opening a form on identifying a feature is one of the standard actions that QGIS can perform. However, you can also direct it to perform custom actions that you define. This is the subject of the next lesson.