중요
번역은 여러분이 참여할 수 있는 커뮤니티 활동입니다. 이 페이지는 현재 75.00% 번역되었습니다.
17.23. 심화 보간법
참고
이 수업에서는 보간법 알고리즘을 사용하는 또다른 실질적인 사례를 배울 것입니다.
보간법은 일반적인 기법으로, QGIS 공간 처리 프레임워크를 사용해 적용할 수 있는 몇 가지 기술을 시연하는 데 쓰일 수 있습니다. 이 수업에서는 앞에서 이미 언급했던 몇몇 보간법 알고리즘을 사용하지만, 다르게 접근해볼 것입니다.
이 수업을 위한 데이터는 표고 데이터를 담고 있는 포인트 레이어 하나입니다. 이전 수업에서와 거의 동일한 방법으로 보간할 것이지만, 이번에는 보간 처리의 질을 평가하는데 사용하기 위해 원래 데이터의 일부를 보전할 것입니다.
First, we have to rasterize the points layer and fill the resulting no–data cells, but using just a fraction of the points in the layer. We will save 10% of the points for a later check, so we need to have 90% of the points ready for the interpolation. To do so, we could use the Split shapes layer randomly algorithm, which we have already used in a previous lesson, but there is a better way to do that, without having to create any new intermediate layer. Instead of that, we can just select the points we want to use for the interpolation (the 90% fraction), and then run the algorithm. As we have already seen, the rasterizing algorithm will use only those selected points and ignore the rest. The selection can be done using the Random selection algorithm. Run it with the following parameters.
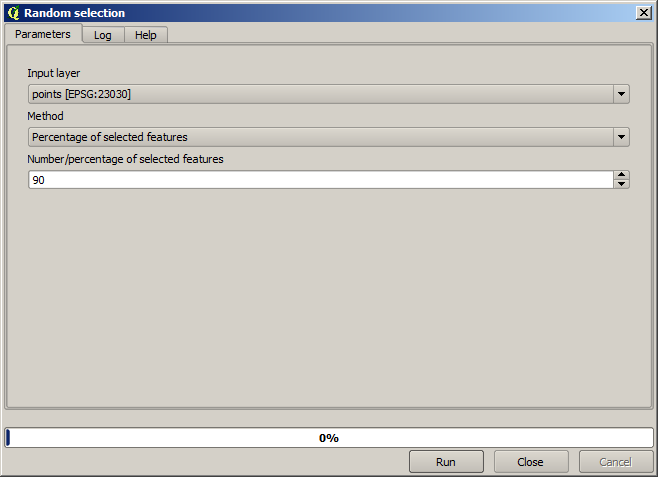
래스터화할 레이어에 있는 포인트 가운데 90%를 선택할 것입니다.
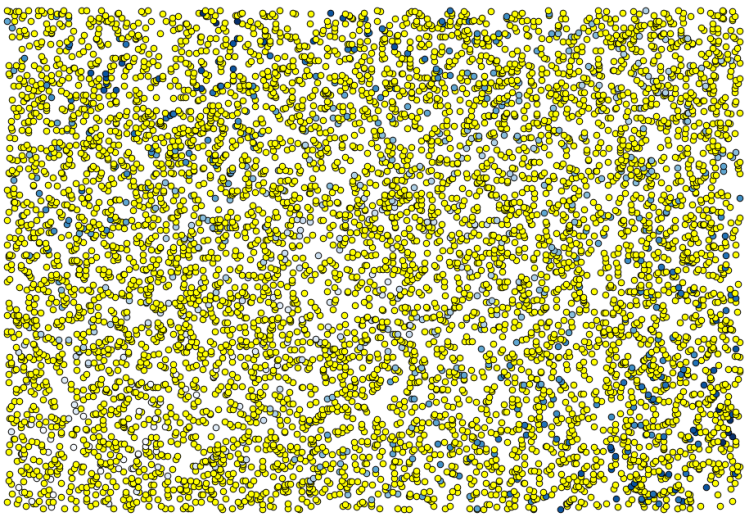
랜덤하게 선택하기 때문에, 앞의 그림에 보이는 선택 집합과 사용자의 선택 집합이 서로 다를 수도 있습니다.
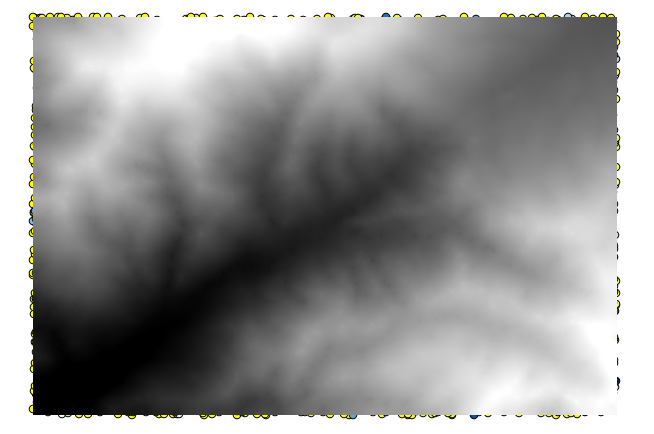
Now run the Rasterize algorithm to get the first raster layer, and then run the Close gaps algorithm to fill the no-data cells [Cell resolution: 100 m].
보간 결과의 질을 확인하기 위해, 이제 선택하지 않은 포인트를 사용할 수 있습니다. 이 시점에서 (포인트 레이어의 값인) 실제 표고와 (보간 처리된 래스터 레이어의 값인) 보간된 표고를 알고 있습니다. 이 두 값들의 차이를 계산해서 비교해볼 수 있습니다.
선택하지 않은 포인트를 사용할 것이므로, 먼저 선택을 반전시킵시다.

The points contain the original values, but not the interpolated ones. To add them in a new field, we can use the Add raster values to points algorithm
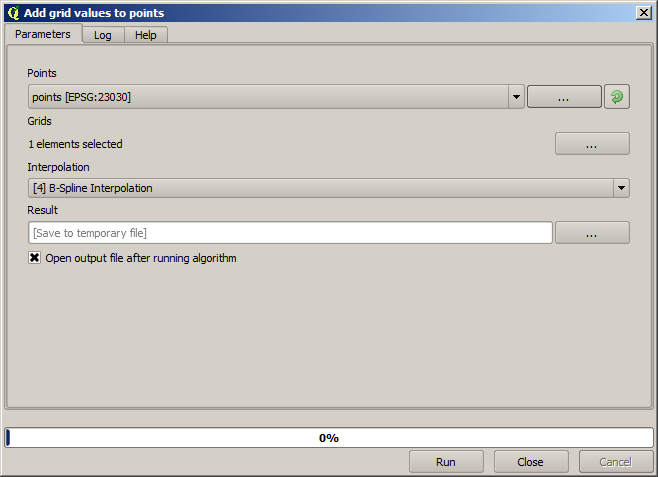
The raster layer to select (the algorithm supports multiple raster, but we just need one) is the resulting one from the interpolation. We have renamed it to interpolate and that layer name is the one that will be used for the name of the field to add.
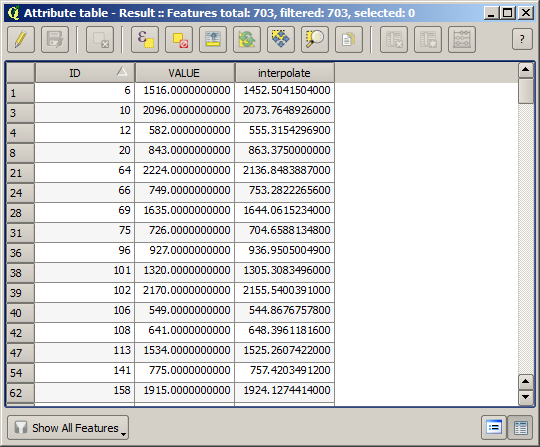
이제 보간 처리에 쓰이지 않았던 포인트가 두 가지 값을 담고 있는 벡터 레이어를 얻었습니다.
Now, we will use the fields calculator for this task. Open the Field calculator algorithm and run it with the following parameters.
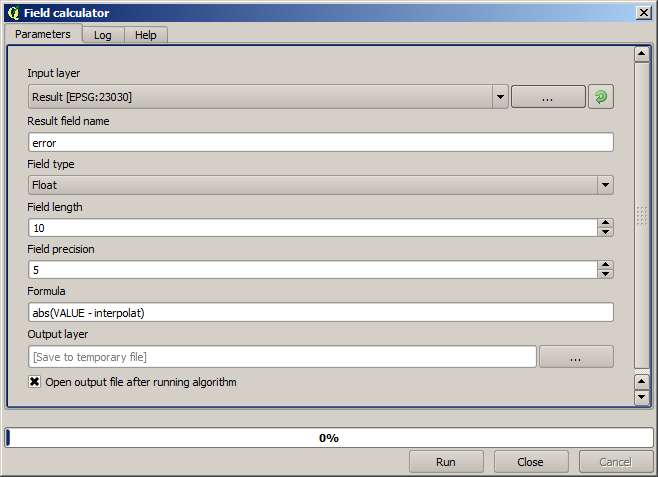
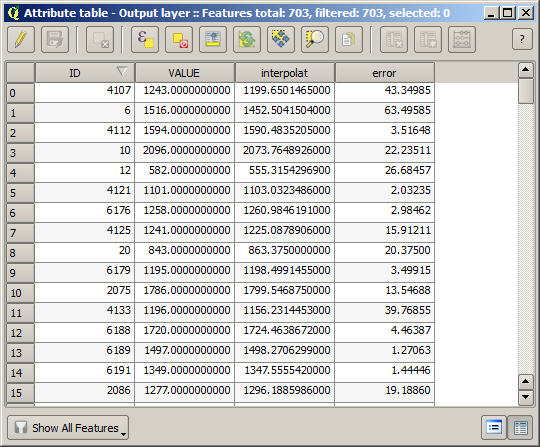
래스터 레이어에서 가져온 값을 담은 필드 이름을 다른 이름으로 정했다면, 앞의 그림에 나온 공식을 그에 맞춰 수정해야 합니다. 이 알고리즘을 실행하면, 보간 처리에 쓰이지 않았던 포인트가 두 가지 표고 값의 차를 담고 있는 새 레이어를 얻게 됩니다.
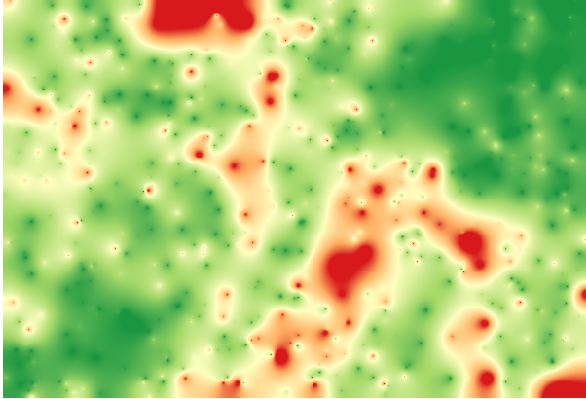
이 차이 값에 따라 레이어를 렌더링하면, 불일치가 가장 크게 발생하는 곳이 어디인지 감을 잡을 수 있습니다.
해당 레이어를 보간하면, 보간된 지역의 모든 포인트에서 측정된 오류를 나타내는 래스터 레이어를 얻게 됩니다.
또한 동일한 정보(원래 포인트 값과 보간된 포인트 값의 차이)를 메뉴를 통해서도 얻을 수 있습니다.
이 수업의 시작 부분에서 설명한 대로, Random selection 알고리즘 실행 시 랜덤이라는 요소가 관여하므로 사용자의 결과가 앞의 그림과 다를 수도 있습니다.