重要
翻訳は あなたが参加できる コミュニティの取り組みです。このページは現在 98.20% 翻訳されています。
18.1. 印刷レイアウトの概要
印刷レイアウトは、図面のレイアウトおよび印刷機能を提供します。 QGIS 2Dまたは3Dマップキャンバス、テキストラベル、画像、凡例、スケールバー、基本的な図形、矢印、属性テーブル、シンプルなテーブル、標高断面図、HTMLフレームなどの要素を追加できます。各要素のサイズ変更、グループ化、整列、配置、回転を行い、プロパティを調整してレイアウトを作成できます。レイアウトは印刷したり、画像形式やPostScript、PDF、SVGにエクスポートしたりできます。レイアウトはテンプレートとして保存し、別のセッションで再度読み込むことができます。最後に、テンプレートに基づいて複数の地図を生成するには、地図帳の作成を使用します。
18.1.1. 初心者向けサンプルセッション
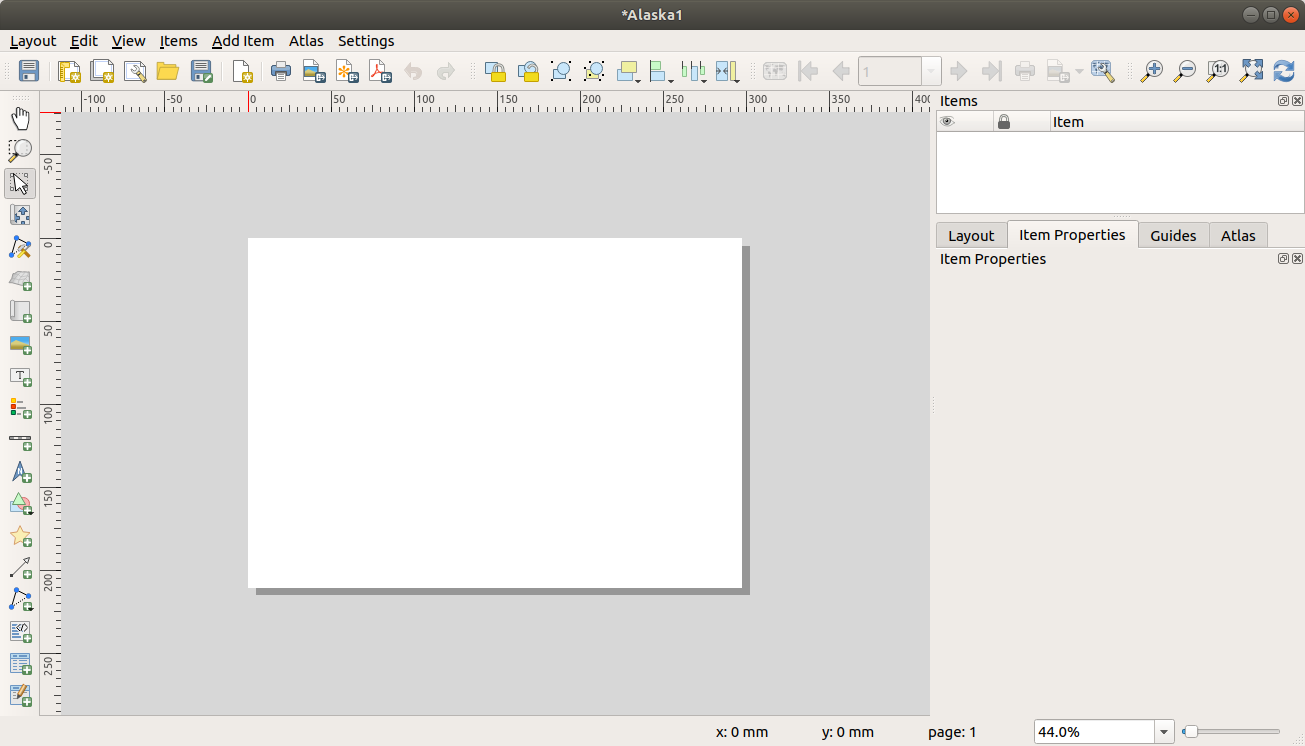
印刷レイアウトで作業を始める前に、QGISのマップキャンバスにいくつかのラスタレイヤまたはベクタレイヤを読み込み、それらのプロパティを自分の使いやすいように調整する必要があります。すべてがレンダリングされ、好みのシンボロジになったら、 プロジェクト ツールバーの  新規印刷レイアウト アイコンをクリックするか、
  を選択します。新しいレイアウトのタイトルを選択するプロンプトが表示されます。
地図の作成手順を説明するために、以下の指示に従ってください。
左側で
 地図を追加 ツールバーボタンを選び、左マウスボタンを押しながらキャンバスに四角形を描きます。すると、キャンバスに描いた四角形の内部にQGISマップビューが表示されます。
 スケールバーを追加 ツールバーボタンを選び、印刷レイアウトキャンバス上でマウスの左ボタンをクリックします。スケールバーがキャンバスに追加されます。
 凡例を追加 ツールバーボタンを選び、左マウスボタンを押しながらキャンバスに四角形を描きます。描いた四角形の内部に凡例が描かれます。
地図アイテムが選ばれている間は、その地図アイテムのサイズも変更できます。地図アイテムのコーナーの小さな白い四角形の1つで左マウスボタンを押し、新しい位置までドラッグしてサイズを変更します。
左下の アイテムプロパティ パネルをクリックし、地図の回転の設定を探します。 地図の回転 を '15.00°' に変更してください。その地図アイテムの向きが変わることが確認できます。
これで、 メニューのエクスポートツールを使用して、印刷レイアウトを印刷したり、画像形式、PDF、またはSVGにエクスポートできます。
印刷レイアウトには複数の要素を追加できます。印刷レイアウトキャンバスには、 1つまたは複数のページに、複数のマップビュー、凡例、またはスケールバーを配置することもできます。各要素には独自のプロパティがあり、地図の場合は独自の範囲があります。レイアウトキャンバスから要素を削除したいときは、 Delete キーまたは Backspace キーを使ってできます。
18.1.2. レイアウトマネージャ
レイアウトマネージャ は、プロジェクトの印刷レイアウトを管理するメインウィンドウです。プロジェクト内の既存の印刷レイアウトとレポートの概要を提供し、以下のツールがあります:
レイアウトの検索
ゼロから、またはテンプレートを使って、または既存のものを複製して、新しい印刷レイアウトや新しいレポートを追加する;
レイアウトやレポートの名前の変更や削除
プロジェクトでレイアウトやレポートを開いて表示
レイアウトマネージャダイアログを開くには:
メインQGISダイアログから メニューを選択するか、
 プロジェクトツールバー の レイアウトマネージャの表示 ボタンをクリックします。
印刷レイアウトまたはレポートダイアログから、 メニューを選択するか、 レイアウトツールバー の
 レイアウトマネージャ ボタンをクリックします。
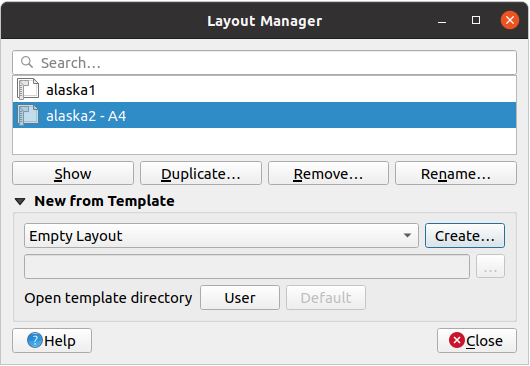
図 18.1 印刷レイアウトマネージャ
レイアウトマネージャの上部には、プロジェクトで使用可能なすべての印刷レイアウトまたはレポートが一覧表示されます。これには、以下のツールがあります:
選択を表示:複数のレポートや印刷レイアウトを選択し、ワンクリックでそれらを開くことができます。名前をダブルクリックしても開きます。
選択した印刷レイアウトまたはレポートの複製(アイテムが1つ選択されている場合のみ使用可能):選択した印刷レイアウトまたはレポートをテンプレートとして、新しいダイアログを作成します。新しいレイアウトのタイトルを入力するようプロンプトが表示されます。
レポートやレイアウトの名前の変更(アイテムが1つ選択されている場合のみ使用可能):レイアウトの新しいタイトルを入力するプロンプトが表示されます。
レイアウトの削除:選択した印刷レイアウト(複数可) をプロジェクトから削除します。
レイアウトマネージャの下部のツールを使えば、新しい印刷レイアウトまたはレポートをゼロから作成することも、テンプレートから作成することもできます。QGISはデフォルトで、ユーザープロファイル フォルダーとアプリケーションテンプレートのディレクトリ(フレームの下部にある2つのボタンでアクセス可能)内のテンプレートを検索しますが、 で 追加のプリントテンプレートを探すパス として宣言されたフォルダも検索します。見つかったテンプレートはコンボボックスにリストされます。アイテムを選択し 作成 ボタンを押すと、新しいレポートまたは印刷レイアウトを作成します。
カスタムフォルダからレイアウトテンプレートを使用することもできます。その場合、テンプレートのドロップダウンリストで テンプレートを指定 を選択し、テンプレートを参照して 作成 を押します。
Tip
ブラウザパネルからテンプレートに基づく印刷レイアウトを作成する
印刷レイアウトテンプレート .qpt ファイルを任意のファイルブラウザから地図キャンバスにドラッグ&ドロップするか、 ブラウザパネル でダブルクリックすると、テンプレートから新しい印刷レイアウトが作成されます。


