4.1. Lesson: 印刷レイアウトを使用する
Now that you've got a map, you need to be able to print it or to export it to a document. The reason is, a GIS map file is not an image. Rather, it saves the state of the GIS program, with references to all the layers, their labels,colors, etc. So for someone who doesn't have the data or the same GIS program (such as QGIS), the map file will be useless. Luckily, QGIS can export its map file to a format that anyone's computer can read, as well as printing out the map if you have a printer connected. Both exporting and printing is handled via the Print Layout.
The goal for this lesson: To use the QGIS Print Layout to create a basic map with all the required settings.
4.1.1.  Follow Along: レイアウトマネージャ
QGIS allows you to create multiple maps using the same map file. For this reason, it has a tool called the Layout Manager.
Click on the menu entry to open this tool. You'll see a blank Layout manager dialog appear.
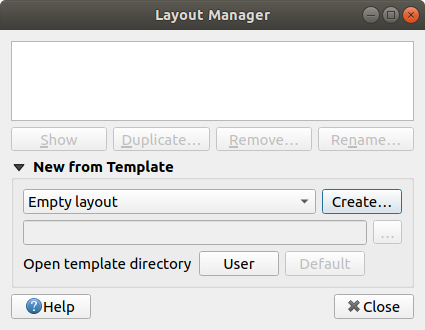
Under New from Template, select Empty layout and press the Create... button.
Give the new layout the name of Swellendam and click OK.
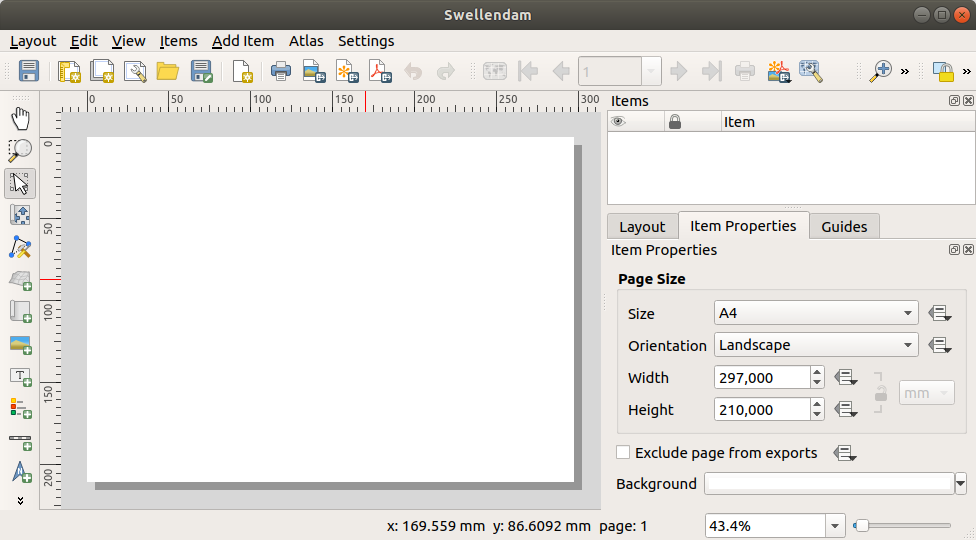
You will now see the Print Layout window:
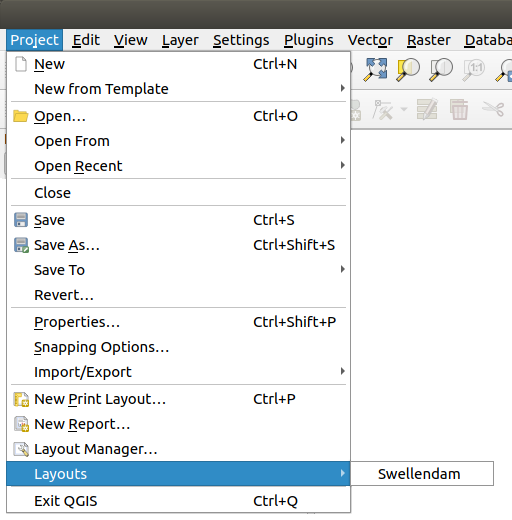
You could also create this new layout via the menu.
Whichever route you take, the new print layout is now accessible from the menu, as in the image below.
4.1.2. Follow Along: 基本地図コンポーザー
この例では、組版物はすでに望んだ形になっていました。同様であることを確認してください。
Right-click on the sheet in the central part of the layout window and choose Page properties... in the context menu.
Check that the values in the Item Properties tab are set to the following:
Size:
A4Orientation:
Landscape
今、ページレイアウトは望んでいたようにになっていますが、このページはまだ空白です。これは明らかに地図を欠いています。その問題を修正しましょう!
Click on the
 Add Map button.
With this tool activated, you will be able to place a map on the page.
クリックして、空白のページにボックスをドラッグします。
地図がページに表示されます。
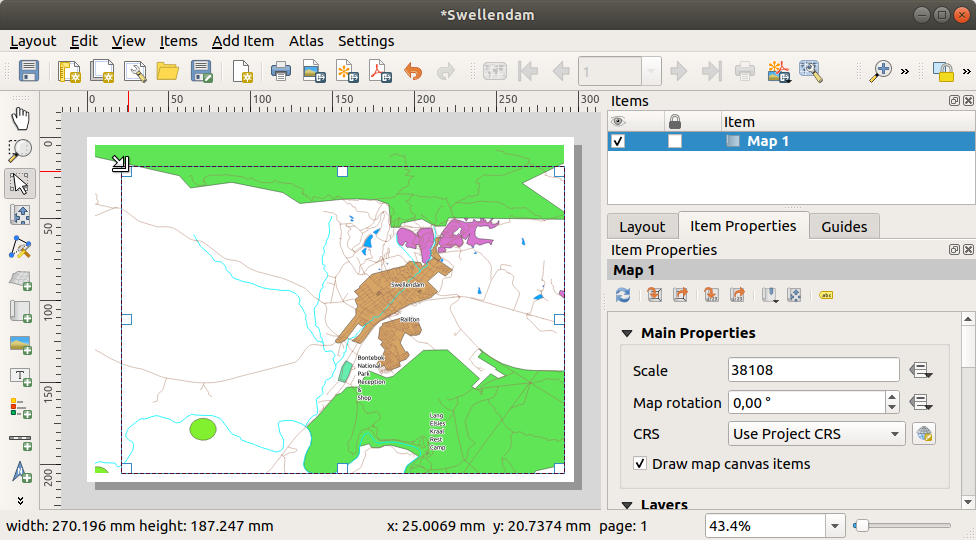
クリックしてドラッグすることで地図を移動します。
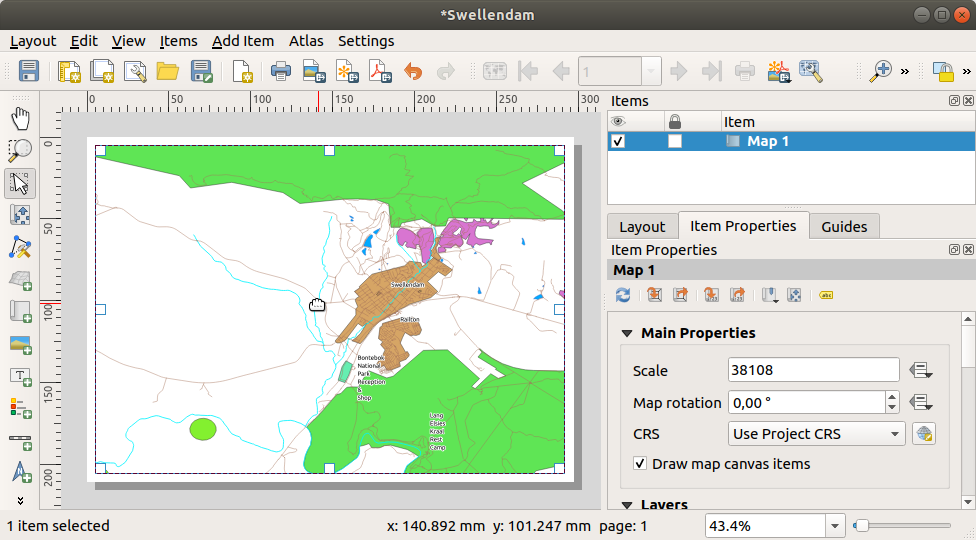
Resize it by clicking and dragging the boxes on the edges:
注釈
地図はもちろん全く違って見えてもよいです!これは、自身のプロジェクトが設定されている方法によって異なります。しかし、心配しないように!これらの命令は一般的なので、地図自体がどのように見えるかに関係なく、同じ動作をします。
タイトルの上部に沿って縁に沿って余白、およびスペースを残すようにしてください。
これらのボタンを使用してページ(地図でなく!)上でズームイン、ズームアウト:


Zoom and pan the map in the main QGIS window. You can also pan the map using the
 Move item content tool.
The map view updates as you zoom in or zoom out.
If, for any reason, the map view does not refresh correctly, you can force the map to refresh by clicking the
 Refresh view button.
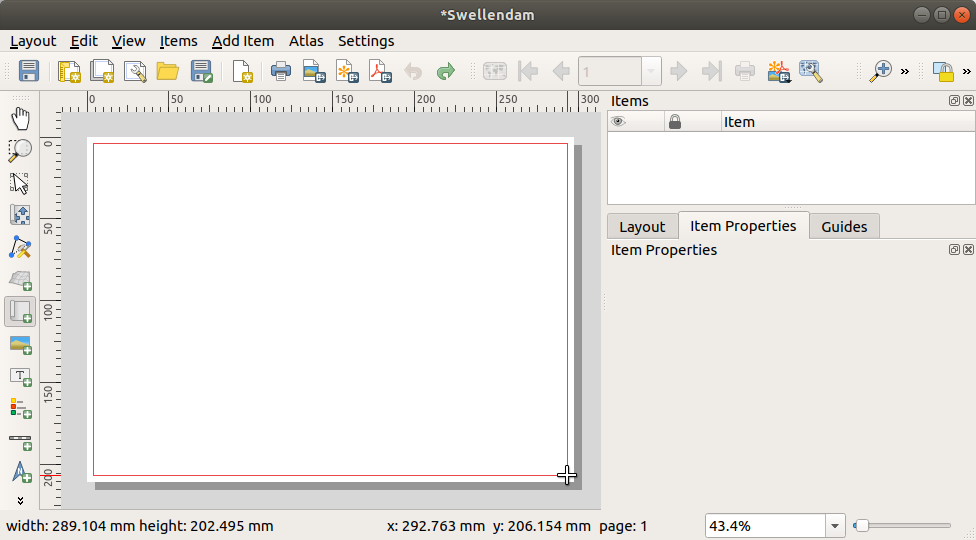
Remember that the size and position you've given the map doesn't need to be final. You can always come back and change it later if you're not satisfied. For now, you need to ensure that you've saved your work on this map. Because a Print Layout in QGIS is part of the main map file, you must save your project.
Go to the
 .
This is a convenient shortcut to the one in the main dialog.
.
This is a convenient shortcut to the one in the main dialog.
4.1.3. Follow Along: タイトルを追加する
Now your map is looking good on the page, but your readers/users are not being told what's going on yet. They need some context, which is what you'll provide for them by adding map elements. First, let us add a title.
Click on the
 Add Label button
Click on the page, above the map, accept the suggested values in the New Item Properties dialog, and a label will appear at the top of the map.
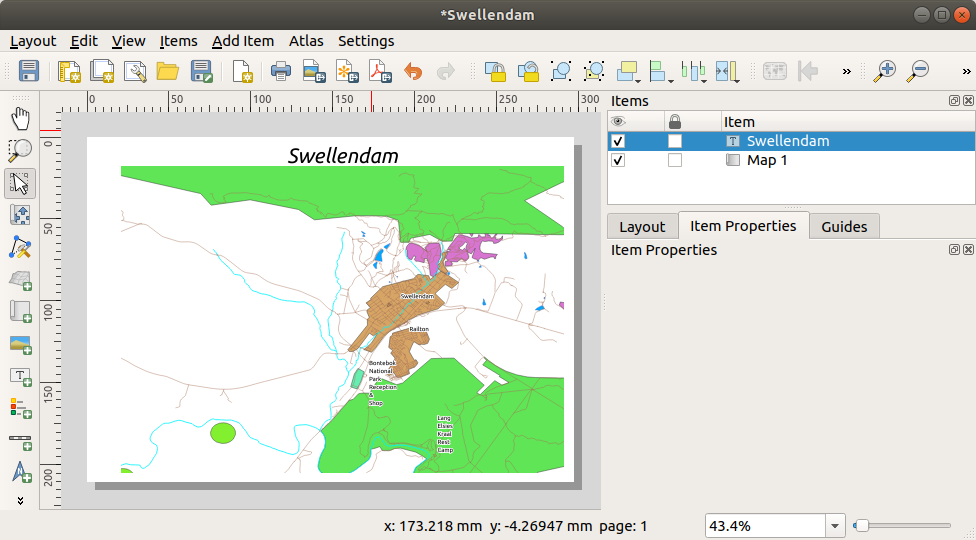
それのサイズを変更し、ページの上部中央に配置します。それは地図をサイズ変更したり移動するのと同じ方法でサイズ変更や移動できます。
タイトルを移動すると、ページの中央にタイトルを配置助けるガイドラインが現れることに気づくでしょう。
However, there is also a tool in the Actions Toolbar to help position the title relative to the map (not the page):

Click the map to select it
キーボードの Shift を押したまま、地図とラベルの両方が選択されるようにラベルをクリックしてください。
Look for the
Align selected items left button
and click on the dropdown arrow next to it to reveal the
positioning options and click  Align center:
Now the label frame is centered on the map, but not the contents. To center the contents of the label:
それをクリックして、ラベルを選択します。
Click on the Item Properties tab in the side panel of the layout window.
ラベルの文字を"Swellendam"に変更します:
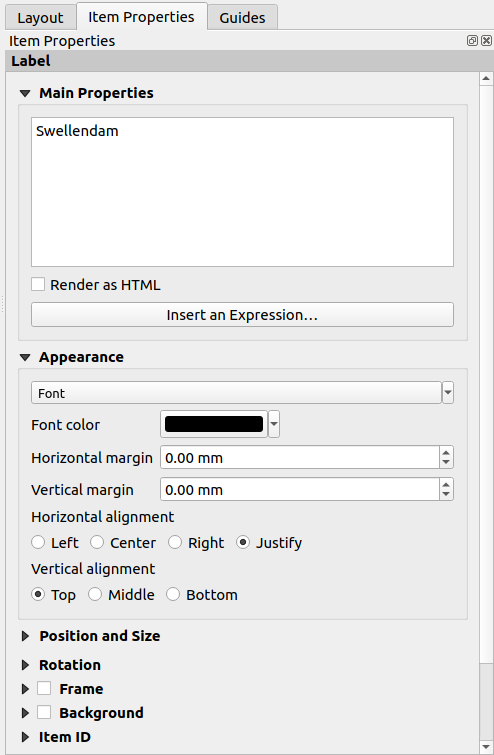
Use this interface to set the font and alignment options under the Appearance section:
Choose a large but sensible font (the example will use the default font with a size of
36)Set the Horizontal Alignment to Center.
フォントの色も変更できますが、デフォルトごとにそれを黒のままにしておくのがおそらく最善です。
デフォルトの設定では、タイトルのテキストボックスにフレームを追加しません。フレームを追加したい場合は、そうすることができます。
項目のプロパティ タブで、フレーム オプションが表示されるまで、スクロールダウンします。
フレーム チェックボックスをクリックしてフレームを有効にしてください。フレームの色や幅も変更できます。
この例では、フレームを有効にしていますので、ここで私たちのページは、これまでのところです。
To make sure that you don't accidentally move these elements around now that you've aligned them, you can lock items into place:
Select both the label and the map items
Click the
 Lock Selected Items button in
the Actions Toolbar.
Lock Selected Items button in
the Actions Toolbar.注釈
Click the
 Unlock All Items button
in the Actions Toolbar to be able to edit the items again.
Unlock All Items button
in the Actions Toolbar to be able to edit the items again.
4.1.4. Follow Along: 凡例の追加
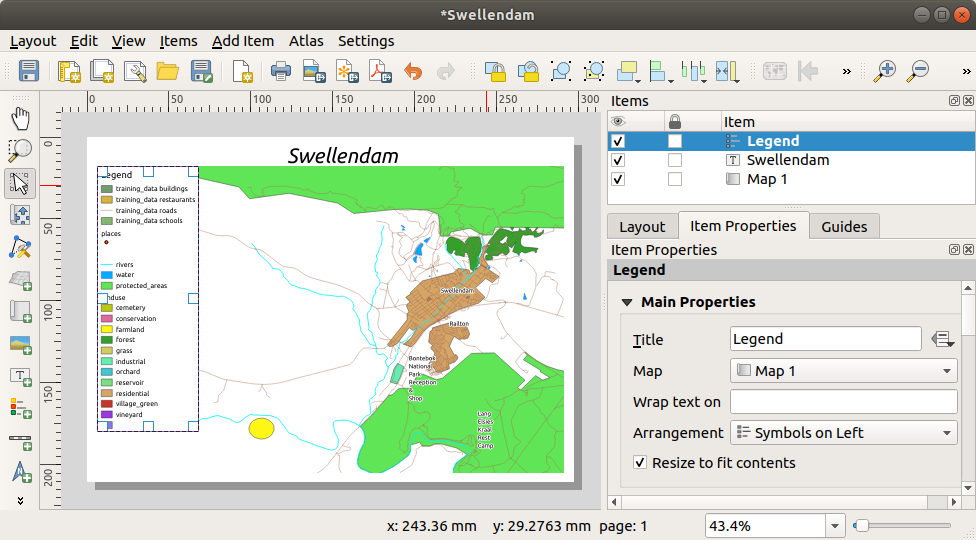
The map reader also needs to be able to see what various things on the map actually mean. In some cases, like the place names, this is quite obvious. In other cases, it's more difficult to guess, like the colors of the forests. Let's add a new legend.
Click on the
 Add Legend button
Click on the page to place the legend, accept the suggested values in the New Item Properties dialog,
A legend is added to the layout page, showing layers symbology as set in the main dialog.
As usual, you can click and move the item to where you want it:
4.1.5.  Follow Along: 凡例項目をカスタマイズする
凡例上のすべてが必要ではありませんので、いくつかの不要な項目を削除しましょう。
In the Item Properties tab, you'll find the Legend items group.
Uncheck the
 Auto update box, allowing you
to directly modify the legend items
Auto update box, allowing you
to directly modify the legend itemsSelect the entry with buildings
Delete it from the legend by clicking the
 button
また、アイテムの名前を変更できます。
同じリストからレイヤーを選択します。
Click the
 Edit selected item properties button.
Rename the layers to
Places,Roads and Streets,Surface Water, andRivers.
You can also reorder the items:
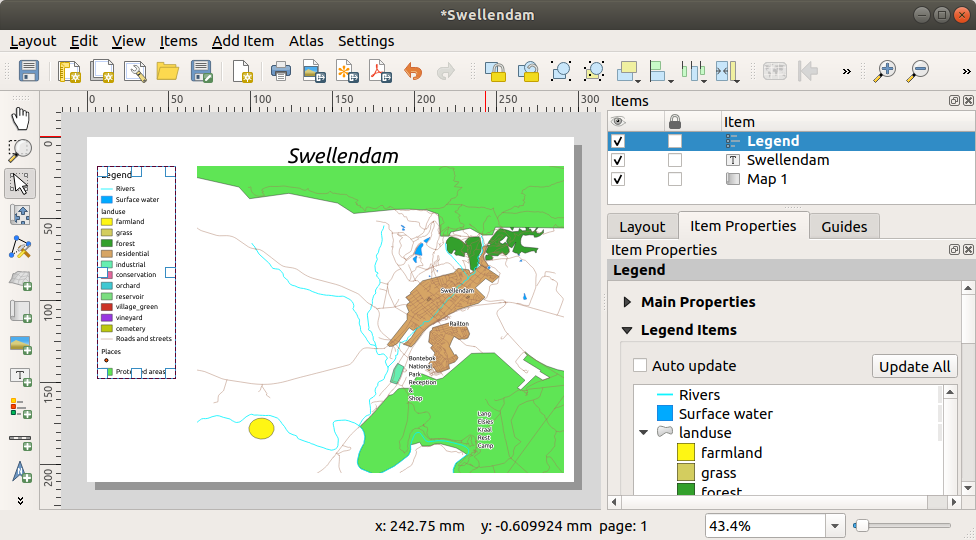
凡例はおそらく新しいレイヤー名によって広がることになるので、凡例または地図を移動したりサイズを変更したい場合があります。これが結果です。
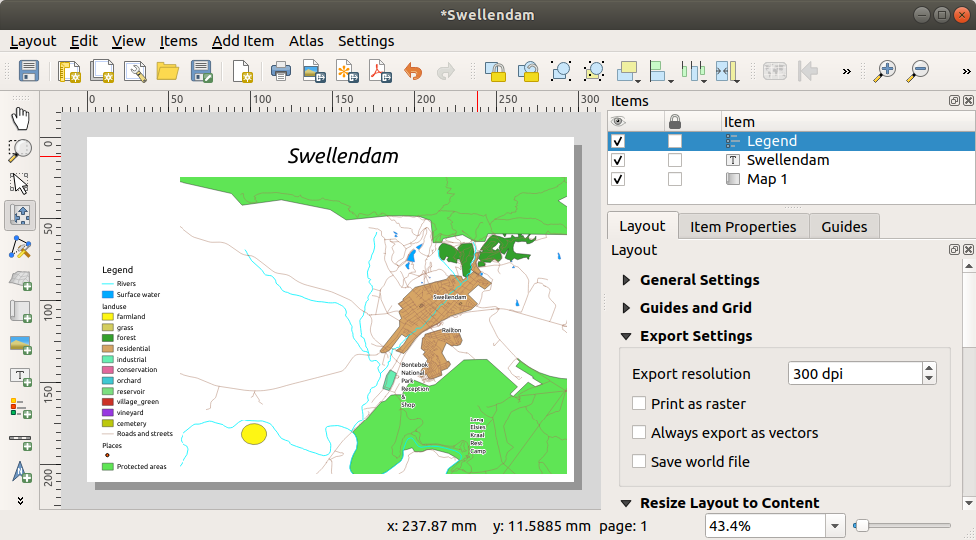
4.1.6. Follow Along: 地図を書き出す
注釈
しばしば作業を保存することを覚えていましたか?
Finally the map is ready for export! You'll see the export buttons near the top left corner of the layout window:
 Print Layout: interfaces with a printer.
Since the printer options will differ depending on the model of
printer that you're working with, it's probably better to consult the
printer manual or a general guide to printing for more information on
this topic.
Print Layout: interfaces with a printer.
Since the printer options will differ depending on the model of
printer that you're working with, it's probably better to consult the
printer manual or a general guide to printing for more information on
this topic.The other buttons allow you to export the map page to a file.
 Export as Image: gives you a selection
of various common image formats to choose from.
This is probably the simplest option, but the image it creates is
"dead" and difficult to edit.
Export as Image: gives you a selection
of various common image formats to choose from.
This is probably the simplest option, but the image it creates is
"dead" and difficult to edit. Export as SVG: If you're sending the map to a
cartographer (who may want to edit the map for publication),
it's best to export as an SVG. SVG stands for "Scalable Vector Graphic",
and can be imported to programs like Inkscape
or other vector image editing software.
Export as SVG: If you're sending the map to a
cartographer (who may want to edit the map for publication),
it's best to export as an SVG. SVG stands for "Scalable Vector Graphic",
and can be imported to programs like Inkscape
or other vector image editing software. Export as PDF: If you need to send the map to a client,
it's most common to use a PDF, because it's easier to set up printing
options for a PDF.
Some cartographers may prefer PDF as well, if they have a program
that allows them to import and edit this format.
Export as PDF: If you need to send the map to a client,
it's most common to use a PDF, because it's easier to set up printing
options for a PDF.
Some cartographers may prefer PDF as well, if they have a program
that allows them to import and edit this format.
我々の目的のために、私たちはPDFを使用するつもりです。
Click the
Export as PDF buttonChoose a save location and a file name as usual. The following dialog will show up.
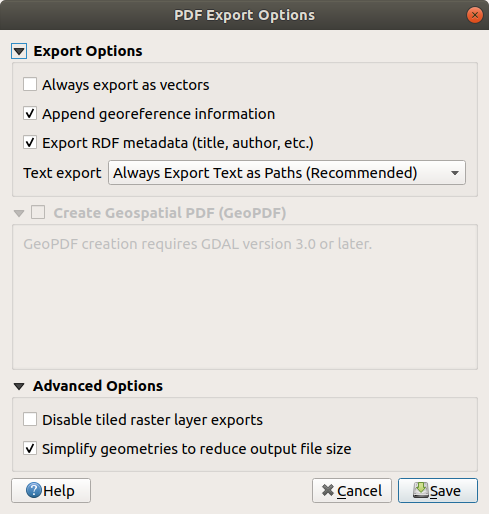
You can safely use the default values now and click Save.
QGIS will proceed to the map export and push a message on top of the print layout dialog as soon as it finishes.
Click the hyperlink in the message to open the folder in which the PDF has been saved in your system's file manager
Open it and see how your layout looks.
Everything is OK? Congratulations on your first completed QGIS map project!
Anything unsatisfying? Go back to the QGIS window, do the appropriate modifications and export again.
Remember to save your project file.
4.1.7. In Conclusion
Now you know how to create a basic static map layout. We can go a step further and create a map layout that adapts dynamically, with more layout items.