
Propriétés principales
- The main properties dialog is where the text (HTML or not) or the expression needed to fill the label is added to the Composer canvas.
Le texte saisi peut être interprété comme du code HTML si vous cochez la case
 Afficher en HTML. Vous pouvez ainsi insérer une URL, une image cliquable qui renvoie à une page web ou tout autre code plus complexe.
- You can also insert an expression. Click on [Insert an expression] to open a new dialog. Build an expression by clicking the functions available in the left side of the panel. Two special categories can be useful, particularly associated with the atlas functionality: geometry and records functions. At the bottom, a preview of the expression is shown.
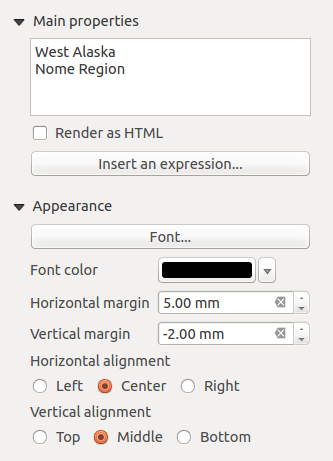
 Center Position the Horizontal margin feature is
disabled.
Center Position the Horizontal margin feature is
disabled.