重要
翻訳は あなたが参加できる コミュニティの取り組みです。このページは現在 97.44% 翻訳されています。
14. 認証インフラストラクチャ
ヒント
pyqgisコンソールを使わない場合、このページにあるコードスニペットは次のインポートが必要です:
 1from qgis.core import (
 2  QgsApplication,
 3  QgsRasterLayer,
 4  QgsAuthMethodConfig,
 5  QgsDataSourceUri,
 6  QgsPkiBundle,
 7  QgsMessageLog,
 8)
 9
10from qgis.gui import (
11    QgsAuthAuthoritiesEditor,
12    QgsAuthConfigEditor,
13    QgsAuthConfigSelect,
14    QgsAuthSettingsWidget,
15)
16
17from qgis.PyQt.QtWidgets import (
18    QWidget,
19    QTabWidget,
20)
21
22from qgis.PyQt.QtNetwork import QSslCertificate
14.1. はじめに
認証基盤のユーザーリファレンスはユーザーマニュアル中で 認証システムの概要 段落を参照して下さい。
この章では、開発者の観点から、認証システムを使用するベストプラクティスについて説明します。
認証システムは、例えばレイヤがPostgresデータベースへの接続を確立するときなど、特定のリソースへのアクセスに認証情報が必要なときにデータプロバイダーによってQGIS Desktopで広く使用されています。
また、QGISのguiライブラリには、プラグイン開発者が認証インフラをコードに簡単に統合するために使用できるウィジェットがいくつか用意されています:
良いコードリファレンスは、認証基盤 tests code から読むことができます。
警告
認証基盤の設計時に考慮されたセキュリティ上の制約により、内部メソッドの選択されたサブセットのみがPythonに公開されます。
14.2. 用語集
これはこの章で扱われる最も一般的なオブジェクトのいくつかの定義です。
- マスターパスワード
アクセスを許可し、QGIS認証DBに保存された資格情報を復号化するパスワードです
- 認証データベース
A Master Password crypted sqlite db
qgis-auth.dbwhere Authentication Configuration are stored. e.g user/password, personal certificates and keys, Certificate Authorities- 認証DB
- 認証の設定
認証データの構成は 認証メソッド によって異なります。例えばベーシック認証の場合は、ユーザー/パスワードの対が格納されます。
- 認証設定
- 認証方法
認証されるためには特別な方法が利用されています。各方法は、認証されるためにそれぞれ独自のプロトコルを利用しています。それぞれの方法は共有ライブラリとしてQGIS認証基盤の初期化中に動的にロードされるように実装されています。
14.3. エントリポイントQgsAuthManager
QgsAuthManager シングルトンは、QGISの暗号化された Authentication DB (アクティブな user profile フォルダー下の qgis-auth.db ファイル)に格納されている認証情報を使用するエントリポイントです。
このクラスは、マスターパスワードの設定を求めたり、暗号化された保存情報にアクセスするためにマスターパスワードを透過的に使用したりすることで、ユーザーとの対話を行います。
14.3.1. マネージャを初期化し、マスターパスワードを設定する
次のコード例は、認証設定へのアクセスを開くために、マスターパスワードを設定する例を示します。コードのコメントは、このコード例を理解するために重要です。
 1authMgr = QgsApplication.authManager()
 2
 3# check if QgsAuthManager has already been initialized... a side effect
 4# of the QgsAuthManager.init() is that AuthDbPath is set.
 5# QgsAuthManager.init() is executed during QGIS application init and hence
 6# you do not normally need to call it directly.
 7if authMgr.authenticationDatabasePath():
 8    # already initialized => we are inside a QGIS app.
 9    if authMgr.masterPasswordIsSet():
10        msg = 'Authentication master password not recognized'
11        assert authMgr.masterPasswordSame("your master password"), msg
12    else:
13        msg = 'Master password could not be set'
14        # The verify parameter checks if the hash of the password was
15        # already saved in the authentication db
16        assert authMgr.setMasterPassword("your master password",
17                                          verify=True), msg
18else:
19    # outside qgis, e.g. in a testing environment => setup env var before
20    # db init
21    os.environ['QGIS_AUTH_DB_DIR_PATH'] = "/path/where/located/qgis-auth.db"
22    msg = 'Master password could not be set'
23    assert authMgr.setMasterPassword("your master password", True), msg
24    authMgr.init("/path/where/located/qgis-auth.db")
14.3.2. 認証データベースに新しい認証構成項目を設定する
保存された資格情報は QgsAuthMethodConfig クラスの Authentication Configuration インスタンスで、次のような一意の文字列を使ってアクセスします:
authcfg = 'fm1s770'
この文字列は、QGIS APIやGUIを使用してエントリーを作成する際に自動的に生成されますが、(異なる資格情報で)組織内の複数のユーザー間で設定を共有する必要がある場合、手動で既知の値に設定することが有用な場合があります。
QgsAuthMethodConfig は任意の Authentication Method のベースクラスです。任意の認証方法は、認証情報が格納されるコンフィギュレーションハッシュマップを設定します。以下は、仮想的なaliceユーザのPKI-path認証情報を格納するための便利なスニペットです:
 1authMgr = QgsApplication.authManager()
 2# set alice PKI data
 3config = QgsAuthMethodConfig()
 4config.setName("alice")
 5config.setMethod("PKI-Paths")
 6config.setUri("https://example.com")
 7config.setConfig("certpath", "path/to/alice-cert.pem" )
 8config.setConfig("keypath", "path/to/alice-key.pem" )
 9# check if method parameters are correctly set
10assert config.isValid()
11
12# register alice data in authdb returning the ``authcfg`` of the stored
13# configuration
14authMgr.storeAuthenticationConfig(config)
15newAuthCfgId = config.id()
16assert newAuthCfgId
14.3.2.1. 利用可能な認証方法
Authentication Method ライブラリは、認証マネージャの初期化時に動的にロードされます。利用可能な認証方式は以下の通りです:
Basicユーザーとパスワード認証EsriTokenESRIトークン型認証Identity-Certアイデンティティ証明書認証OAuth2OAuth2認証PKI-PathsPKIパス認証PKI-PKCS#12PKI PKCS#12認証
14.3.2.3. QgsPkiBundleでPKIバンドルを管理する
SslCert、SslKey、CAチェーンで構成されるPKIバンドルをパックする便利なクラスは QgsPkiBundle クラスです。以下は、パスワードで保護されるようにするためのスニペットです:
1# add alice cert in case of key with pwd
2caBundlesList = []  # List of CA bundles
3bundle = QgsPkiBundle.fromPemPaths( "/path/to/alice-cert.pem",
4                                     "/path/to/alice-key_w-pass.pem",
5                                     "unlock_pwd",
6                                     caBundlesList )
7assert bundle is not None
8# You can check bundle validity by calling:
9# bundle.isValid()
バンドルから証明書/鍵/CAsを取り出すには、 QgsPkiBundle クラスドキュメントを参照してください。
14.3.3. authdbからエントリを削除する
次のスニペットは、authcfg 識別子を使って 認証データベース からエントリを 削除します:
authMgr = QgsApplication.authManager()
authMgr.removeAuthenticationConfig( "authCfg_Id_to_remove" )
14.3.4. QgsAuthManagerにauthcfg展開を残す
The best way to use an Authentication Config stored in the
Authentication DB is referring it with the unique identifier
authcfg. Expanding, means convert it from an identifier to a complete
set of credentials.
The best practice to use stored Authentication Configs, is to leave it
managed automatically by the Authentication manager.
The common use of a stored configuration is to connect to an authentication
enabled service like a WMS or WFS or to a DB connection.
注釈
すべてのQGISデータプロバイダーが認証インフラストラクチャに統合されているわけではないことを考慮してください。各認証メソッドは基本クラス QgsAuthMethod から派生し、異なるプロバイダのセットをサポートします。例えば、 certIdentity() メソッドは以下のプロバイダのリストをサポートしています:
authM = QgsApplication.authManager()
print(authM.authMethod("Identity-Cert").supportedDataProviders())
サンプル出力:
['ows', 'wfs', 'wcs', 'wms', 'postgres']
例えば、 authcfg = 'fm1s770' で識別される、保存された資格情報を使ってWMSサービスにアクセスするためには、次のコードのように、データ・ソースのURLに authcfg を使う必要があります。
 1authCfg = 'fm1s770'
 2quri = QgsDataSourceUri()
 3quri.setParam("layers", 'usa:states')
 4quri.setParam("styles", '')
 5quri.setParam("format", 'image/png')
 6quri.setParam("crs", 'EPSG:4326')
 7quri.setParam("dpiMode", '7')
 8quri.setParam("featureCount", '10')
 9quri.setParam("authcfg", authCfg)   # <---- here my authCfg url parameter
10quri.setParam("contextualWMSLegend", '0')
11quri.setParam("url", 'https://my_auth_enabled_server_ip/wms')
12rlayer = QgsRasterLayer(str(quri.encodedUri(), "utf-8"), 'states', 'wms')
上の場合には、 wms プロバイダーは、単にHTTP接続を設定する前に、資格を authcfg URIパラメーターを拡張するために世話をします。
警告
開発者は authcfg の拡張を QgsAuthManager に任せる必要があるでしょう。このようにすれば、拡張が早すぎることはないでしょう。
通常、データソースの設定には QgsDataSourceURI クラスを用いて構築された URI 文字列を以下のように使用することができます:
authCfg = 'fm1s770'
quri = QgsDataSourceUri("my WMS uri here")
quri.setParam("authcfg", authCfg)
rlayer = QgsRasterLayer( quri.uri(False), 'states', 'wms')
注釈
False パラメーターは、URIで authcfg IDの存在のURI完全な展開を避けるために重要です。
14.3.4.1. 他のデータプロバイダーとPKIの例
その他の例は、 test_authmanager_pki_ows や test_authmanager_pki_postgres というようにQGISテストアップストリームで直接読むことができます。
14.4. 認証インフラストラクチャを使用するようにプラグインを適応させる
多くのサードパーティプラグインは、HTTP接続を管理するために、 QgsNetworkAccessManager とそれに関連する認証基盤の統合の代わりに、httplib2や他のPythonネットワークライブラリを使用しています。
この統合を容易にするために、NetworkAccessManager というPythonのヘルパー関数が作られました。このコードは、ここ にあります。
このヘルパークラスは、次のスニペットのように使うことができます:
1http = NetworkAccessManager(authid="my_authCfg", exception_class=My_FailedRequestError)
2try:
3  response, content = http.request( "my_rest_url" )
4except My_FailedRequestError, e:
5  # Handle exception
6  pass
14.5. 認証のGUI
この段落では、カスタムインターフェイスで認証インフラストラクチャを統合するために役立つ利用可能なGUIが記載されています。
14.5.1. 資格情報を選択するためのGUI
Authentication DB に格納されているセットから Authentication Configuration を選択する必要がある場合は、GUIクラス QgsAuthConfigSelect で利用可能です。

そして次のコードのように使用できます:
1# create the instance of the QgsAuthConfigSelect GUI hierarchically linked to
2# the widget referred with `parent`
3parent = QWidget()  # Your GUI parent widget
4gui = QgsAuthConfigSelect( parent, "postgres" )
5# add the above created gui in a new tab of the interface where the
6# GUI has to be integrated
7tabGui = QTabWidget()
8tabGui.insertTab( 1, gui, "Configurations" )
上記の例は、QGISのソース code から引用しています。GUIコンストラクタの第2パラメータは、データプロバイダタイプを指します。このパラメータは、指定したプロバイダと互換性のある Authentication Method を制限するために使用されます。
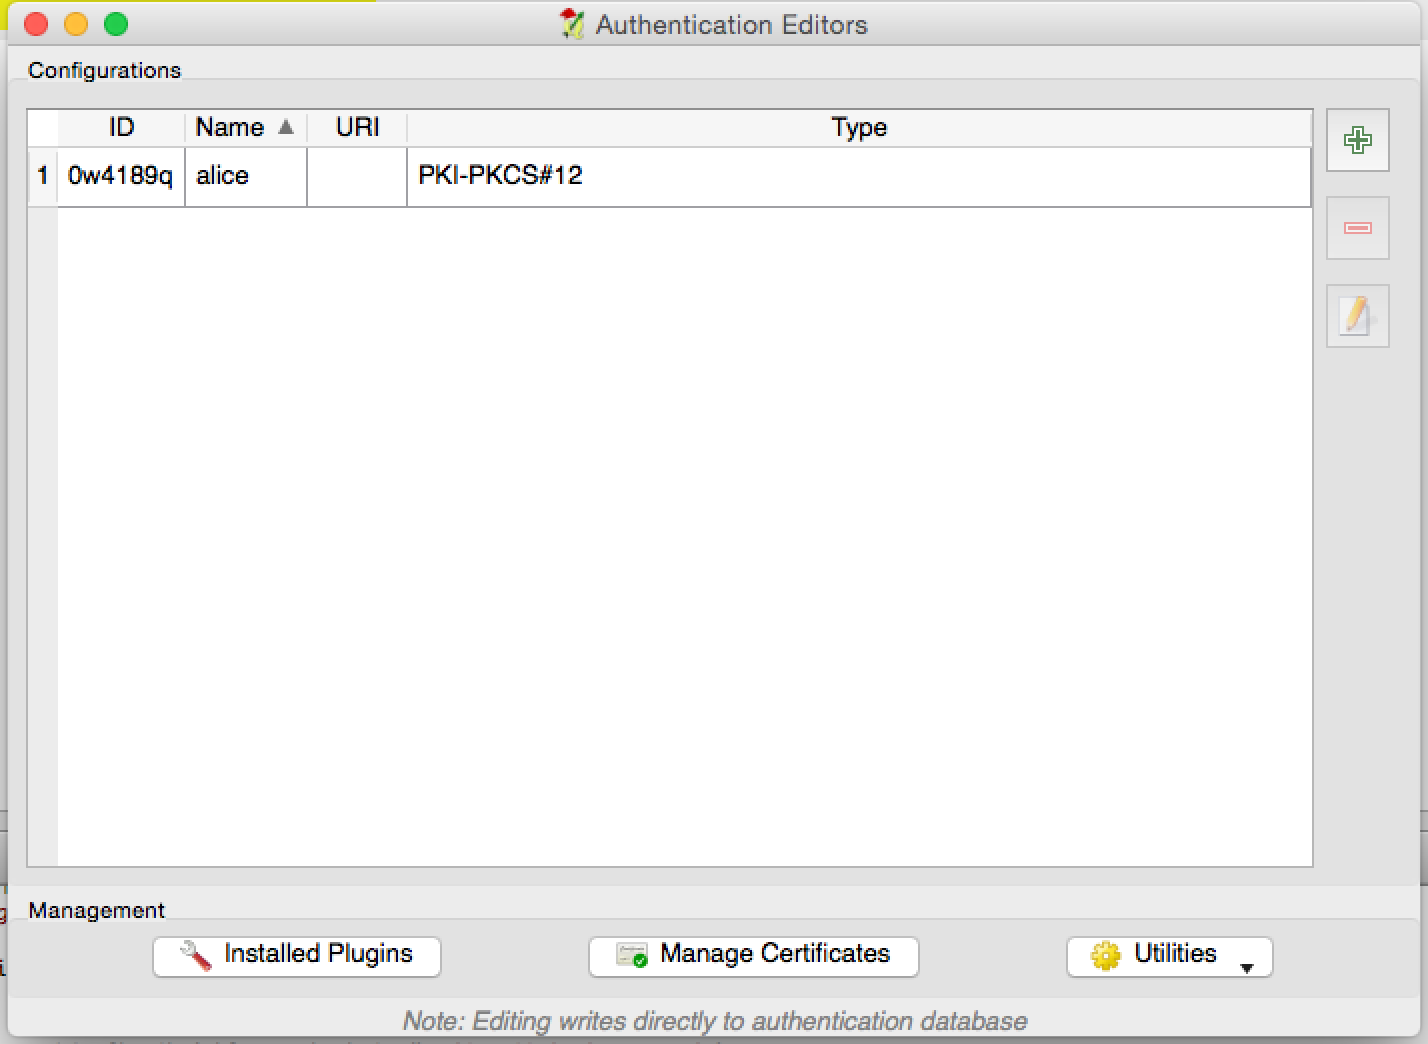
14.5.2. 認証エディタのGUI
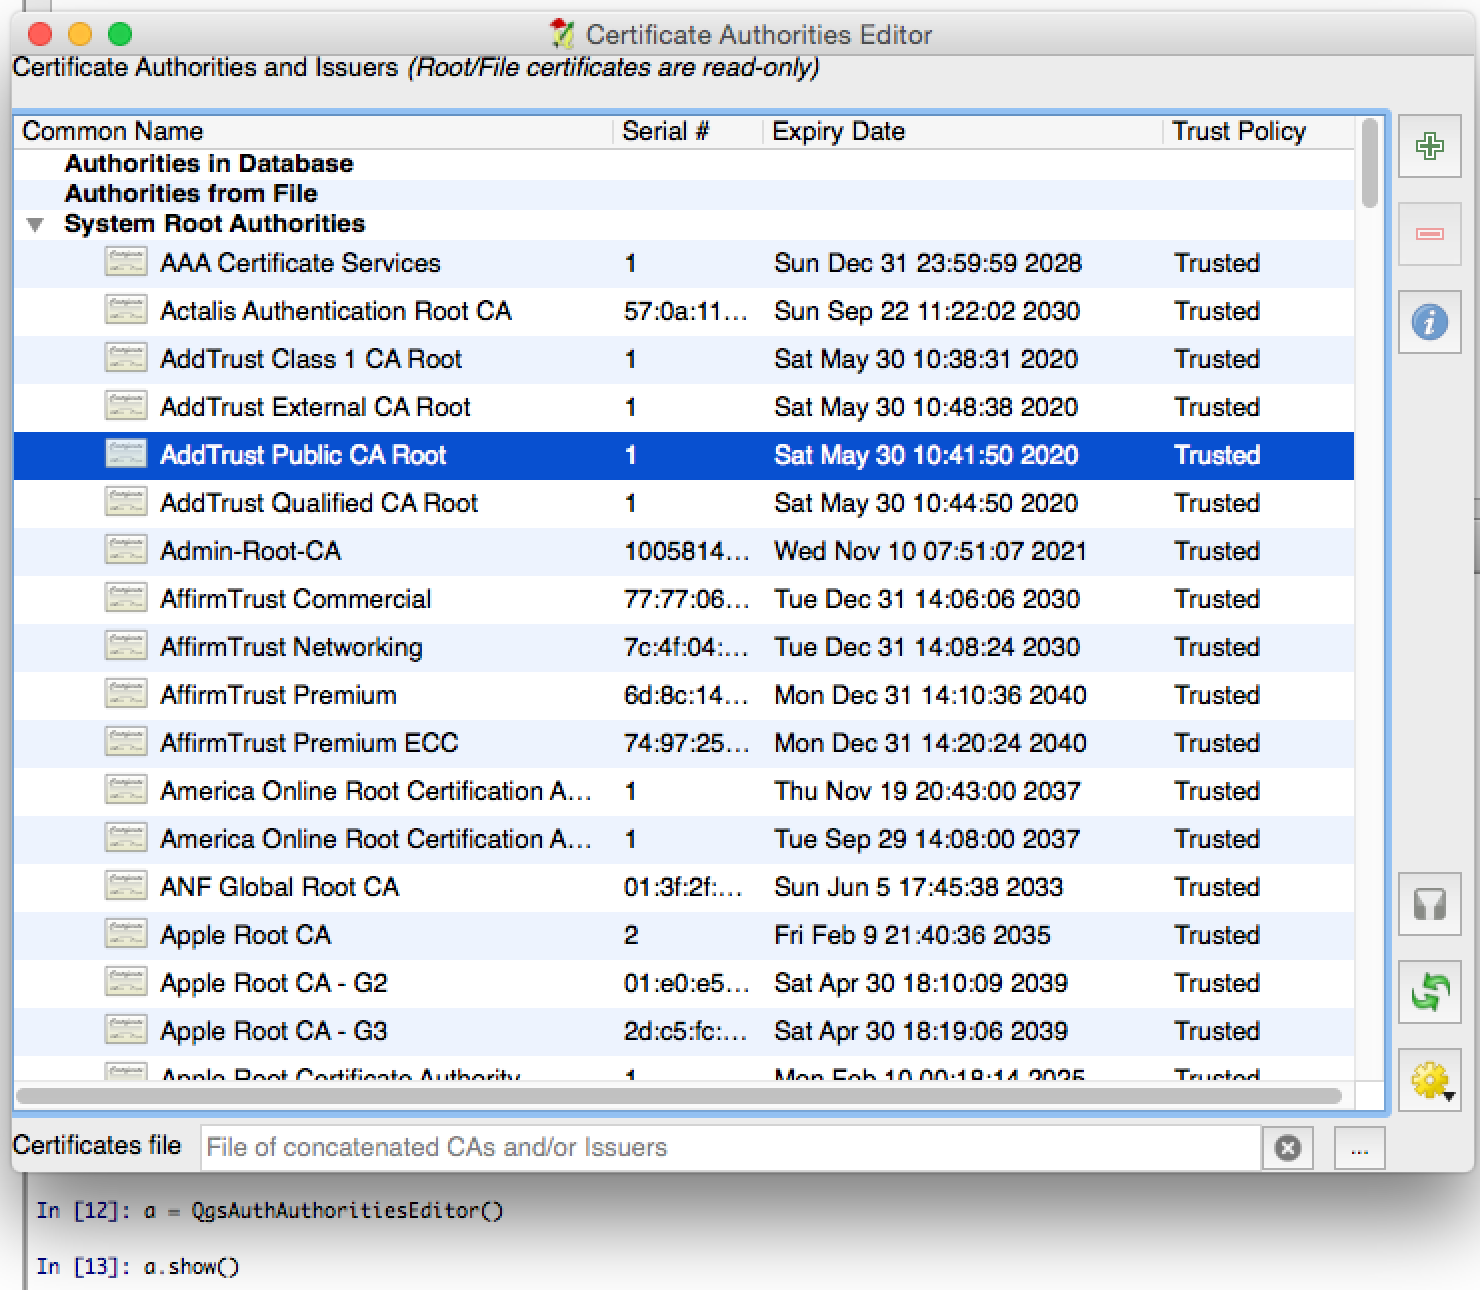
資格情報、認証局を管理し、認証ユーティリティにアクセスするための完全なGUIは QgsAuthEditorWidgets クラスによって管理されています。

そして次のコードのように使用できます:
1# create the instance of the QgsAuthEditorWidgets GUI hierarchically linked to
2# the widget referred with `parent`
3parent = QWidget()  # Your GUI parent widget
4gui = QgsAuthConfigSelect( parent )
5gui.show()
統合された例は、関連する test で見つけることができます。
