Importante
A tradução é um esforço comunitário você pode contribuir. Esta página está atualmente traduzida em 61.34%.
4.1. Lesson: Using Print Layout
Now that you’ve got a map, you need to be able to print it or to export it to a document. The reason is, a GIS map file is not an image. Rather, it saves the state of the GIS program, with references to all the layers, their labels,colors, etc. So for someone who doesn’t have the data or the same GIS program (such as QGIS), the map file will be useless. Luckily, QGIS can export its map file to a format that anyone’s computer can read, as well as printing out the map if you have a printer connected. Both exporting and printing is handled via the Print Layout.
The goal for this lesson: To use the QGIS Print Layout to create a basic map with all the required settings.
4.1.1. ★☆☆ Follow Along: The Layout Manager
QGIS allows you to create multiple maps using the same map file. For this reason, it has a tool called the Layout Manager.
Click on the menu entry to open this tool. You’ll see a blank Layout manager dialog appear.
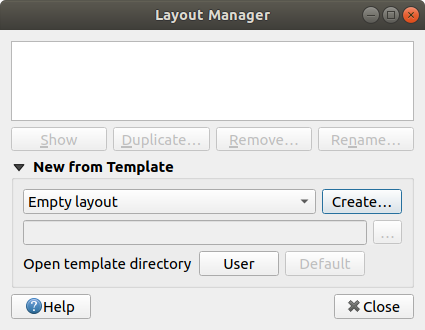
Under New from Template, select Empty layout and press the Create… button.
Give the new layout the name of Swellendam and click OK.
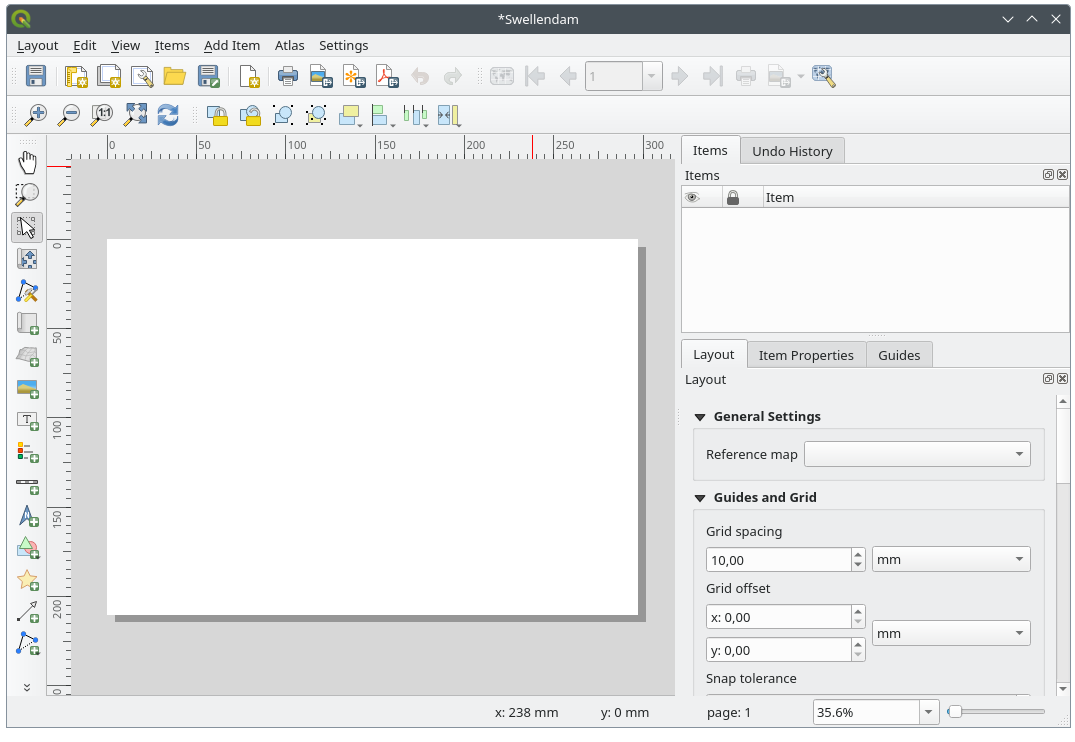
Agora você verá a janela Layout de Impressão:
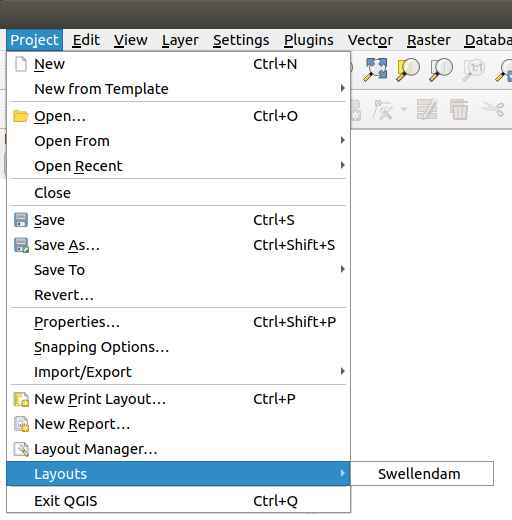
You could also create this new layout via the menu.
Whichever route you take, the new print layout is now accessible from the menu, as in the image below.
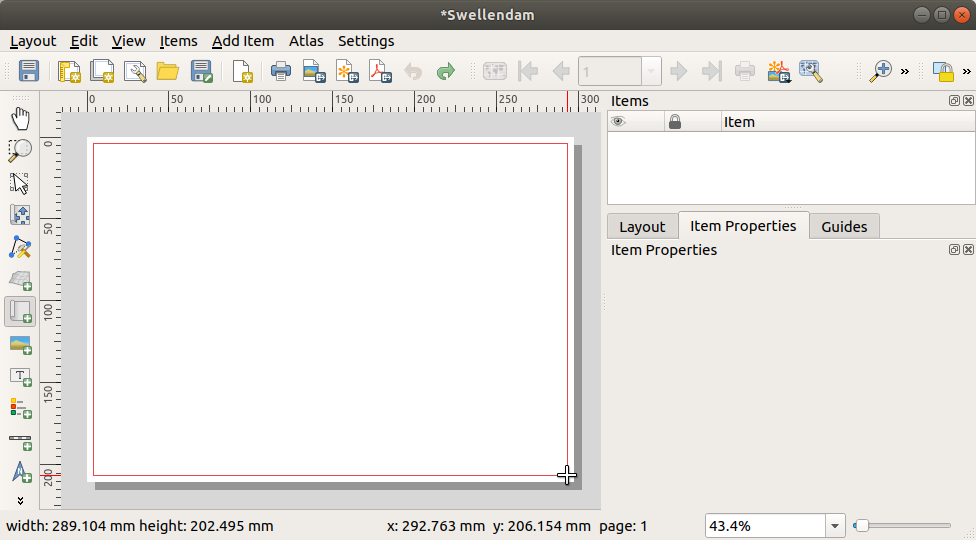
4.1.2. ★☆☆ Follow Along: Basic Map Composition
En este ejemplo, la composición ya estaba de la forma en que la queremos. Asegúrate de que la tuya también está así.
Right-click on the sheet in the central part of the layout window and choose Page properties… in the context menu.
Check that the values in the Item Properties tab are set to the following:
Size:
A4Orientation:
Landscape
Ahora tienes la disposición de la página como la querías, pero esta página todavía está en blanco. Le falta el mapa claramente. ¡Vamos a solucionarlo!
Click on the
 Add Map button.
Com esta ferramenta ativada, você será capaz de colocar um mapa na página.
Haz clic y arrastra una caja en la página en blanco:
El mapa aparecerá en la página.
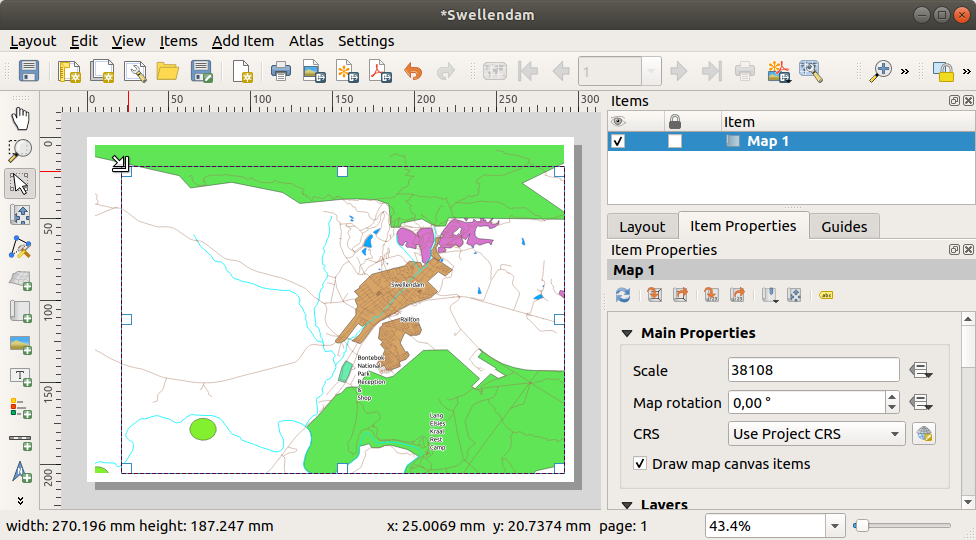
Mueve el mapa clicando y arrastrándolo:
Redimensione-o clicando e arrastando as caixas nas bordas:
Nota
Puede que tu mapa se vea muy diferente, ¡Por supuesto! Esto depende en cómo esta ajustado tu propio proyecto. ¡Pero no te preocupes! Estas instrucciones son generales, así que funcionarán adecuándose a la forma en que se vea el mapa.
Asegúrate de ajustar los márgenes a lo largo de las esquinas, y dejar un espacio en la parte superior para el título.
Amplía y disminuye el zoom de la página (¡pero no del mapa!) utilizando esos botones:


Zoom and pan the map in the main QGIS window. You can also pan the map using the
 Move item content tool.
A visualização do mapa é atualizada à medida que você aumenta ou diminui o zoom.
If, for any reason, the map view does not refresh correctly, you can force the map to refresh by clicking the
 Refresh view button.
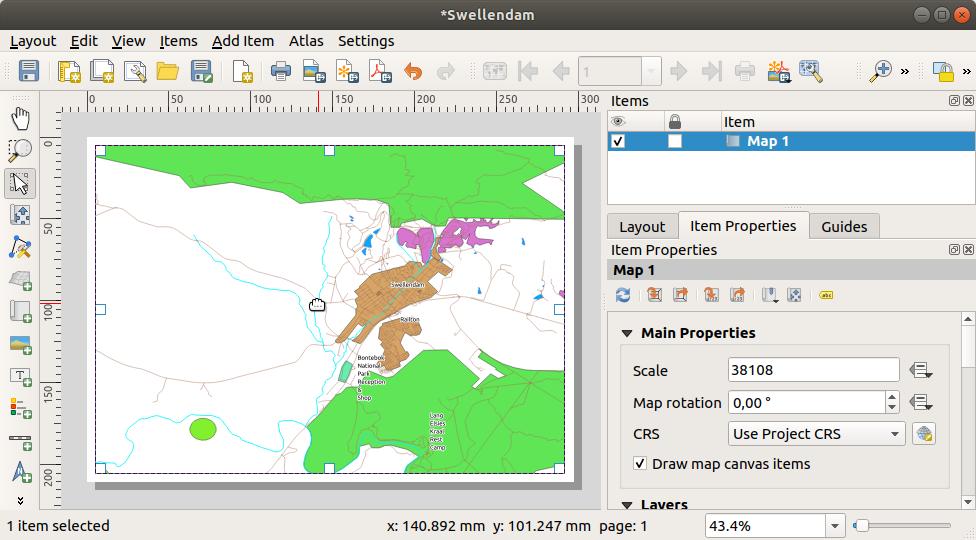
Remember that the size and position you’ve given the map doesn’t need to be final. You can always come back and change it later if you’re not satisfied. For now, you need to ensure that you’ve saved your work on this map. Because a Print Layout in QGIS is part of the main map file, you must save your project.
Go to the
 .
This is a convenient shortcut to the one in the main dialog.
.
This is a convenient shortcut to the one in the main dialog.
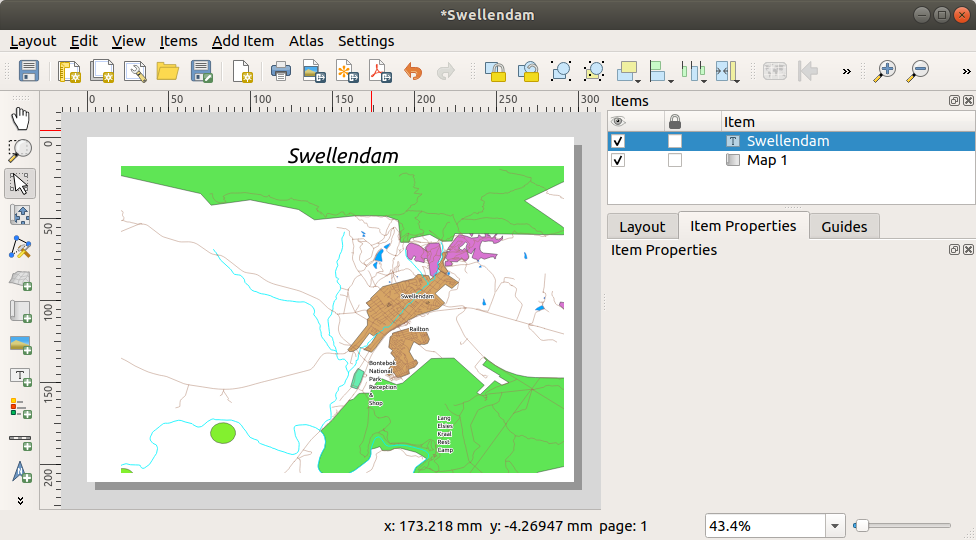
4.1.3. ★☆☆ Follow Along: Adding a Title
Agora seu mapa está com boa aparência na página, mas seus leitores/usuários ainda não estão sendo informados do que está acontecendo. Eles precisam de algum contexto, que é o que você fornecerá a eles adicionando elementos de mapa. Primeiro, vamos adicionar um título.
Click on the
 Add Label button
Click on the page, above the map, accept the suggested values in the New Item Properties dialog, and a label will appear at the top of the map.
Cambia el tamaño y sitúala en el centro superior de la página. Puede cambiarse de tamaño y ser movido de la misma forma que el mapa.
Cuando muevas el título, notarás que aparecen líneas guía para ayudarte a posicionarlo en el centro de la página.
However, there is also a tool in the Actions Toolbar to help position the title relative to the map (not the page):

Clique no mapa para selecioná-lo
Mantenha pressionado Shift no teclado e clique no rótulo para selecionar o mapa e o rótulo.
Look for the
Align selected items left button
and click on the dropdown arrow next to it to reveal the
positioning options and click  Align center:
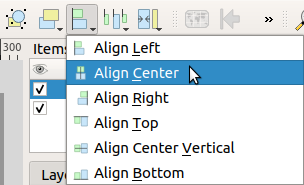
Agora o quadro da etiqueta está centralizado no mapa, mas não no conteúdo. Para centralizar o conteúdo da etiqueta:
Selecciona la etiqueta clicando en ella.
Click on the Item Properties tab in the side panel of the layout window.
Cambia el texto de la etiqueta a “Swellendam”:
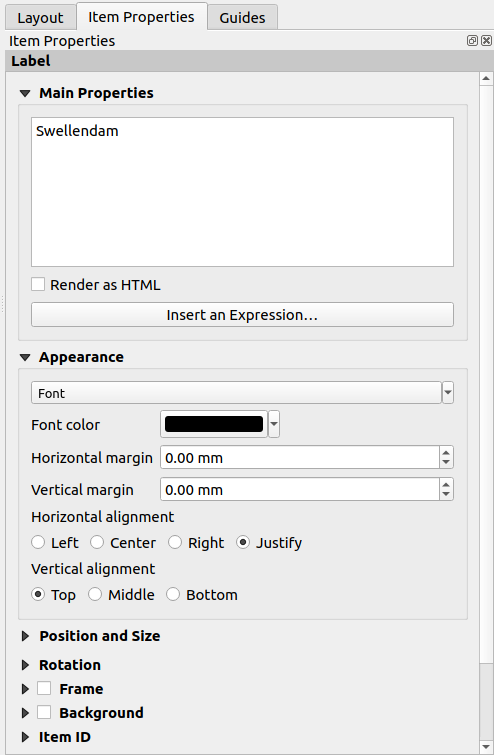
Use this interface to set the font and alignment options under the Appearance section:
Choose a large but sensible font (the example will use the default font with a size of
36)Configurar o :guilabel:`Alinhamento horizontal’ para :guilabel:`Centro’.
También puedes cambiar el color de la fuente, pero probablemente sea mejor mantenerla en negro como por defecto.
Los ajustes por defecto no añaden un marco a la caja de texto del título, si quieres añadir un marco, puedes hacerlo así:
En la pestaña Propiedades del elemento, desplázate hacia abajo hasta que veas la opción Marco.
Haz clic en la casilla de verificación para habilitar el marco. También puedes cambiar el color del marco y su grosor.
En este ejemplo, no habilitaremos los marcos, así que aquí está nuestra página hasta el momento:
Para garantir que você não mova acidentalmente esses elementos agora que os alinhou, você pode bloquear os itens no lugar:
Selecione tanto o rótulo quanto os itens do mapa
Click the
 Lock Selected Items button in
the Actions Toolbar.
Lock Selected Items button in
the Actions Toolbar.Nota
Click the
 Unlock All Items button
in the Actions Toolbar to be able to edit the items again.
Unlock All Items button
in the Actions Toolbar to be able to edit the items again.
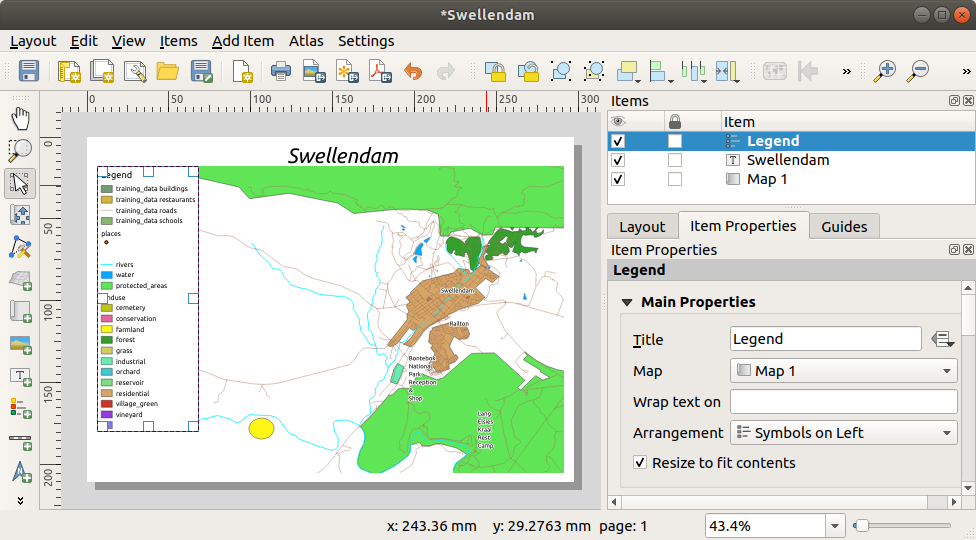
4.1.4. ★☆☆ Follow Along: Adding a Legend
O leitor de mapa também precisa ser capaz de ver o que várias coisas no mapa realmente significam. Em alguns casos, como os nomes de lugares, isso é bastante óbvio. Em outros casos, é mais difícil adivinhar, como as cores das florestas. Vamos adicionar uma nova legenda.
Clique no botão
 Adicionar Legenda
Click on the page to place the legend, accept the suggested values in the New Item Properties dialog,
Uma legenda é adicionada à página de layout, mostrando a simbologia das camadas, conforme definido no diálogo principal.
Como de costume, você pode clicar e mover o item para onde quiser:
4.1.5. ★★☆ Follow Along: Customizing Legend Items
No necesitamos todo lo que está en la leyenda, así que elimina los elementos no deseados.
In the Item Properties tab, you’ll find the Legend items group.
Uncheck the
 Auto update box, allowing you
to directly modify the legend items
Auto update box, allowing you
to directly modify the legend itemsSelecione a entrada com :guilabel:`construções’.
Delete it from the legend by clicking the
 button
También puedes renombrar los elementos.
Selecciona una capa de la misma lista.
Click the
 Edit selected item properties button.
Rename the layers to
Places,Roads and Streets,Surface Water, andRivers.
Você também pode reordenar os itens:
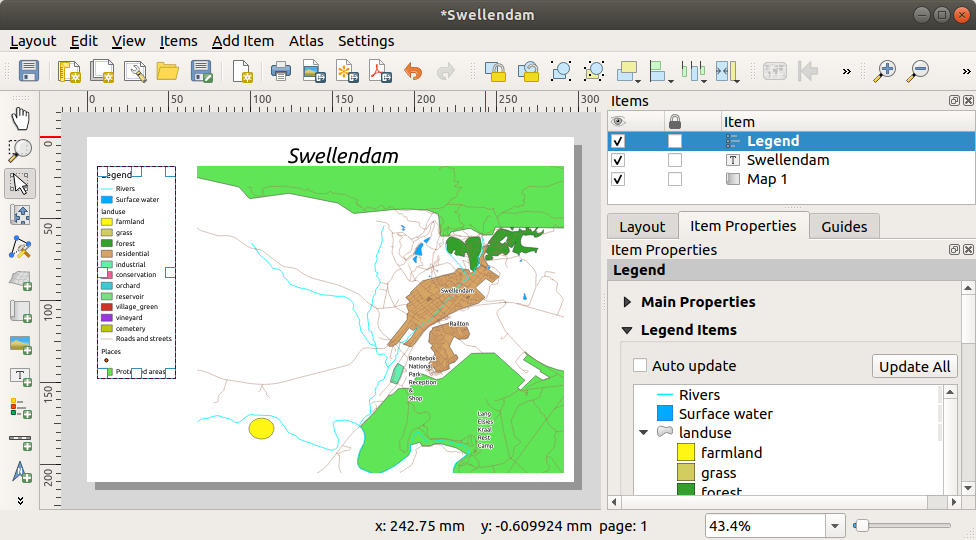
Como la leyenda cambiará de anchura con los nuevos nombres de capas, puede que desees mover y cambiar el tamaño de la leyenda y/o el mapa. Este es el resultado:
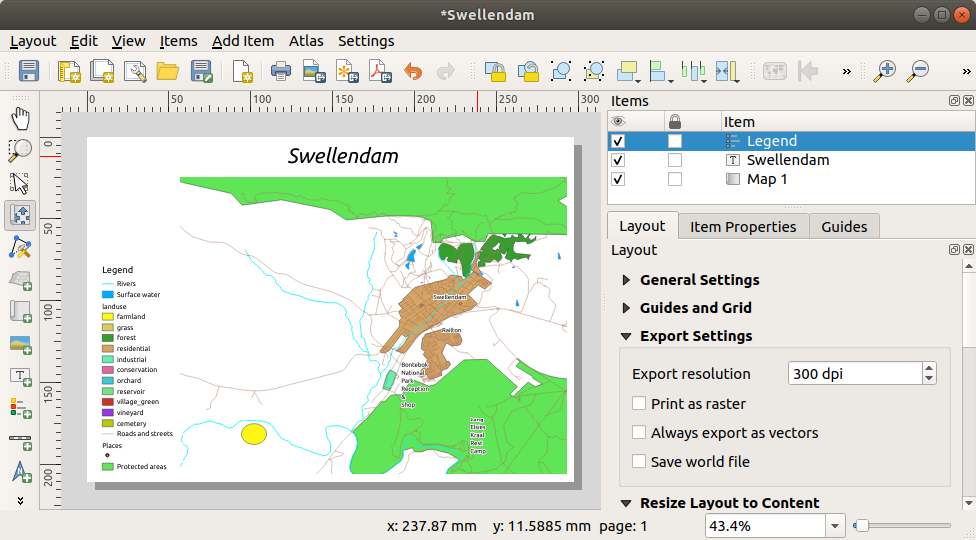
4.1.6. ★☆☆ Follow Along: Exporting Your Map
Nota
¿Te acordaste de guardar tu trabajo regularmente?
Finalmente o mapa está pronto para exportação! Você verá os botões de exportação perto do canto superior esquerdo da janela de layout:
 Print Layout: interfaces with a printer.
Since the printer options will differ depending on the model of
printer that you’re working with, it’s probably better to consult the
printer manual or a general guide to printing for more information on
this topic.
Print Layout: interfaces with a printer.
Since the printer options will differ depending on the model of
printer that you’re working with, it’s probably better to consult the
printer manual or a general guide to printing for more information on
this topic.Os outros botões permitem a exportação da página de mapa para um arquivo.
 Export as Image: gives you a selection
of various common image formats to choose from.
This is probably the simplest option, but the image it creates is
“dead” and difficult to edit.
Export as Image: gives you a selection
of various common image formats to choose from.
This is probably the simplest option, but the image it creates is
“dead” and difficult to edit. Export as SVG: If you’re sending the map to a
cartographer (who may want to edit the map for publication),
it’s best to export as an SVG. SVG stands for “Scalable Vector Graphic”,
and can be imported to programs like Inkscape
or other vector image editing software.
Export as SVG: If you’re sending the map to a
cartographer (who may want to edit the map for publication),
it’s best to export as an SVG. SVG stands for “Scalable Vector Graphic”,
and can be imported to programs like Inkscape
or other vector image editing software. Export as PDF: If you need to send the map to a client,
it’s most common to use a PDF, because it’s easier to set up printing
options for a PDF.
Some cartographers may prefer PDF as well, if they have a program
that allows them to import and edit this format.
Export as PDF: If you need to send the map to a client,
it’s most common to use a PDF, because it’s easier to set up printing
options for a PDF.
Some cartographers may prefer PDF as well, if they have a program
that allows them to import and edit this format.
Para nuestros propósitos, utilizaremos PDF.
Clique no botão
Exportar como PDFChoose a save location and a file name as usual. The following dialog will show up.
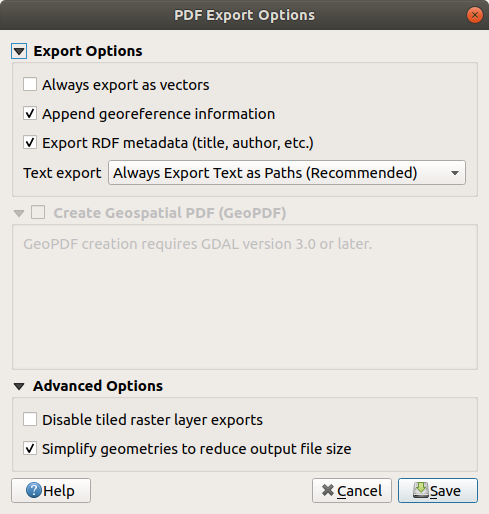
Você pode utilizar com segurança os valores padrão agora e clicar em :guilabel:`Salvar’.
O QGIS prosseguirá para a exportação do mapa e empurrará uma mensagem no topo da caixa de layout de impressão assim que ele terminar.
Click the hyperlink in the message to open the folder in which the PDF has been saved in your system’s file manager
Abra e veja como fica seu layout.
Está tudo bem? Parabéns por seu primeiro projeto de mapa QGIS concluído!
Algo insatisfatório? Volte para a janela do QGIS, faça as modificações apropriadas e exporte novamente.
Lembre-se de salvar seu arquivo de projeto.
4.1.7. In Conclusion
Agora você sabe como criar um layout básico de mapa estático. Podemos ir um passo além e criar um layout de mapa que se adapte dinamicamente, com mais itens de layout.