18.1. Lesson: Working with Databases in the QGIS Browser
In the previous 2 modules we looked at the basic concepts, features and functions of relational databases as well as extensions that let us store, manage, query and manipulate spatial data in a relational database. This section will dive deeper into how to effectively use spatial databases in QGIS.
The goal for this lesson: To learn how to interact with spatial databases using the QGIS Browser interface.
18.1.1. ★☆☆ Follow Along: Adding Database Tables to QGIS using the Browser
We have already briefly looked at how to add tables from a database as QGIS layers, now lets look at this in a bit more detail and look at the different ways this can be done in QGIS. Lets start by looking at the new Browser interface.
Start a new empty map in QGIS.
Open the Browser by clicking the Browser tab. If you do not see this tab, you can enable it by going to .
Open the PostgreSQL portion of the tree and you should find your previously configured connection available (you may need to click the Refresh button at the top of the browser window).
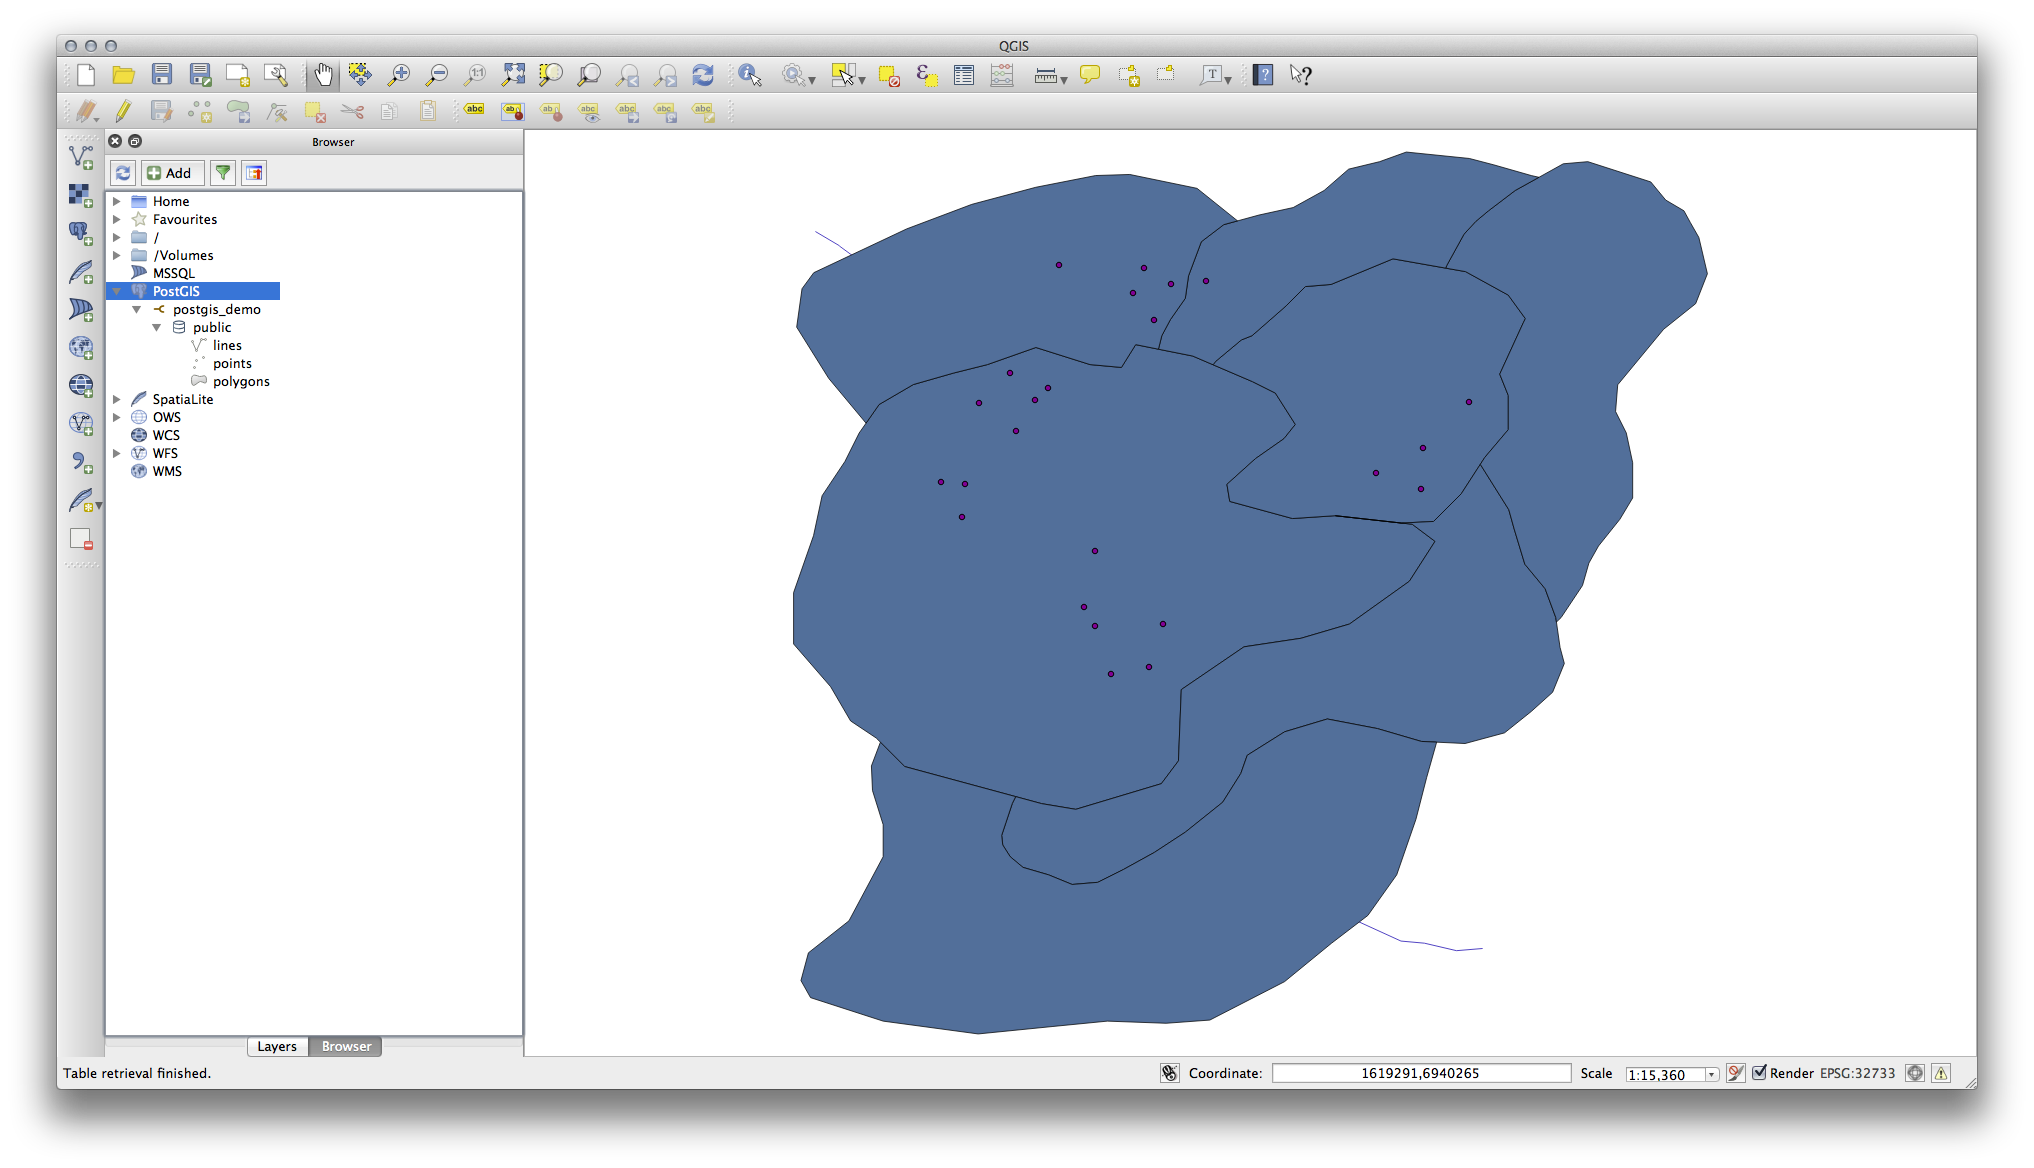
Double clicking on any of the table/layers listed here will add it to the Map Canvas.
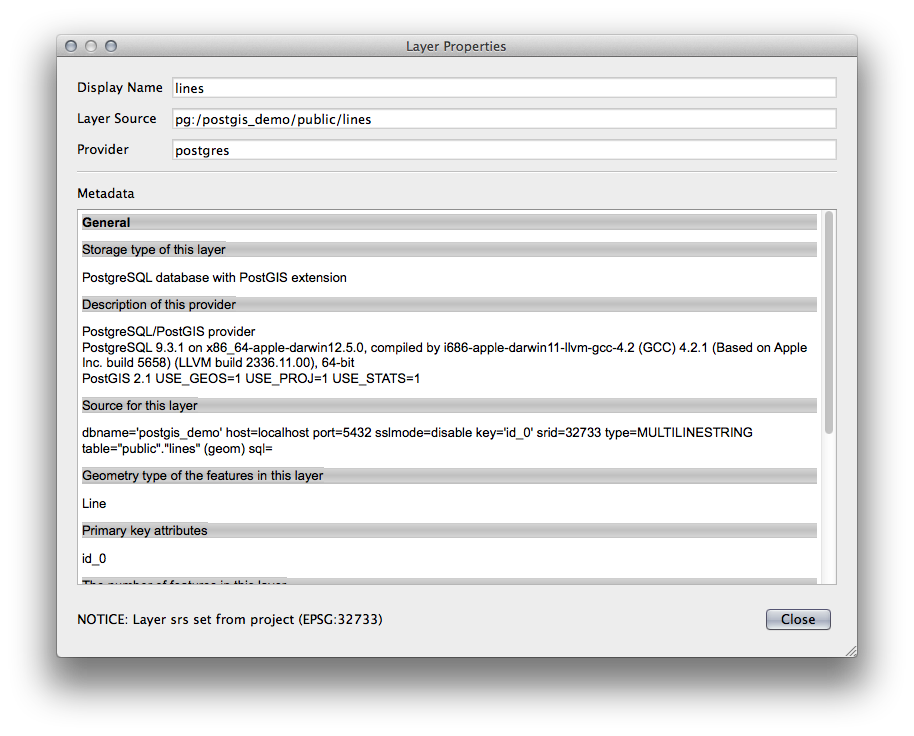
Right Clicking on a table/layer in this view will give you a few options. Click on the Properties item to look at the properties of the layer.
Note
Of course you can also use this interface to connect to PostgreSQL databases hosted on a server external to your workstation. Right clicking on the PostgreSQL entry in the tree will allow you to specify connection parameters for a new connection.
18.1.2. ★☆☆ Follow Along: Adding a filtered set of records as a Layer
Now that we have seen how to add an entire table as a QGIS layer it might be nice to learn how to add a filtered set of records from a table as a layer by using queries that we learned about in previous sections.
Start a new empty map with no layers
Click the Add PostgreSQL Layers button or select from the menu.
In the Add PostgreSQL Table(s) dialog that comes up, connect to the postgis_demo connection.
Expand the public schema and you should find the three tables we were working with previously.
Click the
lineslayer to select it, but instead of adding it, click the Set Filter button to bring up the Query Builder dialog.Construct the following expression using the buttons or by entering it directly:
"roadtype" = 'major'
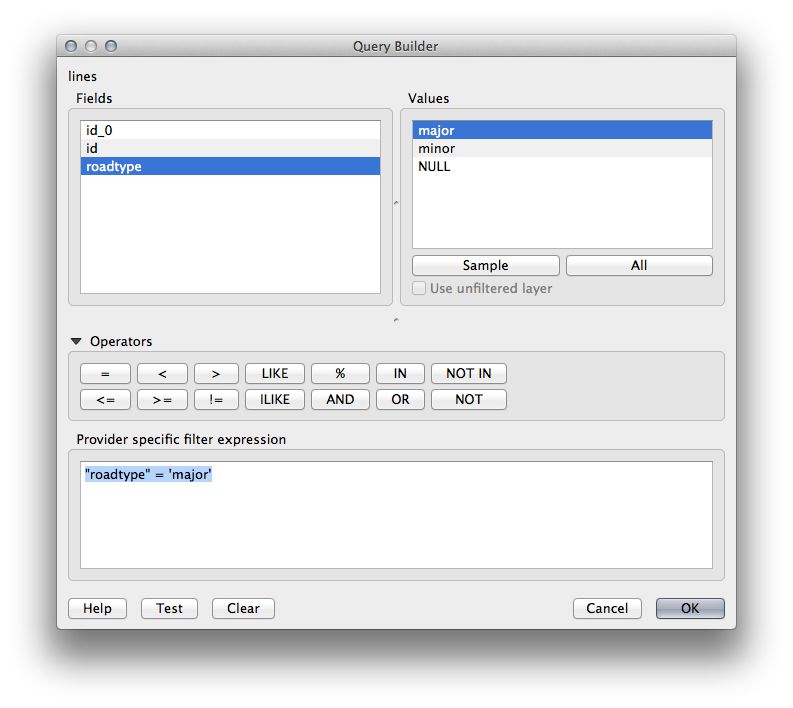
Click OK to complete editing the filter and click Add to add the filtered layer to your map.
Rename the
lineslayer in the tree toroads_primary.
You will notice that only the Primary Roads have been added to your map rather than the entire layer.
18.1.3. In Conclusion
You have seen how to interact with spatial databases using the QGIS Browser and how to add layers to your map based on a query filter.
18.1.4. What’s Next?
Next you’ll see how to work with the DB Manager interface in QGIS for a more complete set of database management tasks.