2.2. Lesson: 첫 레이어 추가
응용 프로그램을 시작하고 예제 및 연습에 쓰일 기본 맵을 생성하겠습니다.
이 강의의 목표: 예제 맵으로 시작하기.
주석
Before starting this exercise, QGIS must be installed on your computer. Also, download the training_manual_exercise_data.zip file from the QGIS data downloads area.
사용자의 설치 설정에 따라 데스크탑 바로가기 또는 메뉴 항목에서 QGIS를 실행합니다.
주석
The screenshots for this course were taken in QGIS 2.0 running on MacOS. Depending on your setup, the screens you encounter may well appear somewhat different. However, all the same buttons will still be available, and the instructions will work on any OS. You will need QGIS 2.0 (the latest version at time of writing) to use this course.
그럼 바로 시작해볼까요!
2.2.1.  Follow Along: 맵 준비
QGIS를 시작합니다. 텅 빈 새 맵이 나타날 것입니다.
- Look for the Add Vector Layer button:

- Click on it to open the following dialog:
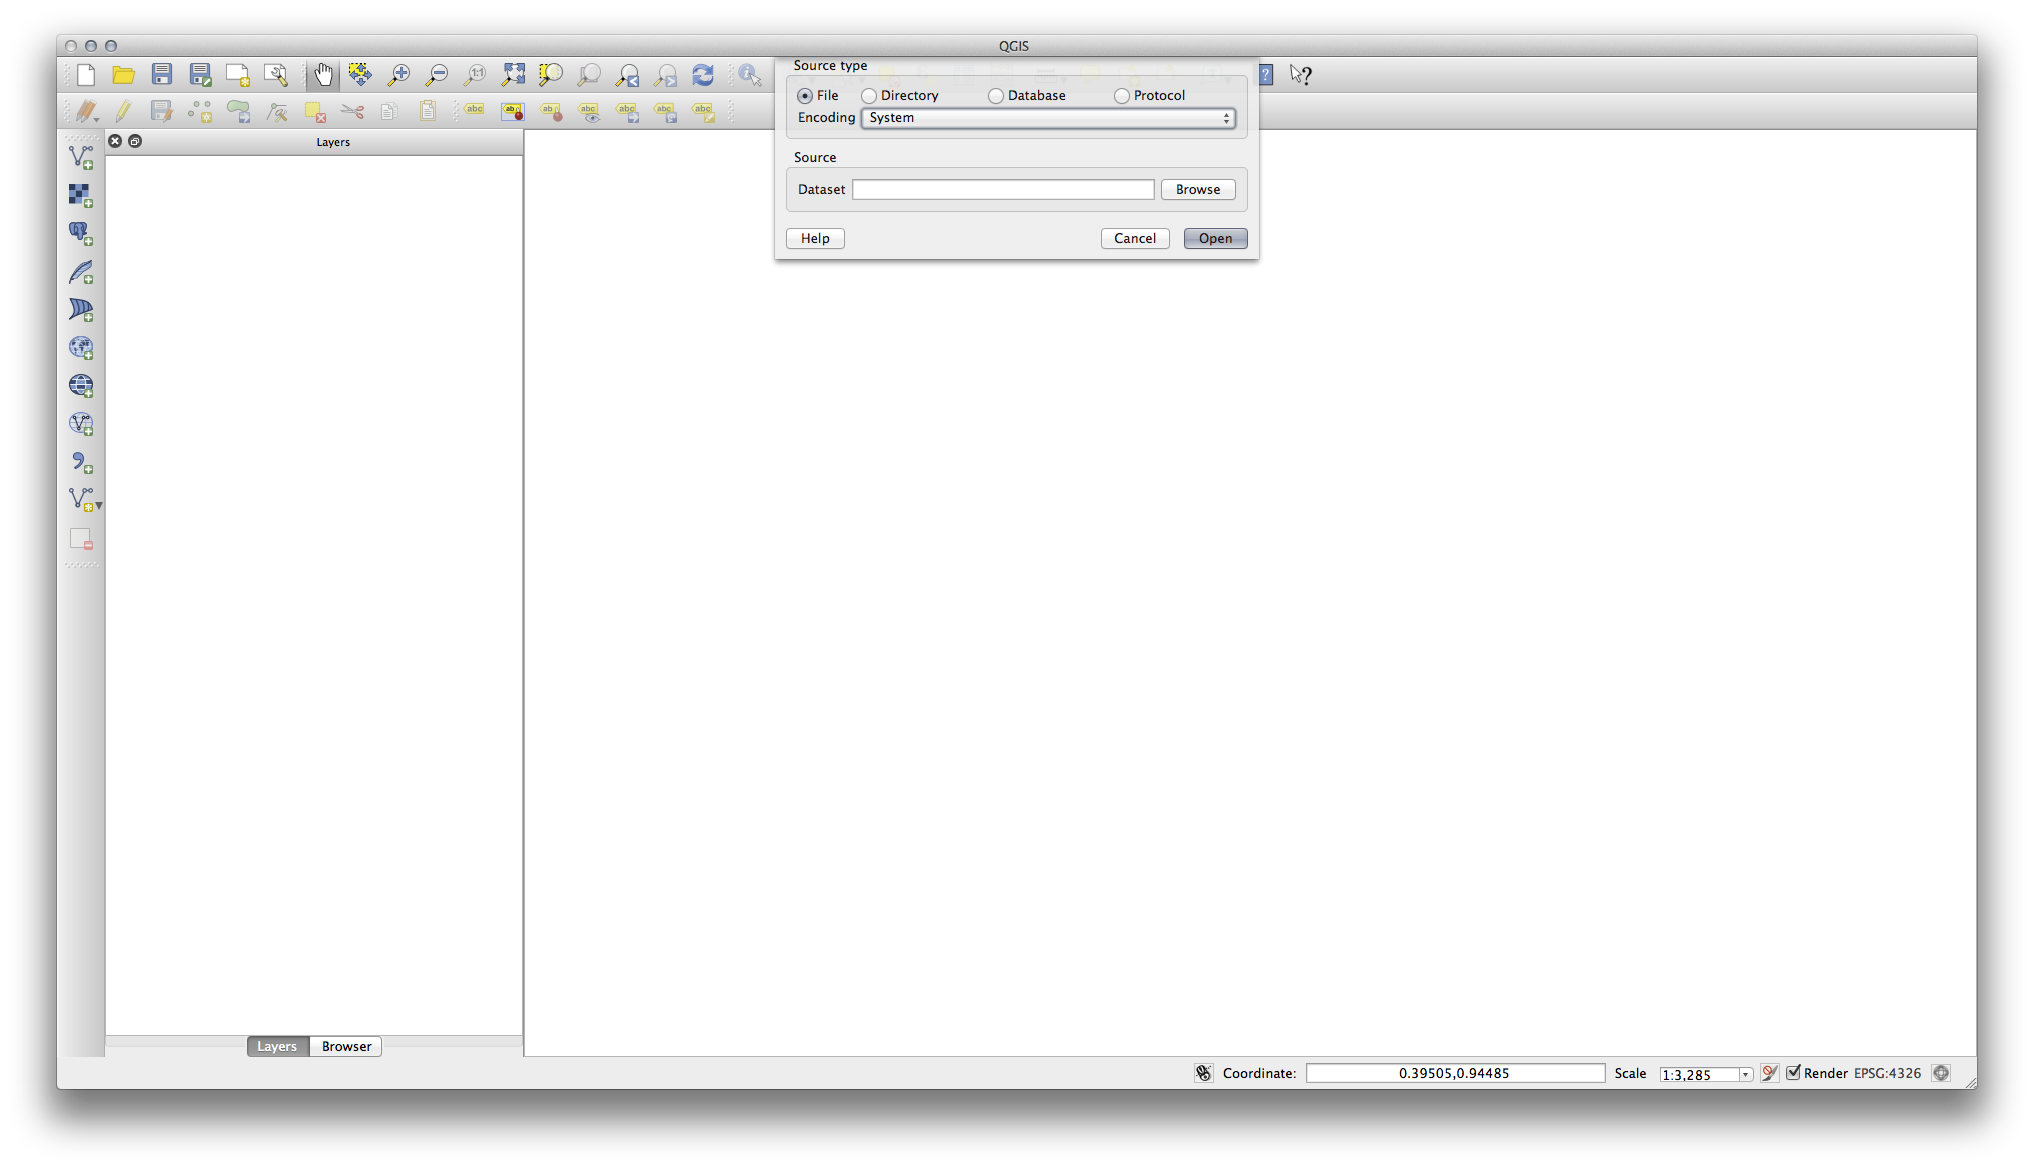
- Click on the Browse button and navigate to the file exercise_data/epsg4326/roads.shp (in your course directory). With this file selected, click Open. You will see the original dialog, but with the file path filled in. Click Open here as well. The data you specified will now load.
축하합니다! 이제 기본 맵을 사용할 수 있습니다. 이제 사용자의 작업을 저장하도록 합시다.
- Click on the Save As button:

- Save the map under exercise_data/ and call it basic_map.qgs.
2.2.2. In Conclusion
레이어 추가 및 기본 맵 생성 방법을 배웠습니다!
2.2.3. What’s Next?
Now you’re familiar with the function of the Add Vector Layer button, but what about all the others? How does this interface work? Before we go on with the more involved stuff, let’s first take a good look at the general layout of the QGIS interface. This is the topic of the next lesson.