13.1. Lesson: GRASS Setup
Using GRASS in QGIS requires you to think of the interface in a slightly different way. Remember that you’re not working in QGIS directly, but working in GRASS via QGIS.
The goal for this lesson: To begin a GRASS project in QGIS.
13.1.1.  Follow Along: Start a New GRASS Project
To launch GRASS from within QGIS, you need to activate it as with any other plugin. First, open a new QGIS project.
In the Plugin Manager, enable GRASS in the list:

The GRASS toolbar will appear:

Before you can use GRASS, you need to create a mapset. GRASS always works in a database environment, which means that you need to import all the data you want to use into a GRASS database.
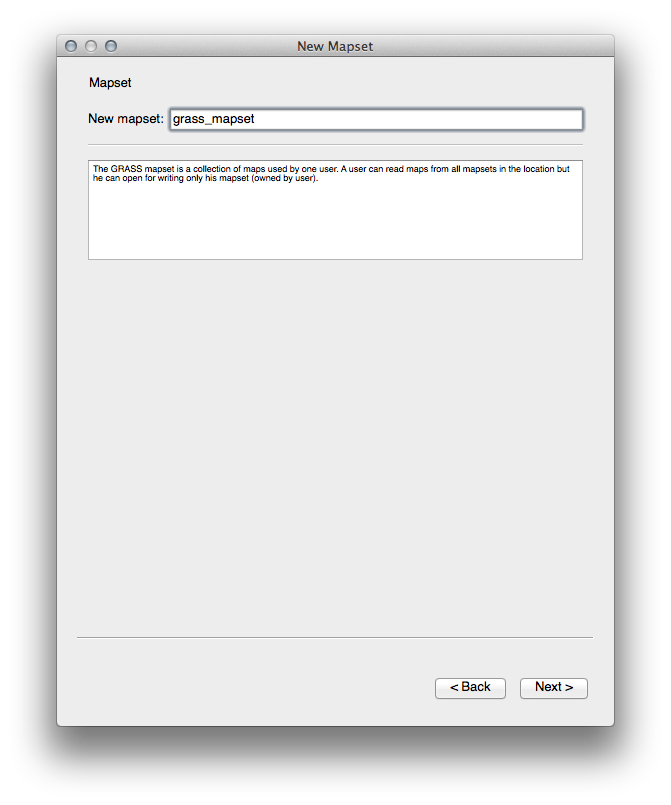
Click on the New mapset button:

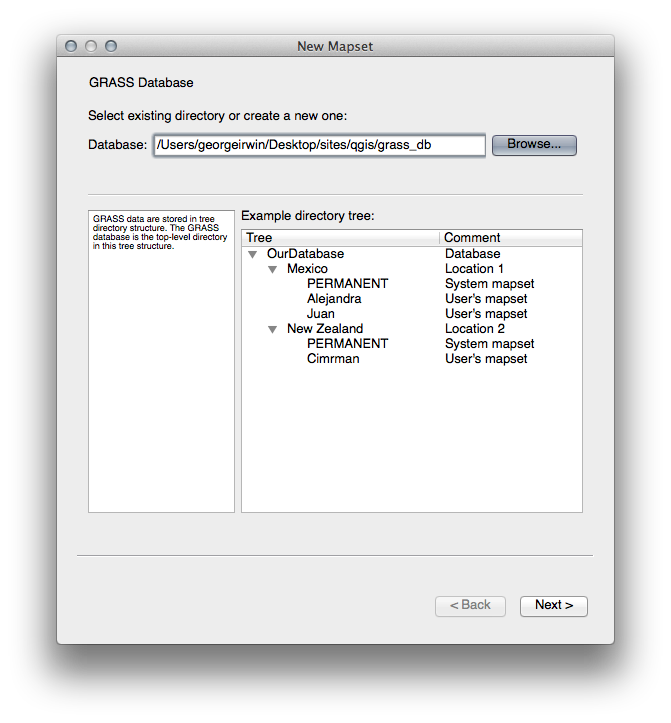
You’ll see a dialog explaining the structure of a GRASS mapset.
Create a new directory called grass_db in exercise_data.
Set it as the directory that will be used by GRASS to set up its database:
Click Next.
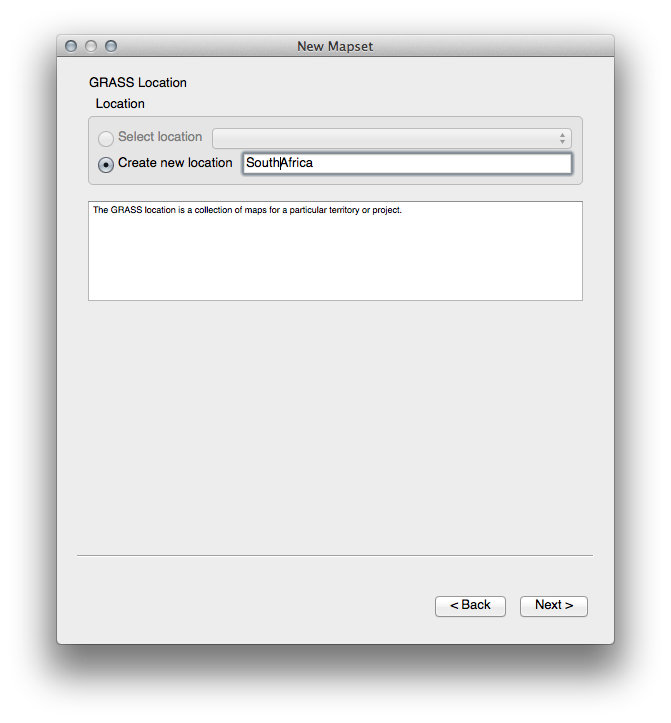
GRASS needs to create a “location”, which describes the maximum extents of the geographic area you’ll be working in.
Call the new location South_Africa:
Click Next.
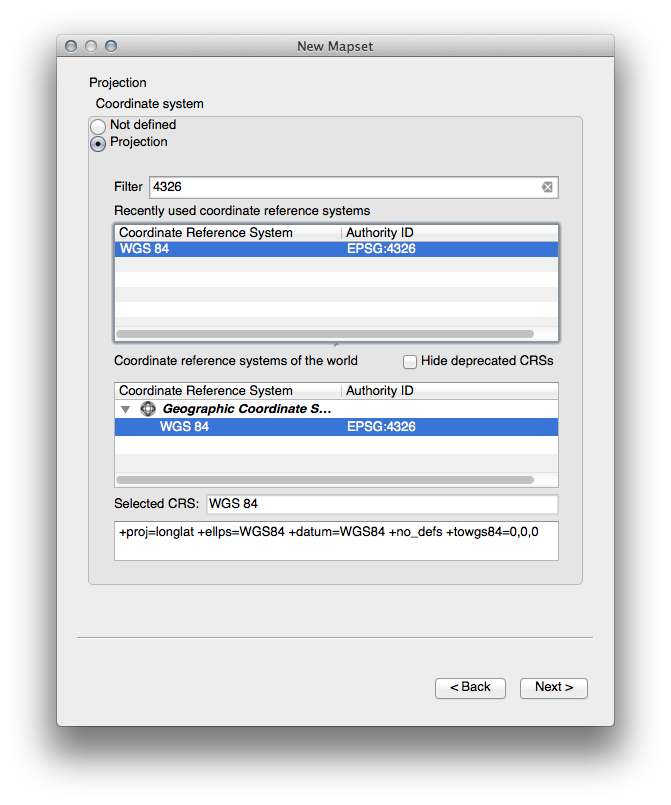
We’ll be working with WGS 84, so search for and select this CRS:
Click Next.
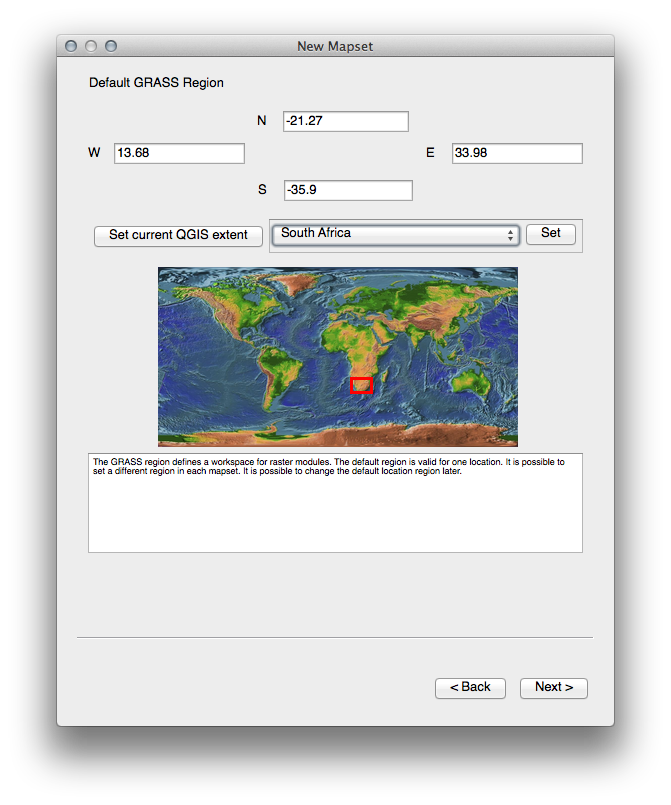
Now select the region South Africa from the dropdown and click Set:
Click Next.
Create a mapset, which is the map file that you’ll be working with.
Once you’re done, you’ll see a dialog asking you to confirm that the settings it displays are correct.
- Click Finish.
- Click OK on the success dialog.
13.1.2. Follow Along: Loading Vector Data into GRASS
You’ll now have a blank map. To load data into GRASS, you need to follow a two-step process.
Load data into QGIS as usual. Use the roads.shp dataset (found under exercise_data/epsg4326/) for now.
As soon as it’s loaded, click on the GRASS Tools button:

In the new dialog, select Modules list.
Find the vector import tool by entering the term v.in.ogr.qgis in the Filter field.
The v stands for “vector”, in means its a function to import data into the GRASS database, ogr is the software library used to read vector data, and qgis means that the tool will look for a vector from among the vectors already loaded into QGIS.
Once you’ve found this tool, click on it to bring up the tool itself:
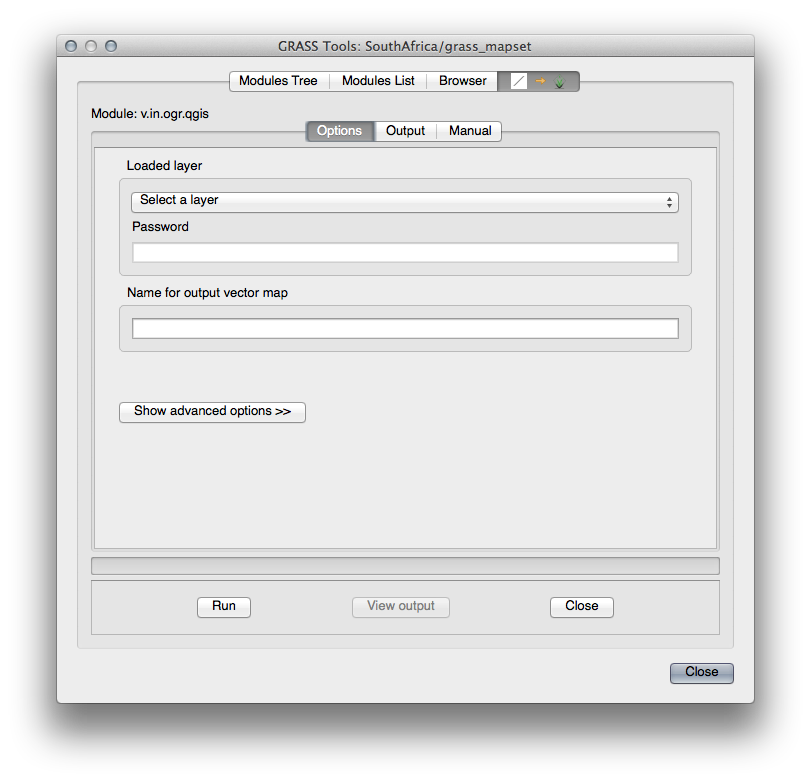
Set the loaded layer to roads and its GRASS version’s name to g_roads to prevent confusion.

Note
 Note the extra import options provided under
Advanced Options. These include the ability to add a WHERE
clause for the SQL query used for importing the data.
Note the extra import options provided under
Advanced Options. These include the ability to add a WHERE
clause for the SQL query used for importing the data.
- Click Run to begin the import.
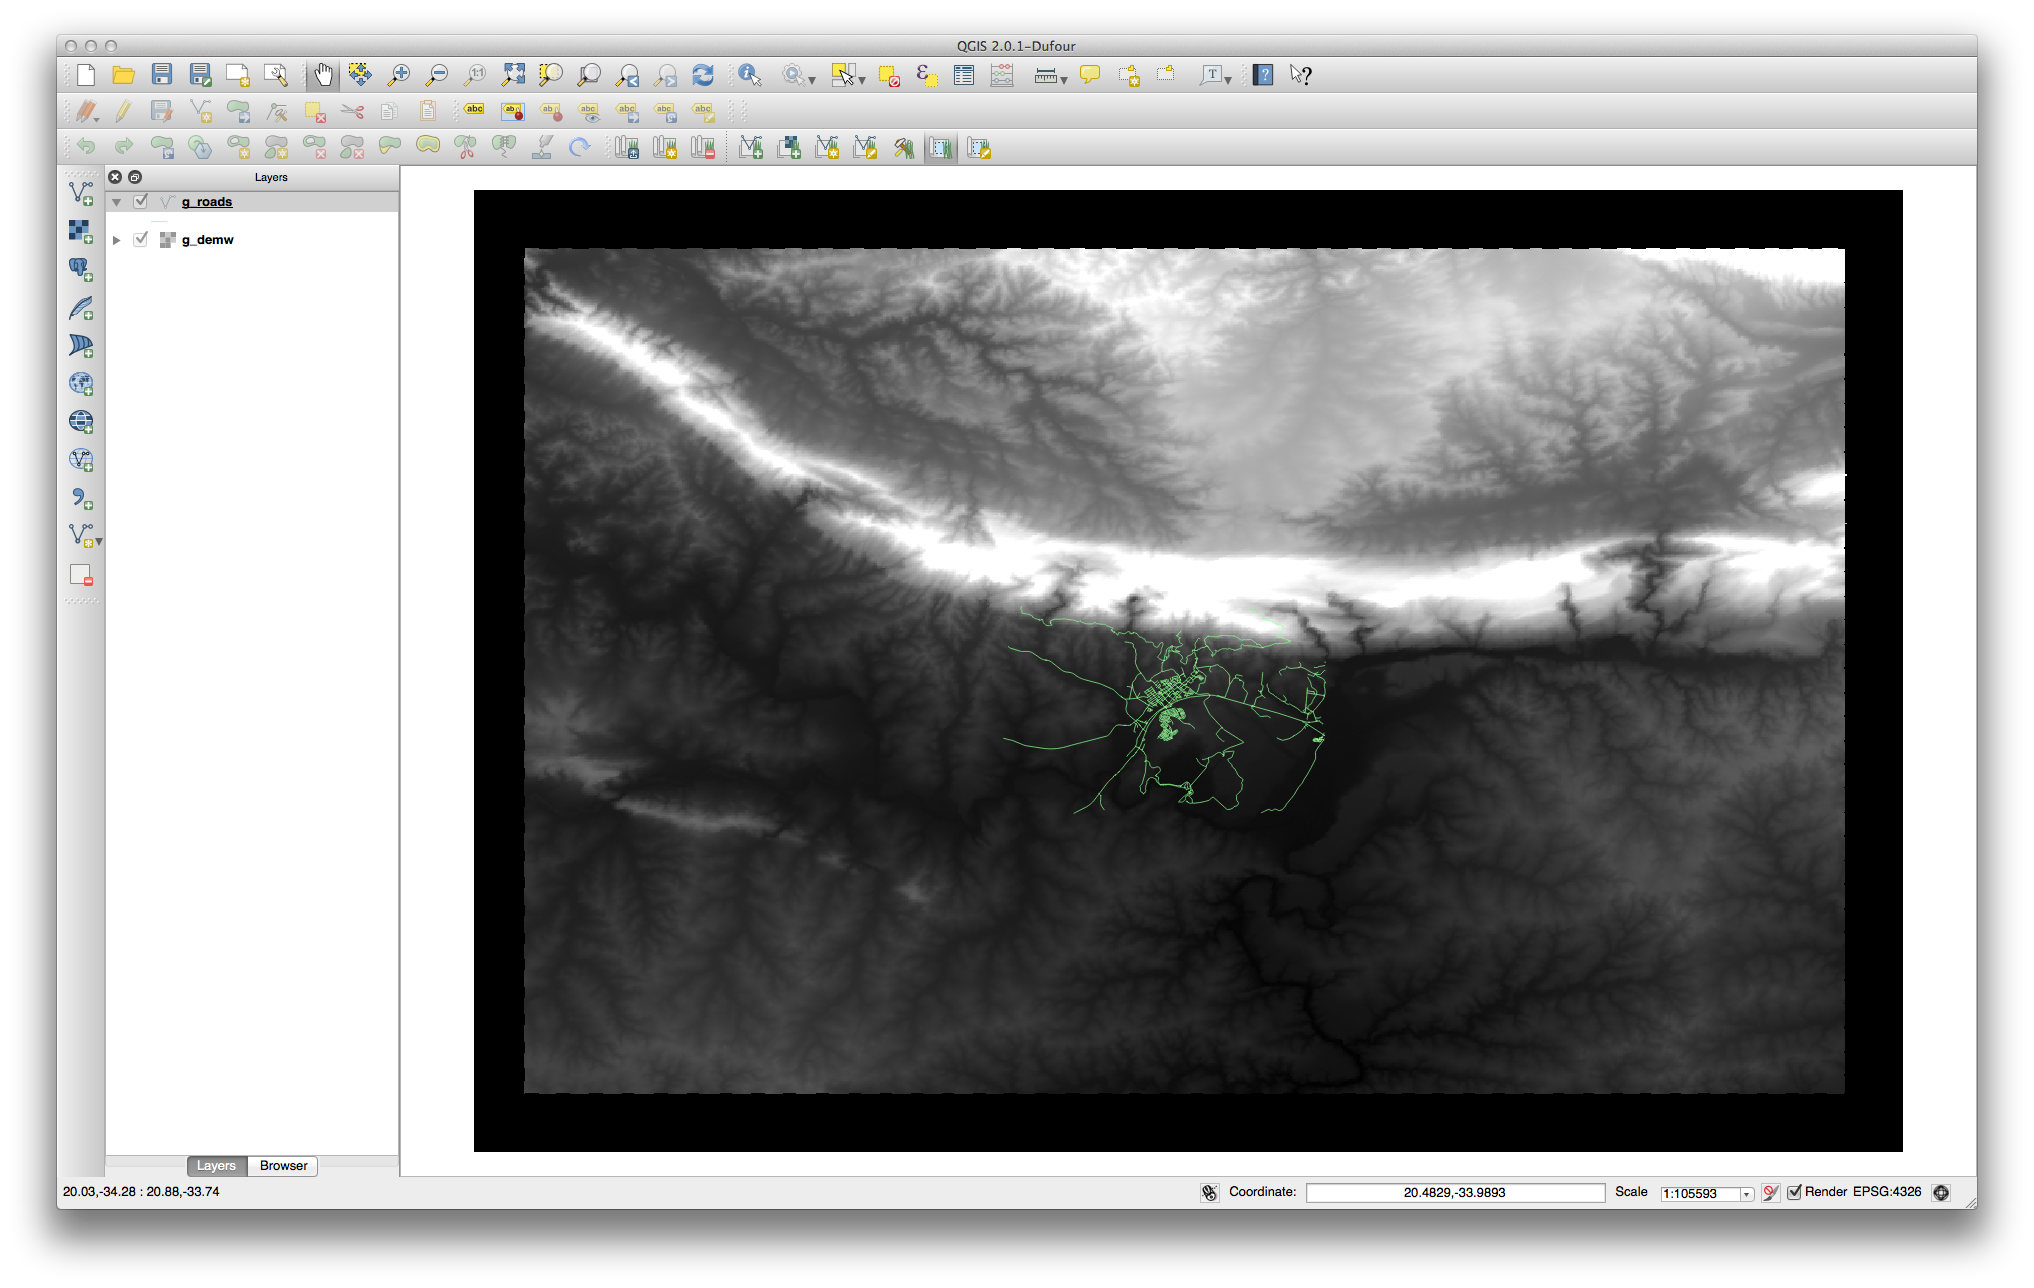
- When it’s done, click the View output button to see the newly imported GRASS layer in the map.
- Close first the import tool (click the Close button to the immediate right of View output), then close the GRASS Tools window.
- Remove the original roads layer.
Now you are left with only the imported GRASS layer as displayed in your QGIS map.
13.1.3. Follow Along: Loading Raster Data into GRASS
Recall that our DEM is in the Projected CRS UTM 33S / WGS 84, but our GRASS project is in the Geographic CRS WGS 84. So let’s re-project the DEM first.
Load the srtm_41_19.tif dataset (found under exercise_data/raster/SRTM/) into the QGIS map as usual, using QGIS’ Add Raster Layer tool.
Re-project it using GDAL Warp tool (Raster ‣ Projections ‣ Warp (Reproject)), setting it up as shown:
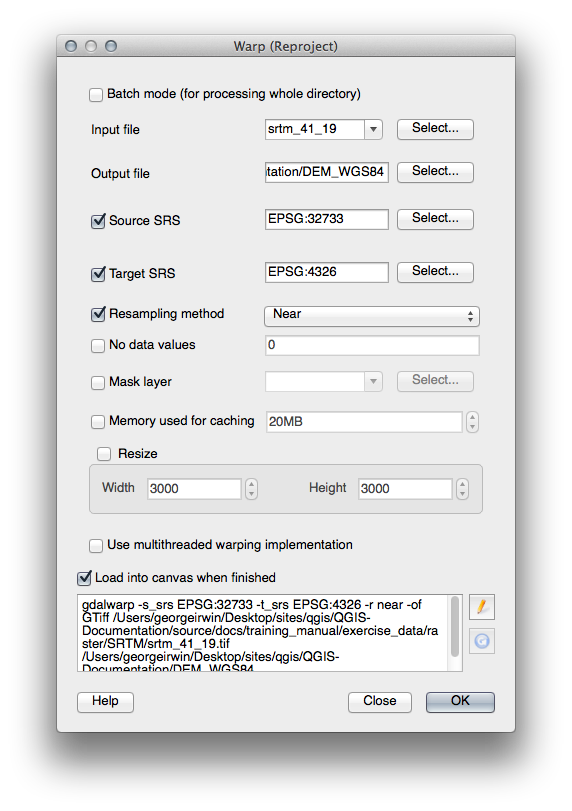
Save the raster under the same folder as the original, but with the file name DEM_WGS84.tif. Once it appears in your map, remove the srtm_41_19.tif dataset from your Layers list.
Now that it’s reprojected, you can load it into your GRASS database.
Open the GRASS Tools dialog again.
Click on the Modules List tab.
Search for r.in.gdal.qgis and double click the tool to open the tool’s dialog.
Set it up so that the input layer is DEM_WGS84 and the output is g_dem.
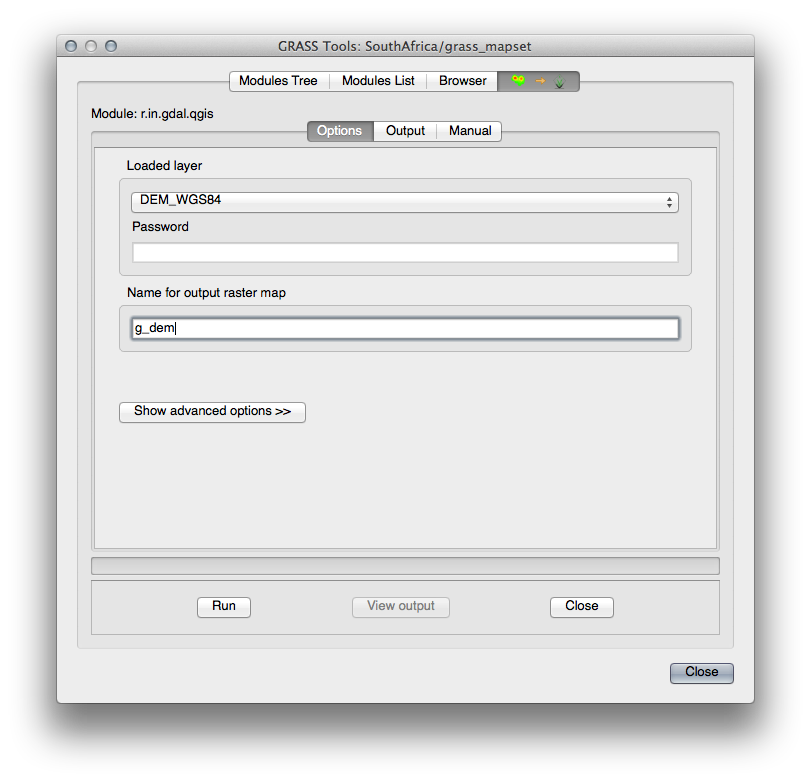
Click Run.
When the process is done, click View output.
Close the current tab, and then Close the whole dialog.
You may now remove the original DEM_WGS84 layer.
13.1.4. In Conclusion
The GRASS workflow for ingesting data is somewhat different from the QGIS method because GRASS loads its data into a spatial database structure. However, by using QGIS as a frontend, you can make the setup of a GRASS mapset easier by using existing layers in QGIS as data sources for GRASS.
13.1.5. What’s Next?
Now that the data is imported into GRASS, we can look at the advanced analysis operations that GRASS offers.