13.1. Lesson: Configuración de GRASS
Using GRASS in QGIS requires you to think of the interface in a slightly different way. Remember that you’re not working in QGIS directly, but working in GRASS via QGIS.
El objetivo de esta lección: Comenzar un proyecto GRASS en QGIS.
13.1.1.  Follow Along: Comienza un Nuevo Proyecto GRASS
To launch GRASS from within QGIS, you need to activate it as with any other plugin. First, open a new QGIS project.
En el Adiministrador de Complementos, activa GRASS en la lista:
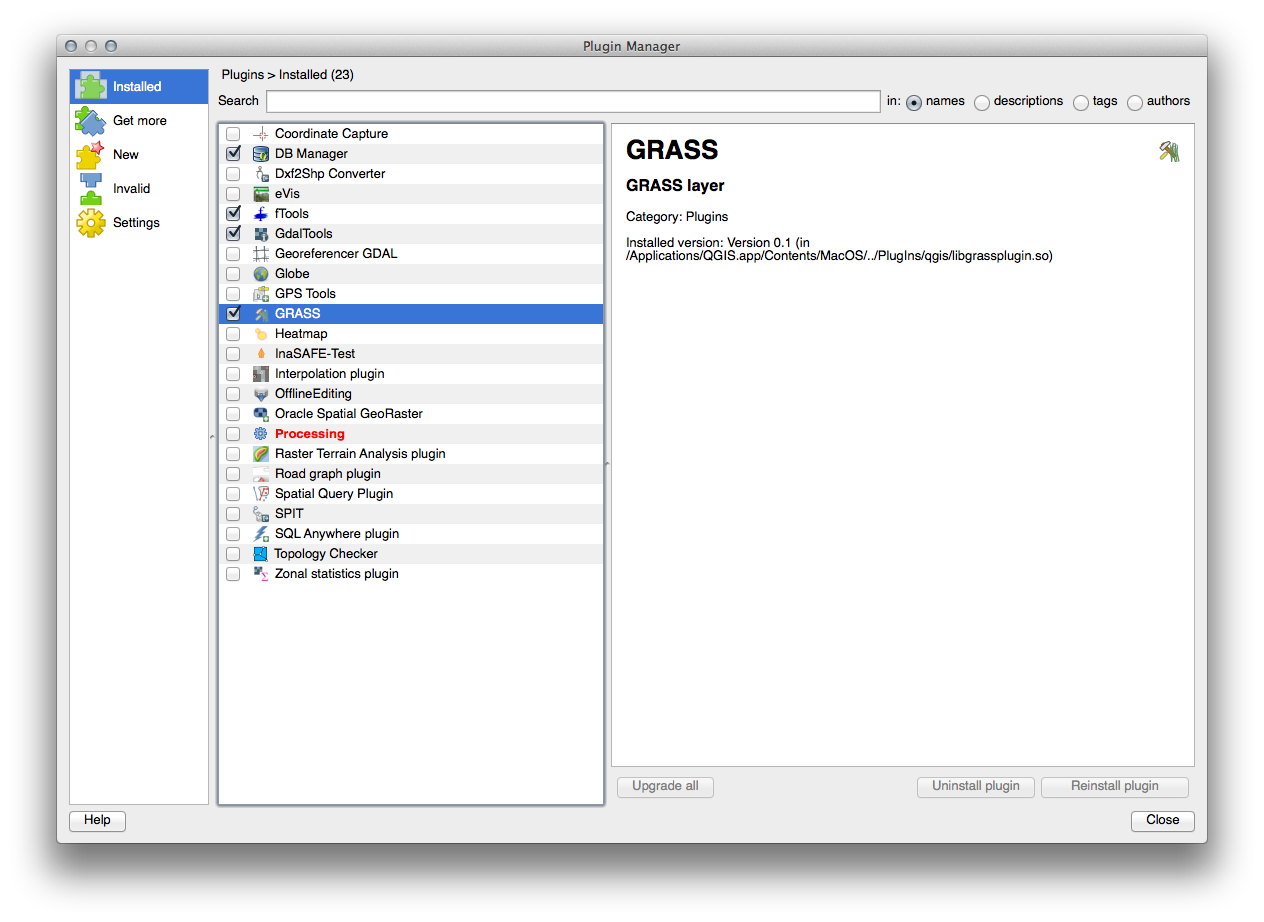
The GRASS toolbar will appear:

Before you can use GRASS, you need to create a mapset. GRASS always works in a database environment, which means that you need to import all the data you want to use into a GRASS database.
Click on the New mapset button:

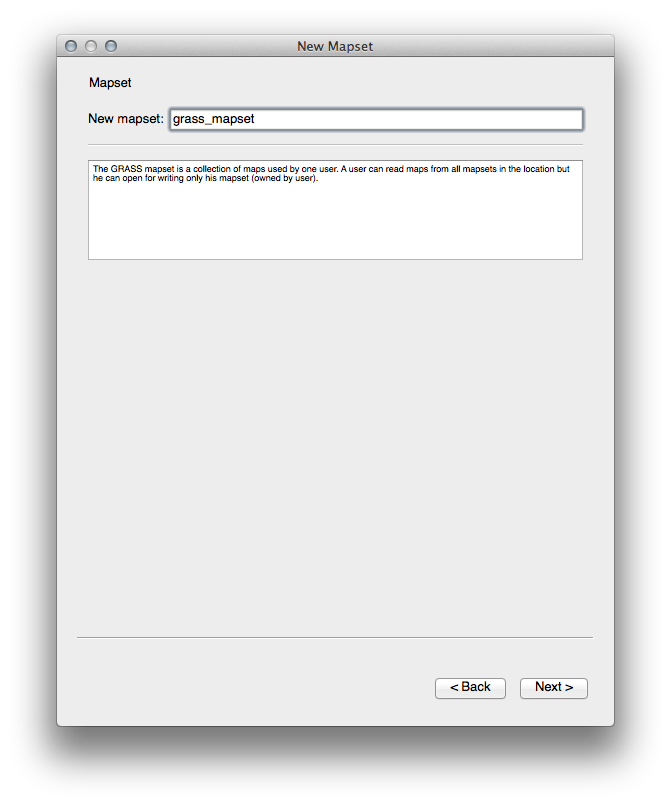
You’ll see a dialog explaining the structure of a GRASS mapset.
Create a new directory called grass_db in exercise_data.
Definelo como el directorio que será usado por GRASS para crear su base de datos:
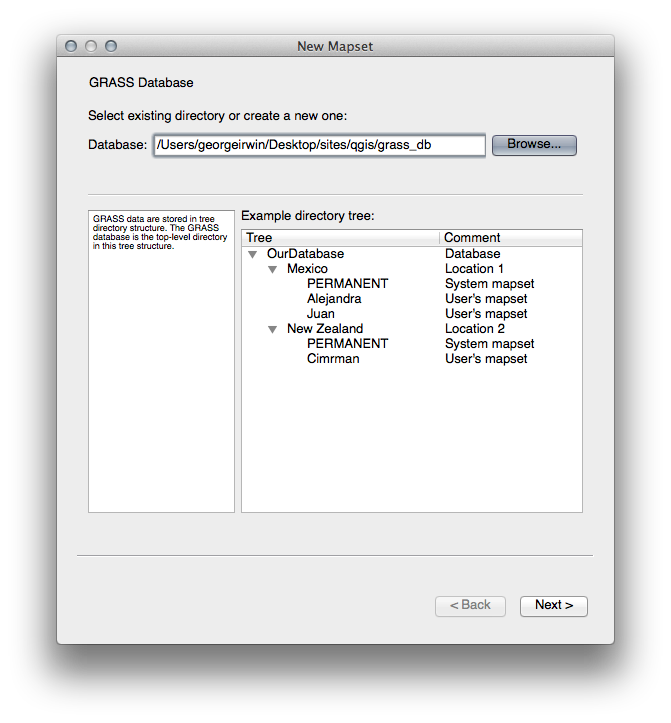
Haz clic en Siguiente.
GRASS needs to create a “location”, which describes the maximum extents of the geographic area you’ll be working in.
Call the new location South_Africa:

Haz clic en Siguiente.
We’ll be working with WGS 84, so search for and select this CRS:
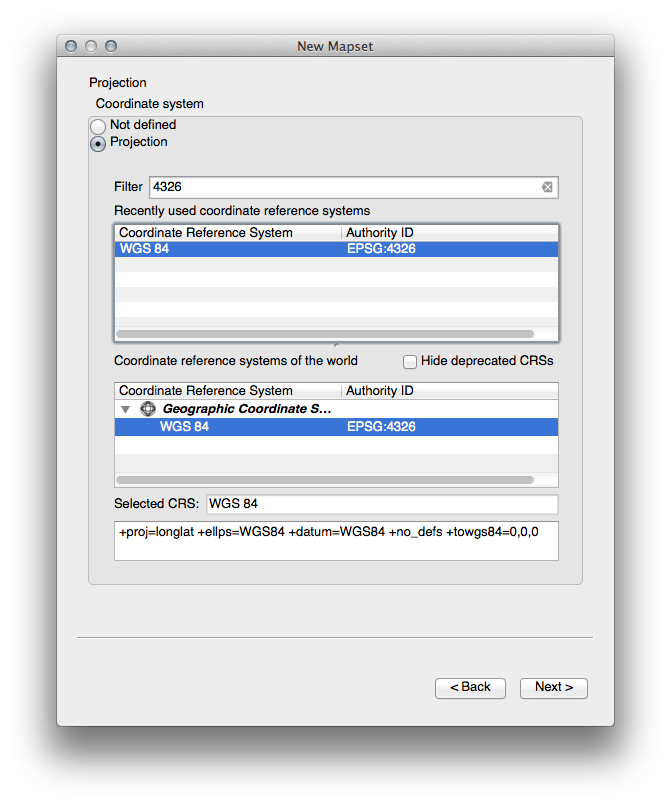
Haz clic en Siguiente.
Ahora, selecciona la región South Africa del menú desplegable y haz clic en Establecer:
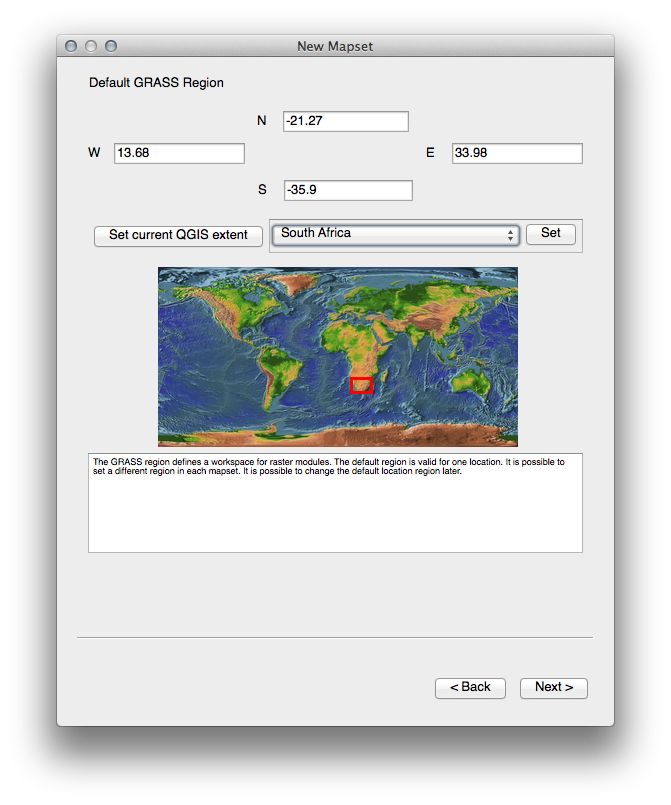
Haz clic en Siguiente.
Crea un directorio de mapa, que el archivo de mapa con el que estarás trabajando.
Once you’re done, you’ll see a dialog asking you to confirm that the settings it displays are correct.
Clic Terminar.
Haz clic en Aceptar en el diálogo de éxito.
13.1.2. Follow Along: Cargando datos vector en GRASS
You’ll now have a blank map. To load data into GRASS, you need to follow a two-step process.
Load data into QGIS as usual. Use the roads.shp dataset (found under exercise_data/epsg4326/) for now.
As soon as it’s loaded, click on the GRASS Tools button:

In the new dialog, select Modules list.
Find the vector import tool by entering the term v.in.ogr.qgis in the Filter field.
The v stands for “vector”, in means its a function to import data into the GRASS database, ogr is the software library used to read vector data, and qgis means that the tool will look for a vector from among the vectors already loaded into QGIS.
Once you’ve found this tool, click on it to bring up the tool itself:
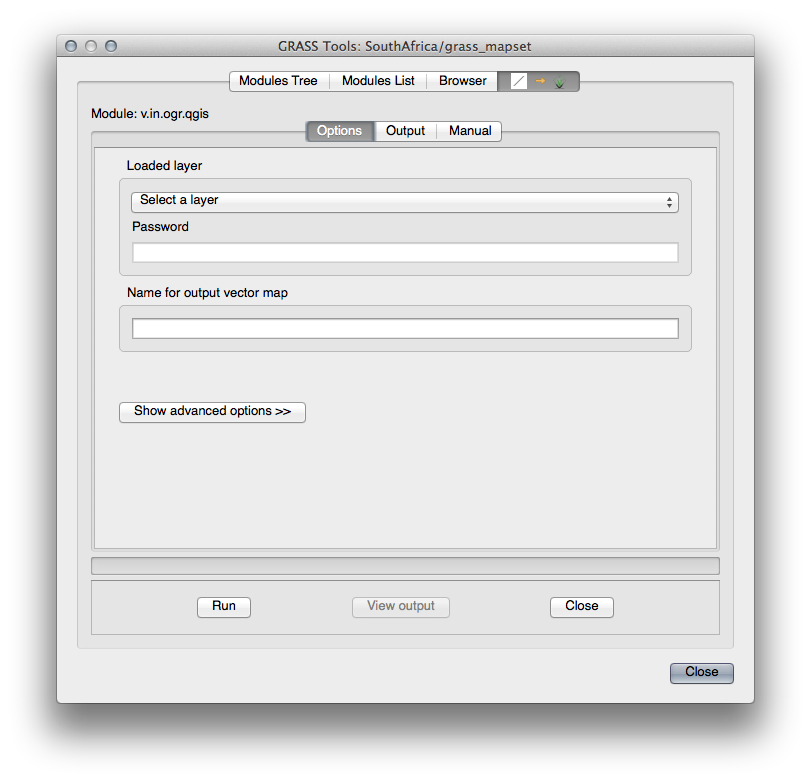
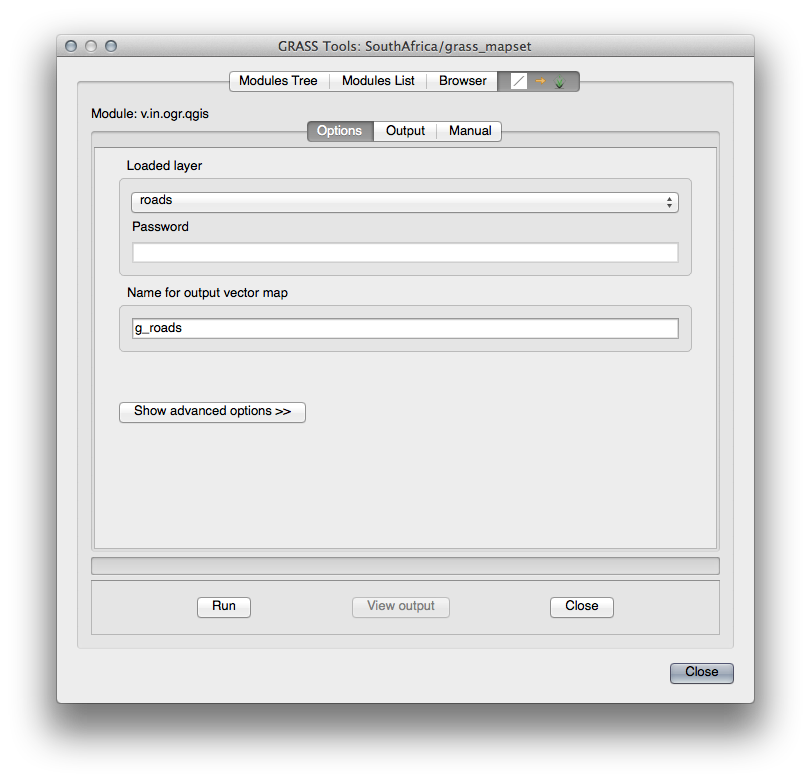
Set the loaded layer to roads and its GRASS version’s name to g_roads to prevent confusion.
Nota
 Nota las opciones de importación extra dentro de Advanced Options. Éstas incluyen la habilidad de añadir expresiones WHERE para una consulta SQL utilizada al importar los datos.
Haz clic en Ejecutar para comenzar la importación.
Cuando termine, haz clic en el botón Ver salida para ver la capa recien importada a GRASS en el mapa.
Fechar primeiro a ferramenta de importação (clique no botão Fechar imediatamente à direita de Ver saída), em seguida, feche a janela : guilabel: Ferramentas GRASS.
- Remove the original roads layer.
Ahora tienes solamente la capa importada de GRASS visible en tu mapa de QGIS.
13.1.3. Follow Along: Cargando Datos Ráster en GRASS
Recall that our DEM is in the Projected CRS UTM 33S / WGS 84, but our GRASS project is in the Geographic CRS WGS 84. So let’s re-project the DEM first.
Load the srtm_41_19.tif dataset (found under exercise_data/raster/SRTM/) into the QGIS map as usual, using QGIS’ Add Raster Layer tool.
Re-project it using GDAL Warp tool (Raster ‣ Projections ‣ Warp (Reproject)), setting it up as shown:
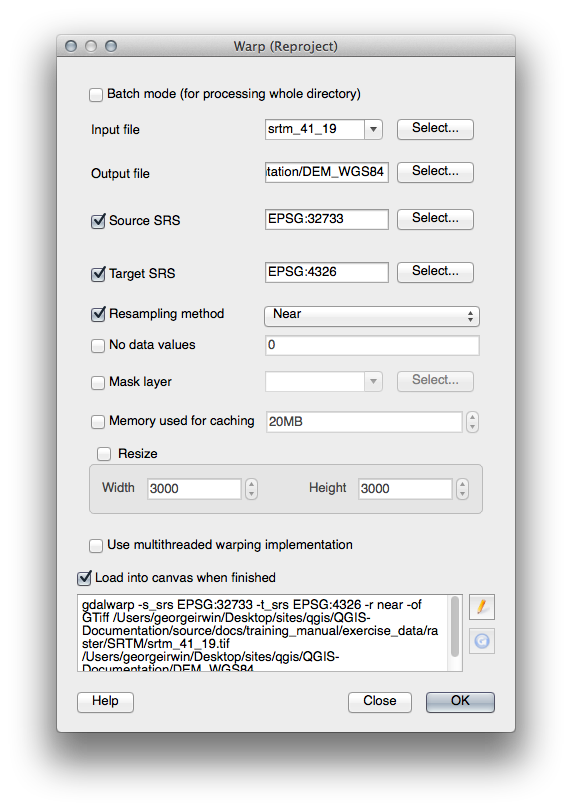
Save the raster under the same folder as the original, but with the file name DEM_WGS84.tif. Once it appears in your map, remove the srtm_41_19.tif dataset from your Layers list.
Now that it’s reprojected, you can load it into your GRASS database.
Abre el diálogo Herramientas GRASS de nuevo.
Haz clic en la pestaña Lista de módulos.
Search for r.in.gdal.qgis and double click the tool to open the tool’s dialog.
Set it up so that the input layer is DEM_WGS84 and the output is g_dem.
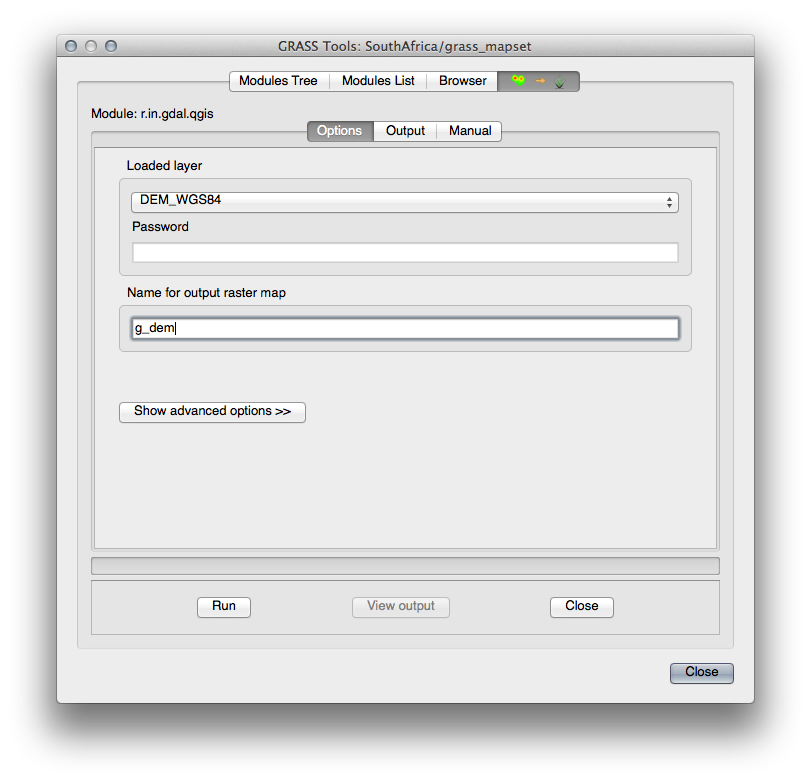
Haz clic en Ejecutar.
Cuando el proceso termine, haz clic en Ver salida.
Haz clic en Cerrar para cerrar la pestaña, y entonces haz clic en Cerrar para cerrar el cuadro de diálogo completo.
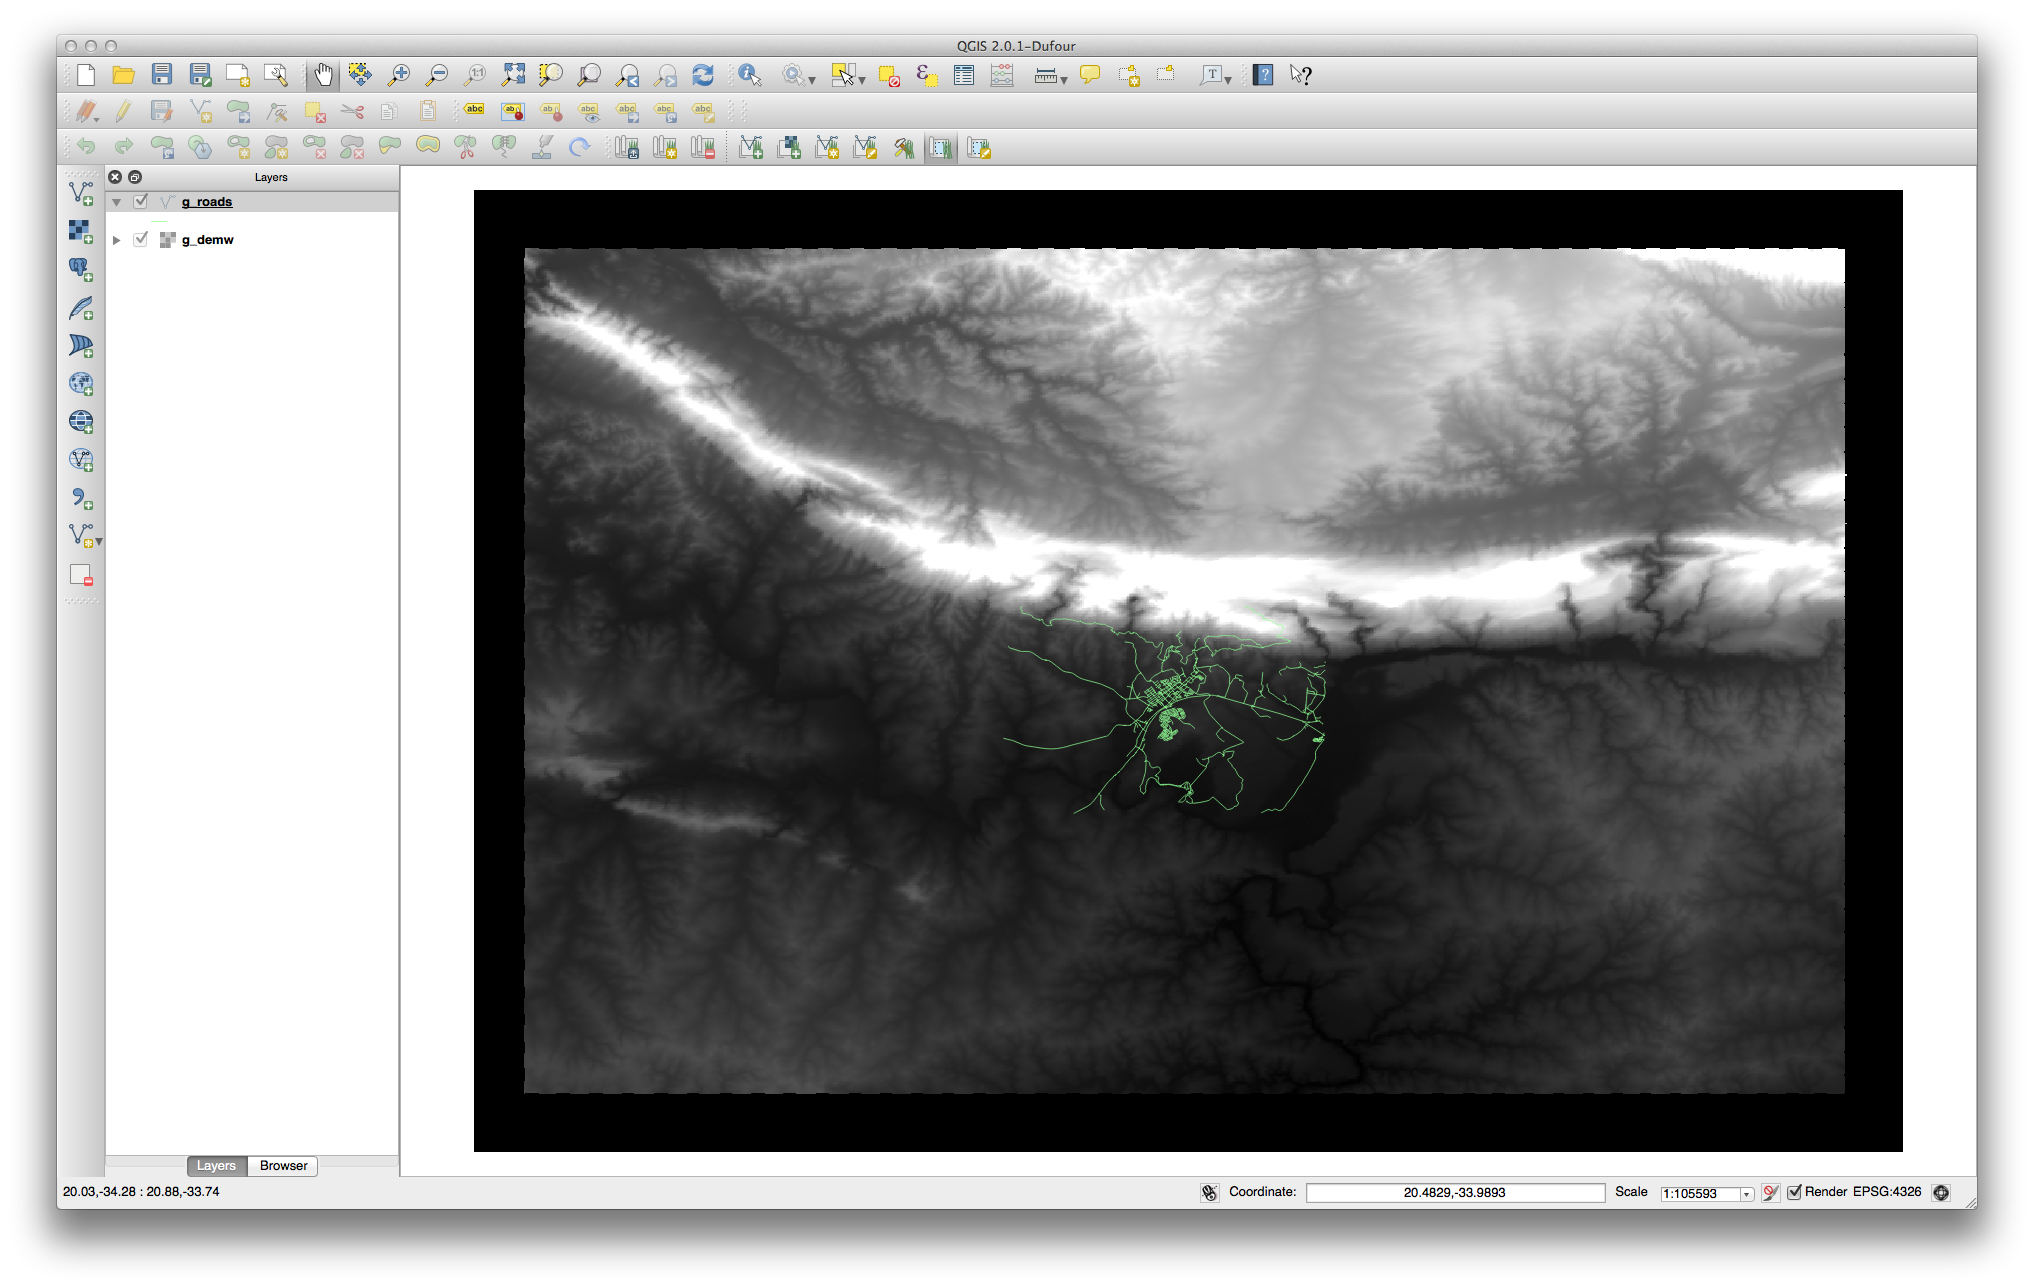
You may now remove the original DEM_WGS84 layer.
13.1.4. In Conclusion
La cadena de trabajo en GRASS para procesar datos es diferente del método que QGIS utiliza porque GRASS carga sus datos en una estructura de base de datos espacial. Sin embargo, utilizando QGIS como interfaz, puedes hacer los ajustes de un directorio de mapas de GRASS más fácilmente utilizando capas existentes en QGIS como fuente de datos para GRASS.
13.1.5. What’s Next?
Ahora que los datos están importado a GRASS, podemos ver las operaciones de análisis avanzado que GRASS ofrece.