17.5. Lesson: 도형 구조
이 강의에서 우리는 SQL로 단순한 도형을 구성하는 방법에 대해 좀 더 깊이 알아볼 것입니다. 실제 상황에서는 아마도 QGIS 같은 GIS의 디지타이즈 작업 도구를 사용해서 복잡한 도형을 생성할 테지만, 도형이 어떻게 구성되는지 이해한다면 쿼리 작성 및 데이터베이스가 어떻게 조성되는지 이해하는 데 도움이 될 수 있습니다.
이 강의의 목표: PostgreSQL/PostGIS에서 직접 공간 엔티티를 생성하는 방법을 더 잘 이해하기.
17.5.1. 라인스트링 생성
address 데이터베이스로 돌아가서, ‘streets’ 테이블을 다른 테이블과 일치시켜봅시다. 다시 말하자면 도형에 제약 조건을 걸고, ‘geometry_columns’ 테이블에 인덱스 및 항목을 추가해봅시다.
17.5.2. Try Yourself  중급
중급
streets 테이블을 수정해서 ‘ST_LineString’ 유형의 도형 열을 생성하십시오.
도형 열 테이블에 수반되는 업데이트를 적용해야 합니다!
또 LINESTRINGS 또는 null이 아닌 도형이 추가되는 일을 방지하기 위해 제약 조건을 추가하십시오.
새 도형 열에 공간 인덱스를 생성하십시오.
Now let’s insert a linestring into our streets table. In this case we will update an existing street record:
update streets
set the_geom = 'SRID=4326;LINESTRING(20 -33, 21 -34, 24 -33)'
where streets.id=2;
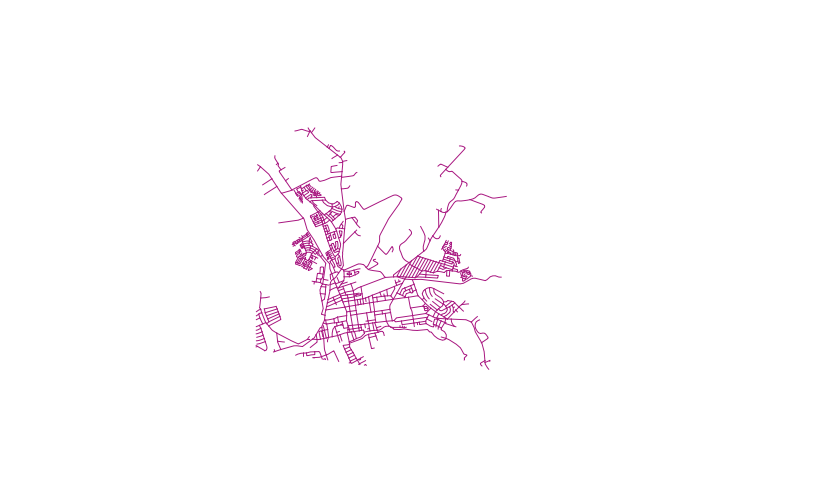
QGIS에서 결과를 살펴보십시오. (Layers 패널에서 ‘streets’ 레이어를 오른쪽 클릭한 다음 Zoom to layer extent 를 선택해야 할 수도 있습니다.)
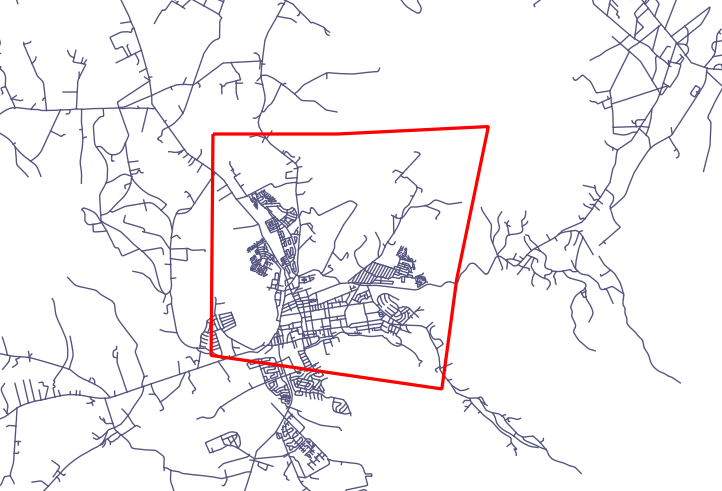
이제 QGIS에서 그리고 커맨드 입력 창에서 더 많은 도로 항목을 생성하십시오.
17.5.3. 폴리곤 생성
Creating polygons is just as easy. One thing to remember is that by definition, polygons have at least four vertices, with the last and first being co-located:
insert into cities (name, the_geom)
values ('Tokyo', 'SRID=4326;POLYGON((10 -10, 5 -32, 30 -27, 10 -10))');
주석
폴리곤의 좌표 목록에 이중 괄호를 사용해야 합니다. 이렇게 하면 서로 연결되지 않은 복수의 영역을 가진 복잡한 폴리곤을 추가할 수 있습니다. 다음은 그 예입니다.
insert into cities (name, the_geom)
values ('Tokyo Outer Wards',
        'SRID=4326;POLYGON((20 10, 20 20, 35 20, 20 10),
                           (-10 -30, -5 0, -15 -15, -10 -30))'
        );
이 단계를 따라했다면, QGIS에 ‘cities’ 데이터셋을 불러와서 속성 테이블을 열고 새 항목을 선택해서 결과를 확인할 수 있습니다. 이 두 폴리곤이 어떻게 하나의 폴리곤처럼 반응하는지 살펴보십시오.
17.5.4. 예제 : 도시와 인물을 연결
이 예제를 위해 다음 단계를 거쳐야 합니다.
‘people’ 테이블에서 모든 데이터를 삭제하십시오.
‘people’ 테이블에 ‘cities’ 테이블의 기본 키를 참조하는 외래 키를 추가하십시오.
QGIS를 사용해 몇몇 도시를 디지타이즈하십시오.
SQL을 이용해서 새 인물 레코드를 몇 개 인서트하고, 각 레코드가 관련 도로 및 도시 정보를 갖고 있는지 확인하십시오.
Your updated people schema should look something like this:
\d people

Table "public.people"
   Column   |         Type          |                      Modifiers
 -----------+-----------------------+--------------------------------------------
  id        | integer               | not null
            |                       | default nextval('people_id_seq'::regclass)
  name      | character varying(50) |
  house_no  | integer               | not null
  street_id | integer               | not null
  phone_no  | character varying     |
  the_geom  | geometry              |
  city_id   | integer               | not null
Indexes:
  "people_pkey" PRIMARY KEY, btree (id)
  "people_name_idx" btree (name)
Check constraints:
  "people_geom_point_chk" CHECK (st_geometrytype(the_geom) =
                       'ST_Point'::text OR the_geom IS NULL)
Foreign-key constraints:
  "people_city_id_fkey" FOREIGN KEY (city_id) REFERENCES cities(id)
  "people_street_id_fkey" FOREIGN KEY (street_id) REFERENCES streets(id)
17.5.6. Try Yourself  고급
고급
해당 도시의 주소를 모두 포함하는 최소 컨벡스 헐(minimum convex hull) 영역 및 해당 영역 주변의 버퍼를 계산해서 도시 경계를 생성하십시오.
17.5.7. 하위 오브젝트에 접근
SFS 모델 기능을 통해 SFS 도형의 하위 오브젝트에 접근할 수 있는 광범위한 옵션을 쓸 수 있습니다. ‘myPolygonTable’ 테이블의 모든 폴리곤 도형의 첫 번째 꼭짓점을 선택하고 싶다면, 다음과 같은 방법을 사용해야 합니다.
Transform the polygon boundary to a linestring:
select st_boundary(geometry) from myPolygonTable;
Select the first vertex point of the resultant linestring:
select st_startpoint(myGeometry)
from (
    select st_boundary(geometry) as myGeometry
    from myPolygonTable) as foo;
17.5.8. 데이터 처리
PostGIS는 OGC SFS/MM 표준을 따르는 모든 기능을 지원합니다. 이 기능들의 명칭은 모두 ST_ 로 시작합니다.
17.5.9. 클리핑
To clip a subpart of your data you can use the ST_INTERSECT() function. To avoid empty geometries, use:
where not st_isempty(st_intersection(a.the_geom, b.the_geom))
select st_intersection(a.the_geom, b.the_geom), b.*
from clip as a, road_lines as b
where not st_isempty(st_intersection(st_setsrid(a.the_geom,32734),
  b.the_geom));
17.5.10. 다른 도형에서 도형 생성
어떤 주어진 포인트 테이블에서 라인스트링을 생성하고자 합니다. 포인트의 순서는 id 로 정의됩니다. 또다른 배열 방법으로, GPS 수신기로 웨이포인트를 캡처할 때 얻게 되는 것과 같은 타임스탬프를 쓸 수도 있습니다.
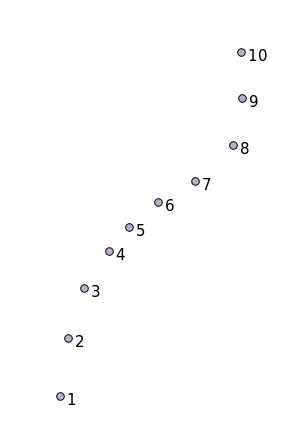
To create a linestring from a new point layer called ‘points’, you can run the following command:
select ST_LineFromMultiPoint(st_collect(the_geom)), 1 as id
from (
  select the_geom
  from points
  order by id
) as foo;
새 레이어를 생성하지 않고 이 결과를 보려면 ‘people’ 레이어에 대해 이 명령어를 실행할 수도 있지만, 물론 실재 세계에서는 아무런 의미도 없습니다.

17.5.11. 도형 청소
You can get more information for this topic in this blog entry.
17.5.12. 테이블 사이의 차이점
To detect the difference between two tables with the same structure, you can use the PostgreSQL keyword EXCEPT:
select * from table_a
except
select * from table_b;
이렇게 하면 table_a의 레코드 가운데 table_b에는 없는 모든 레코드를 얻을 수 있습니다.
17.5.13. 테이블스페이스
You can define where postgres should store its data on disk by creating tablespaces:
CREATE TABLESPACE homespace LOCATION '/home/pg';
데이터베이스 생성 시, 다음과 같은 명령어를 통해 사용할 테이블스페이스를 지정할 수 있습니다.
createdb --tablespace=homespace t4a
17.5.14. In Conclusion
PostGIS 선언문을 사용해서 좀 더 복잡한 도형을 생성하는 방법을 배웠습니다. 이 강의는 대부분 GIS 프론트엔드를 통해 지리공간 기능이 활성화된 데이터베이스와 작업할 때를 위해 사용자의 관습적인 지식을 향상시키기 위한 것이라는 사실을 기억하십시오. 보통 이런 선언문들을 수작업으로 입력해야 할 경우는 거의 없지만, 도형의 구조를 대강이나마 아는 것은 GIS를 사용할 때 도움이 될 것입니다. 특히 구조를 모르는 경우 암호문처럼 보일 오류를 맞닥뜨렸을 때 말입니다.