10.2. Lesson: 유용한 QGIS 플러그인
이제 플러그인을 설치하고 활성화/비활성화할 수 있게 됐으니, 몇몇 유용한 플러그인의 예제를 통해 어떻게 활용할 수 있는지 배워보겠습니다.
이 강의의 목표: 플러그인 인터페이스에 익숙해지고 몇몇 유용한 플러그인에 대해 배우기.
10.2.1.  Follow Along: The Raster Terrain Analysis Plugin
- Start a new map with only the srtm_41_19.tif raster dataset in it (look in exercise_data/raster/SRTM).
From the lesson on raster analysis, you’re already familiar with raster analysis functions. You used GDAL tools (accessible via Raster ‣ Analysis) for this. However, you should also know about the Raster Terrain Analysis plugin. This ships standard with newer versions of QGIS, and so you don’t need to install it separately.
Open the Plugin Manager and check that the Raster Terrain Analysis plugin is enabled:

Open the Raster menu. You should see a Terrain analysis submenu.
Click on Terrain analysis ‣ Relief and input the following options:

Save the new file under exercise_data/plugins/relief.tif (create a new folder if necessary).
Leave the Output format and Z factor unchanged.
Make sure the Add result to project box is checked.
Click the Create automatically button. The list below will be populated:
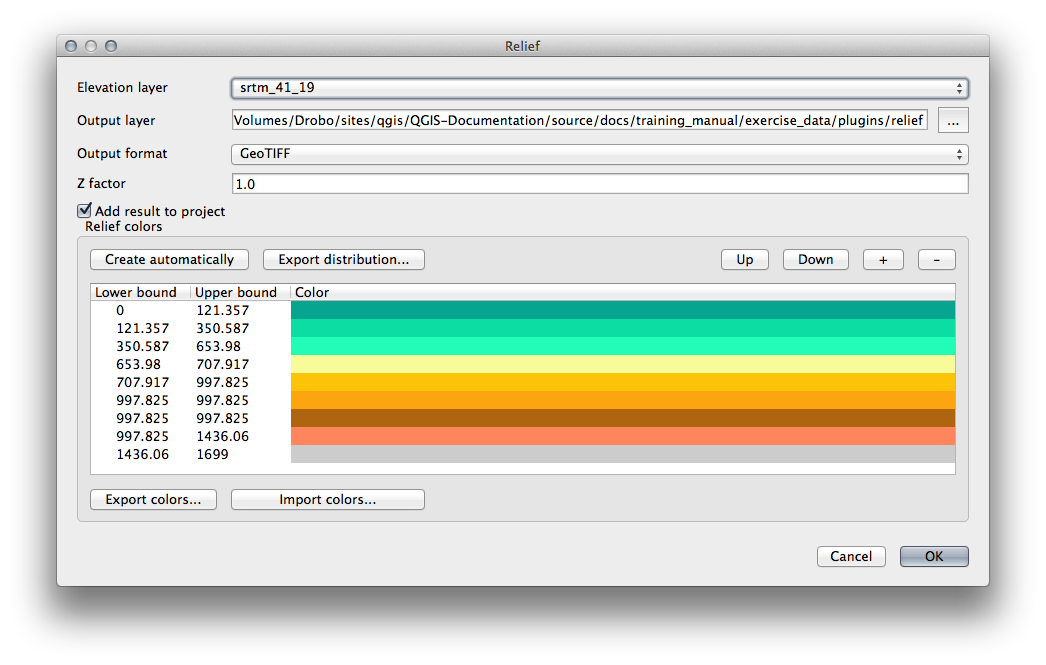
These are the colors that the plugin will use to create the relief.
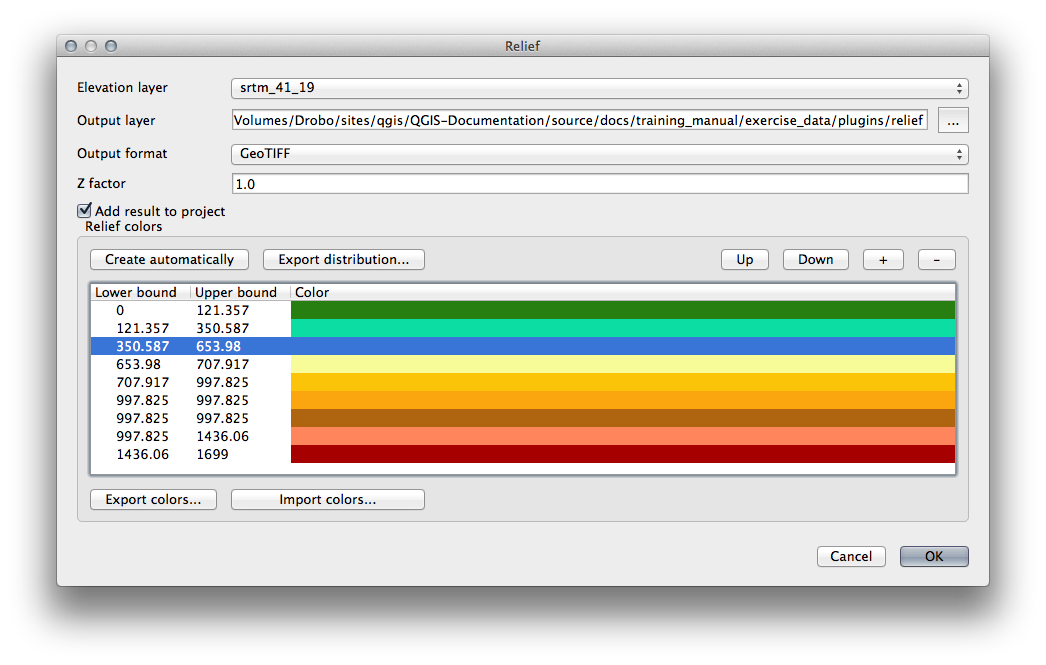
If you like, you can change these colors by double-clicking on each row’s color bar. For example:
Click OK and the relief will be created:
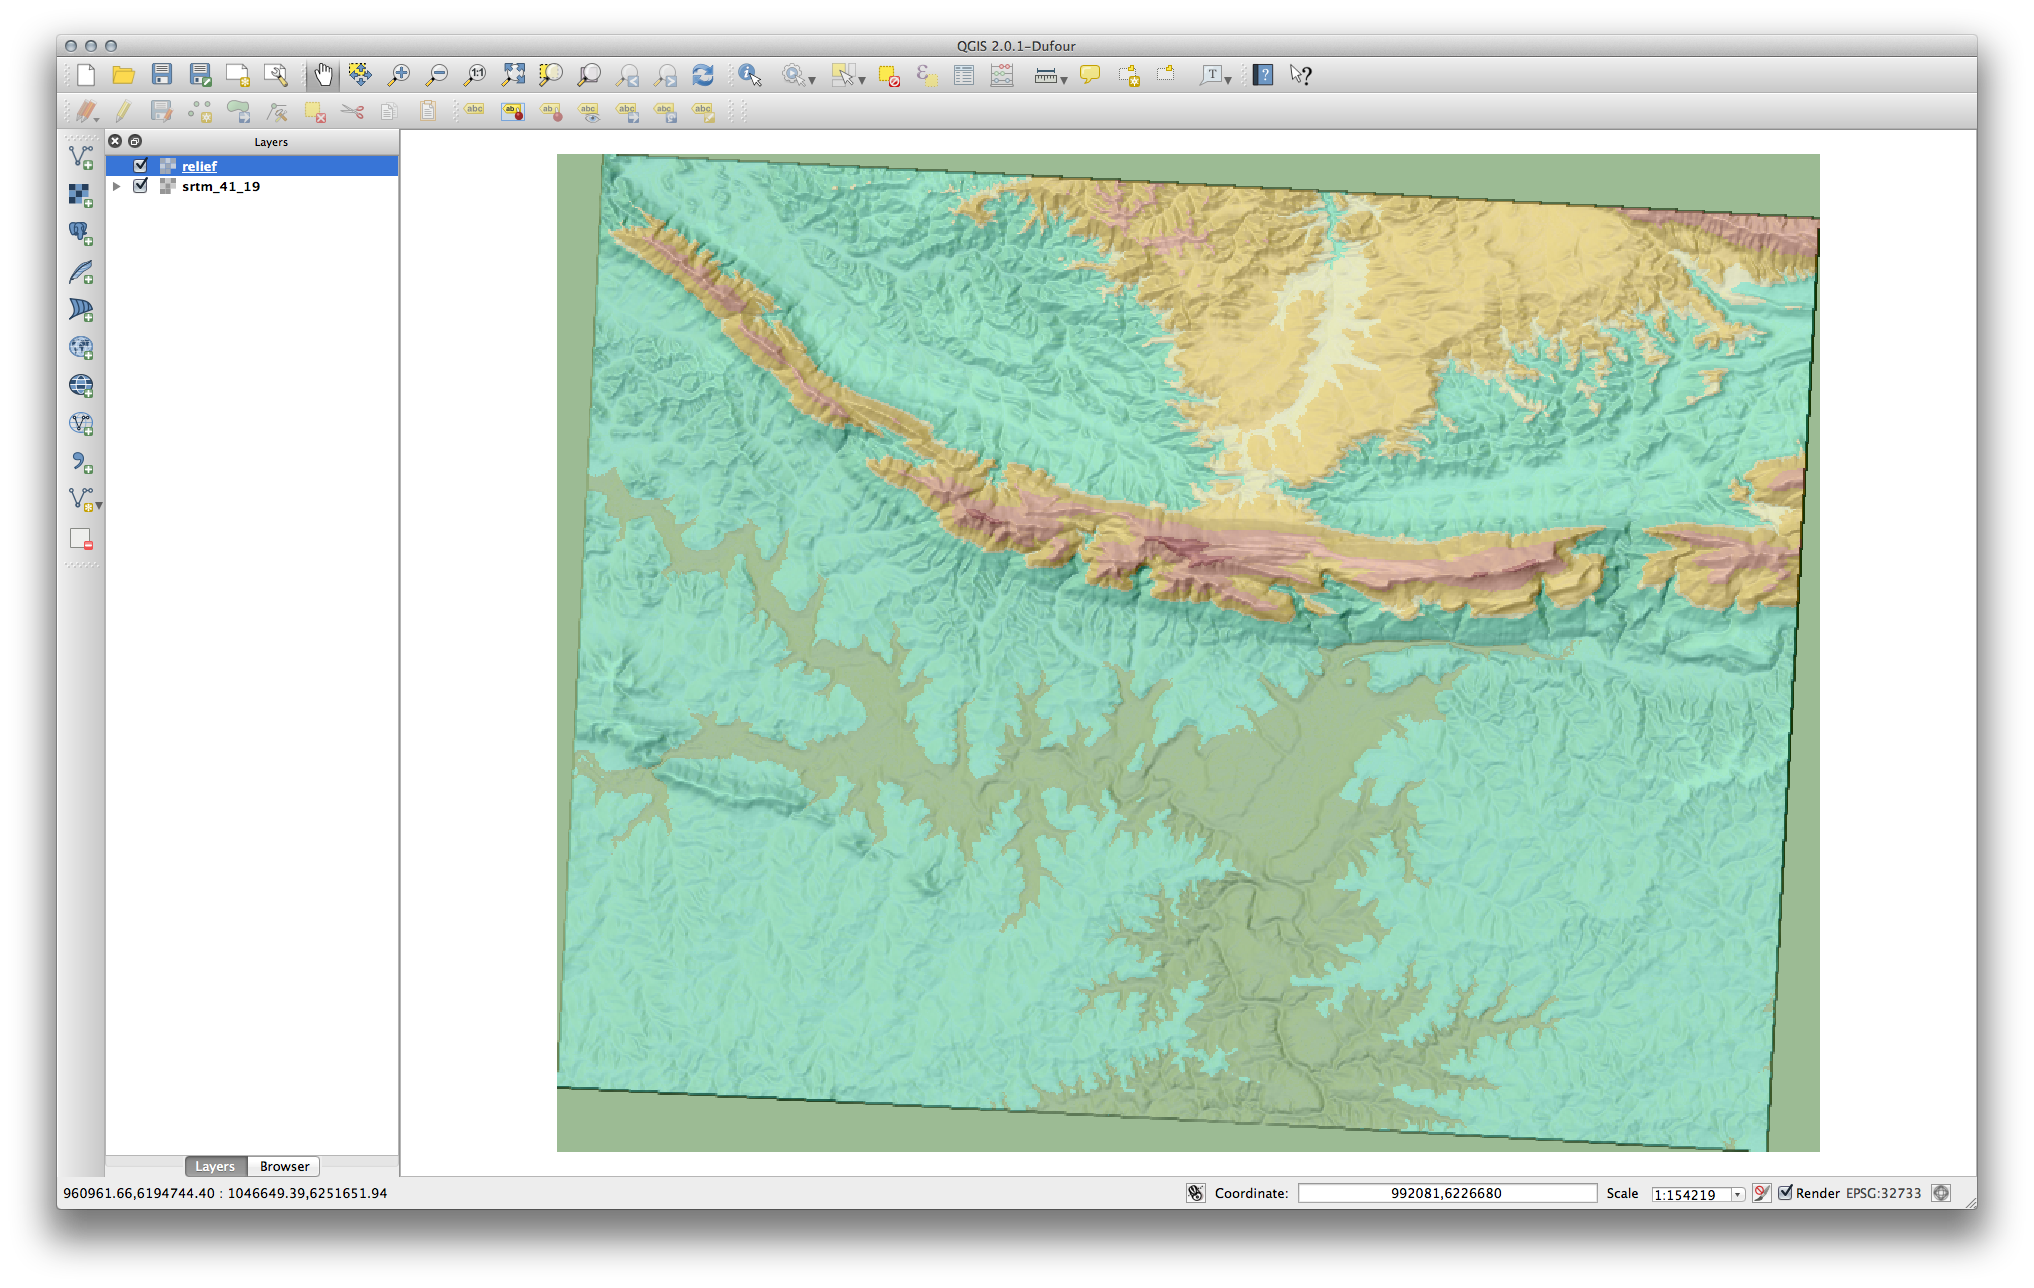
This achieves a similar effect to when you used the semi-transparent hillshade as an overlay over another raster layer. The advantage of this plugin is that it creates this effect using only one layer.
10.2.2. Follow Along: The OpenLayers Plugin
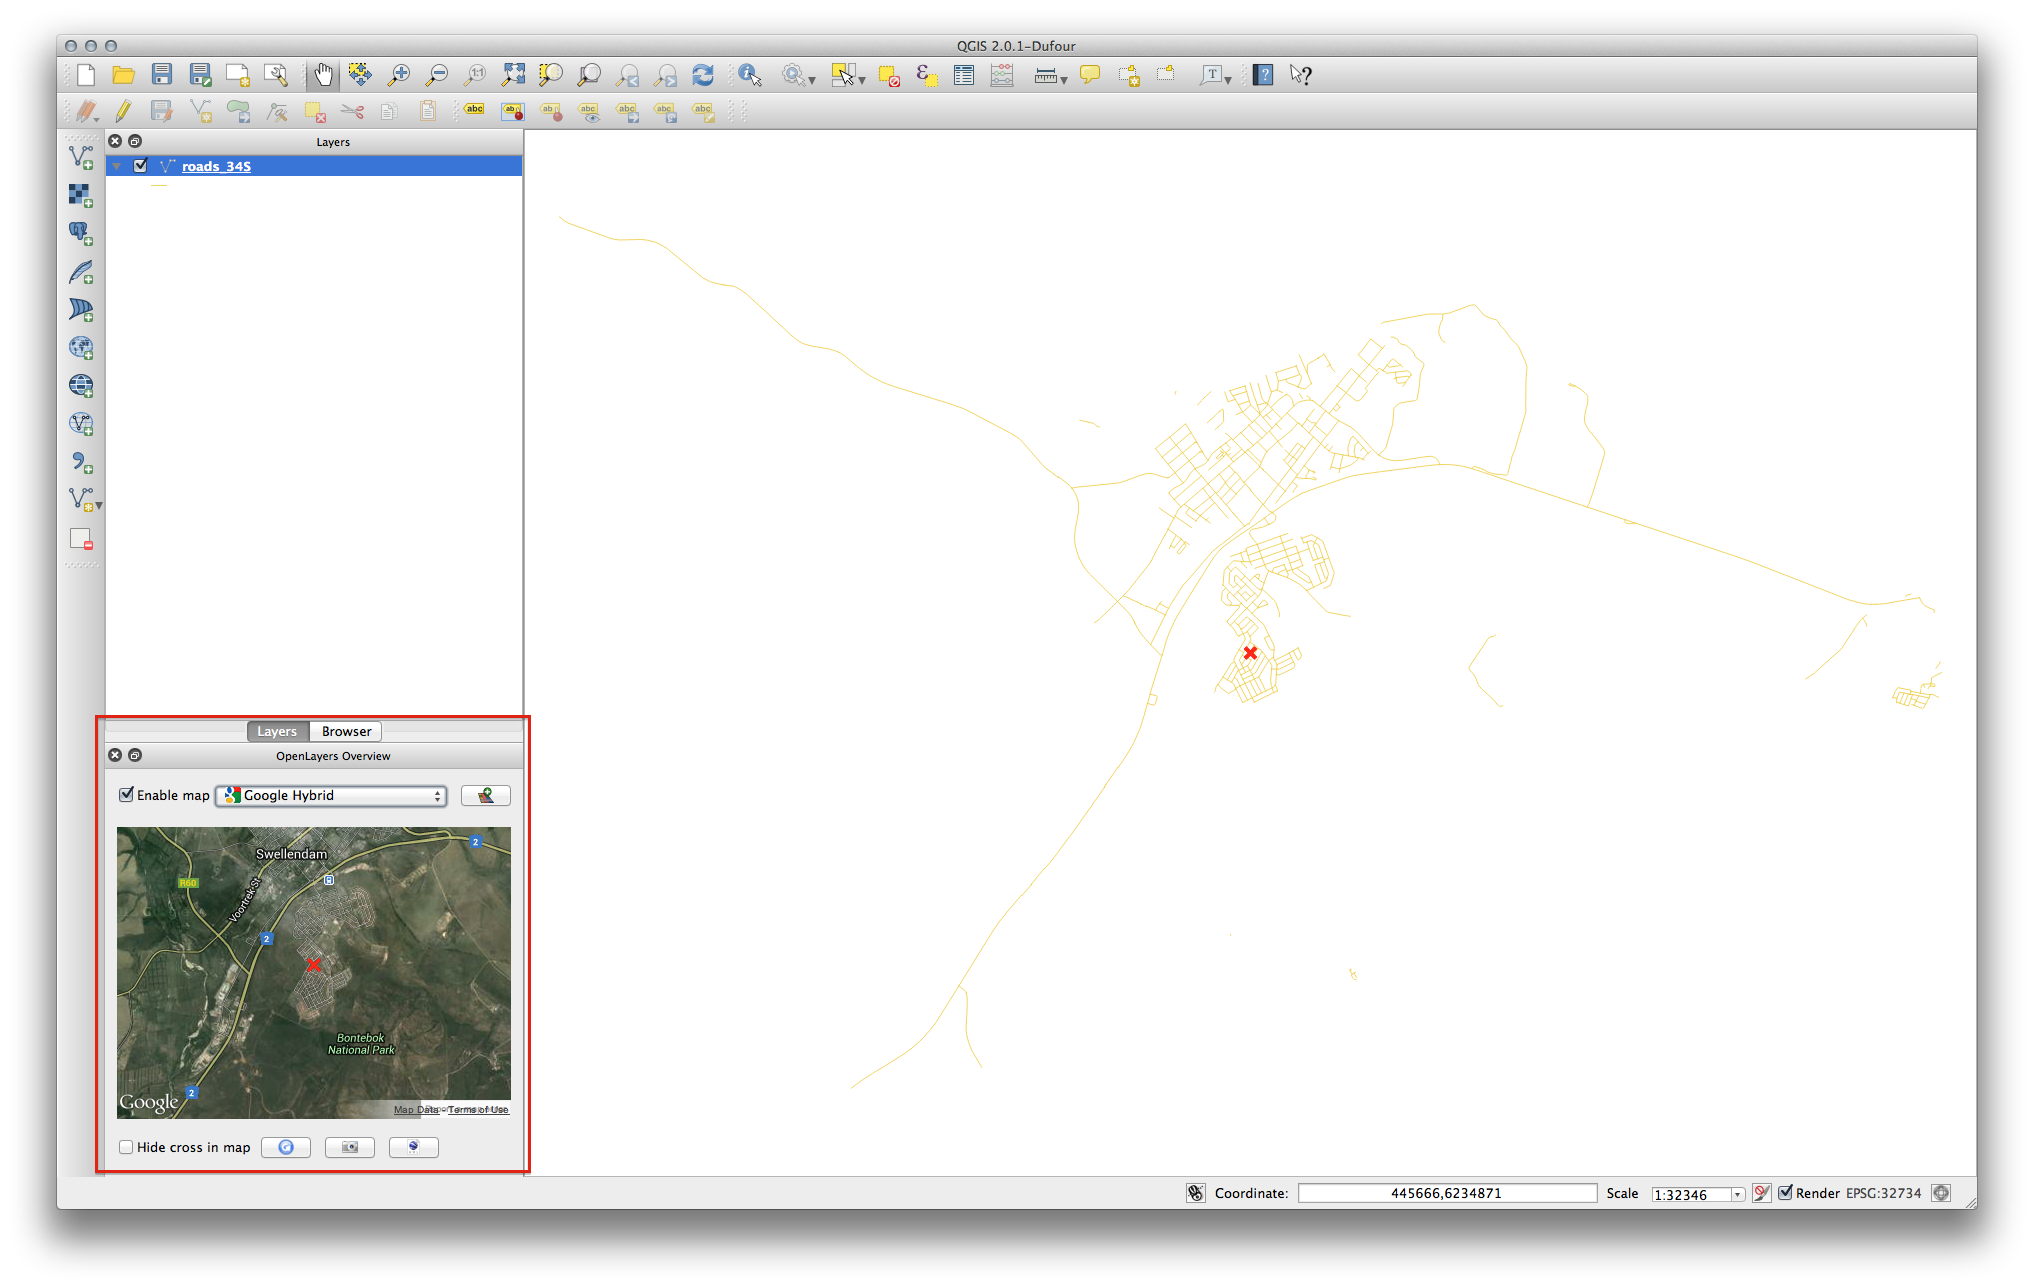
Start a new map and add the roads.shp layer to it.
Zoom in over the Swellendam area.
Using the Plugin Manager, find a new plugin by entering the word OpenLayers in the Filter field.
Select the OpenLayers plugin from the filtered list:
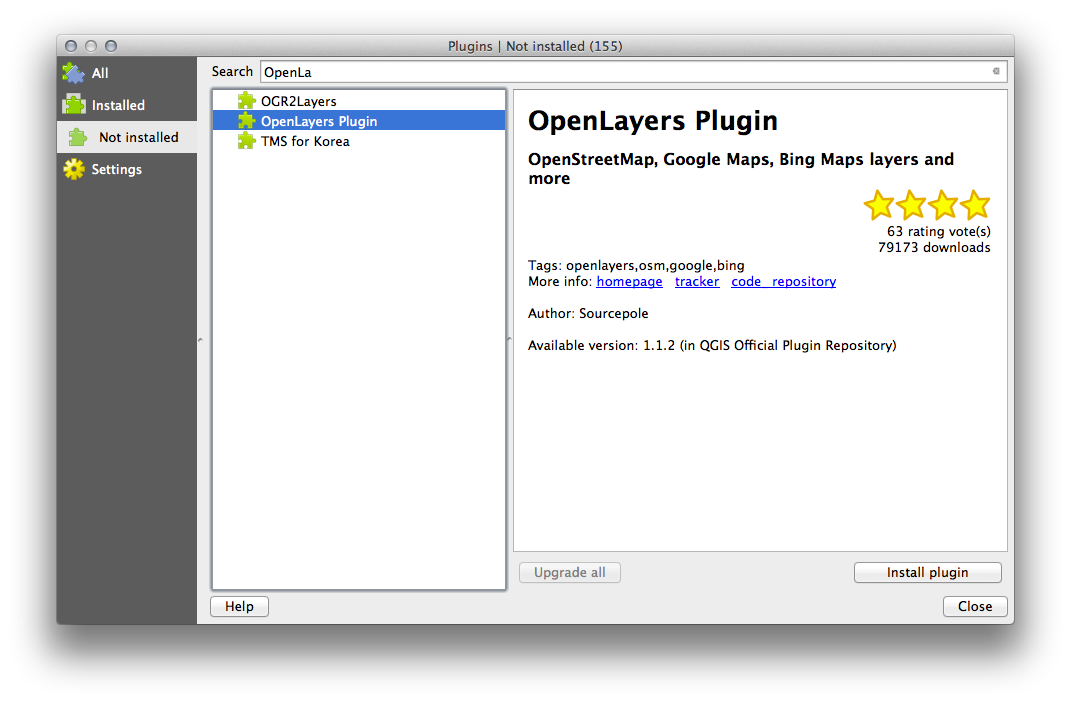
Click the Install plugin button to install.
When it’s done, close the Plugin Manager.
Before using it, make sure that both your map and the plugin are configured properly:
Open the plugin’s settings by clicking on Web ‣ OpenLayers plugin ‣ OpenLayers Overview.
Use the panel to choose a map type you want. In this example, we’ll use the “Hybrid” type map, but you can choose any others if you want.
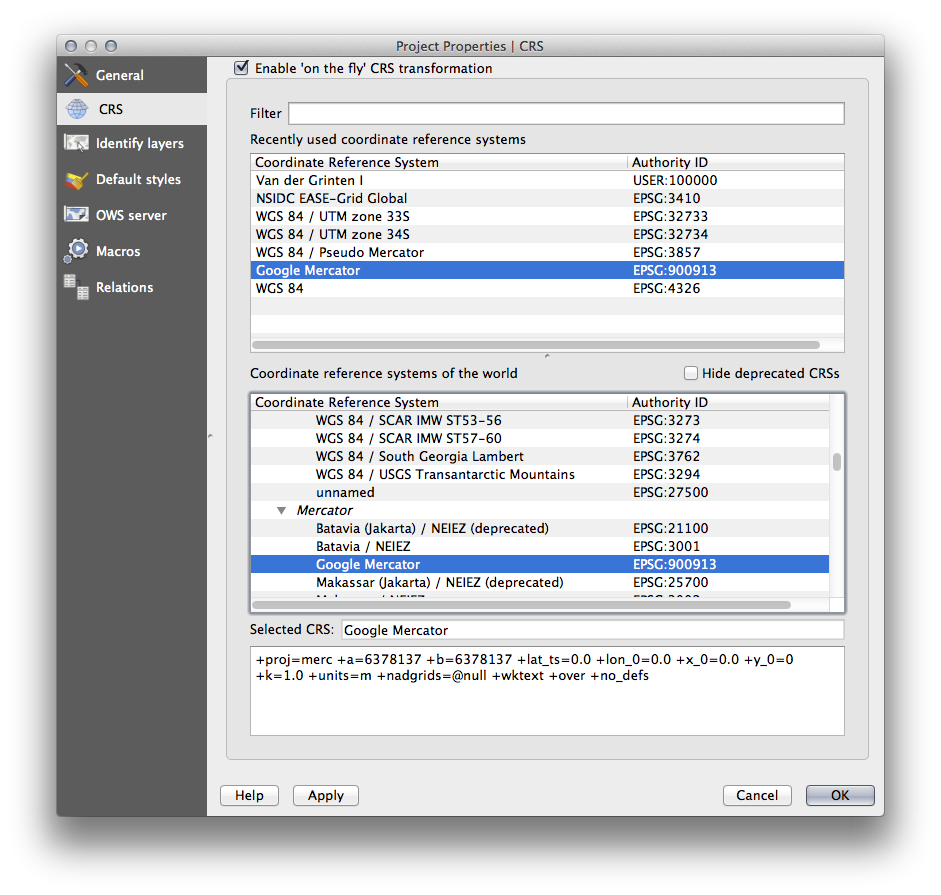
Open the Project Properties Dialog by selecting Project –> Project Properties from the menu.
Enable “on the fly” projection and use the Google Mercator projection:
Now use the plugin to give you a Google map of the area. You can click on Web ‣ OpenLayers Plugin ‣ Add Google Hybrid Layer to add it:

This will load a new raster image in from Google that you can use as a backdrop, or to help you find out where you are on the map. Here is such a layer, with our own vector road layer as overlay:
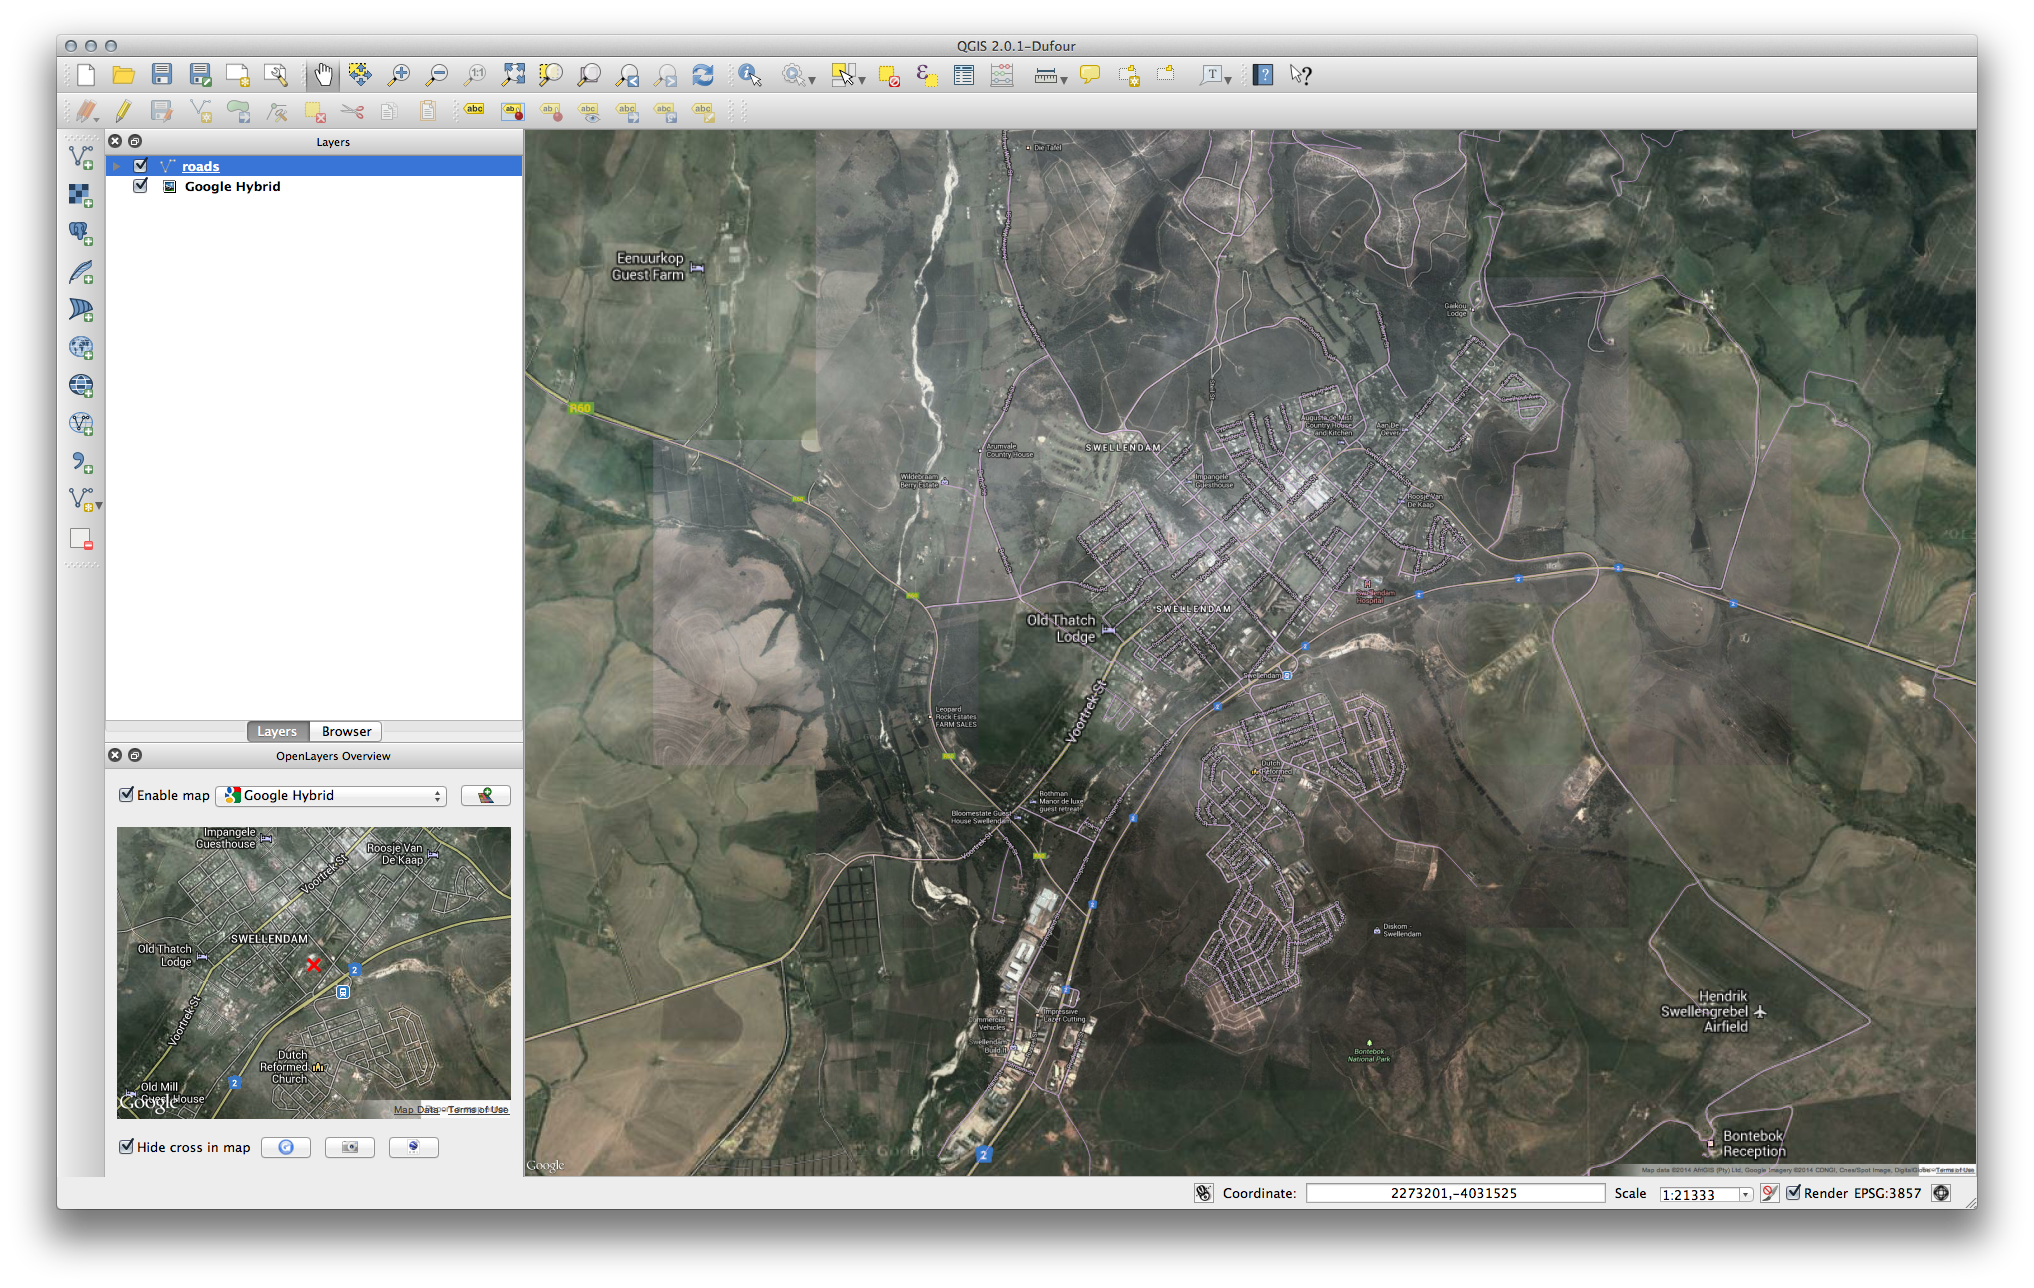
주석
You may need to drag your roads layer above the Google layer to make it visible above the background layer. It may also be necessary to zoom to the extent of the roads layer to re-center the map.
10.2.3.  Follow Along: The GeoSearch Plugin
Start a new map with no datasets.
Open the Plugin Manager and filter for the GeoSearch Plugin and click Install Plugin to install it.
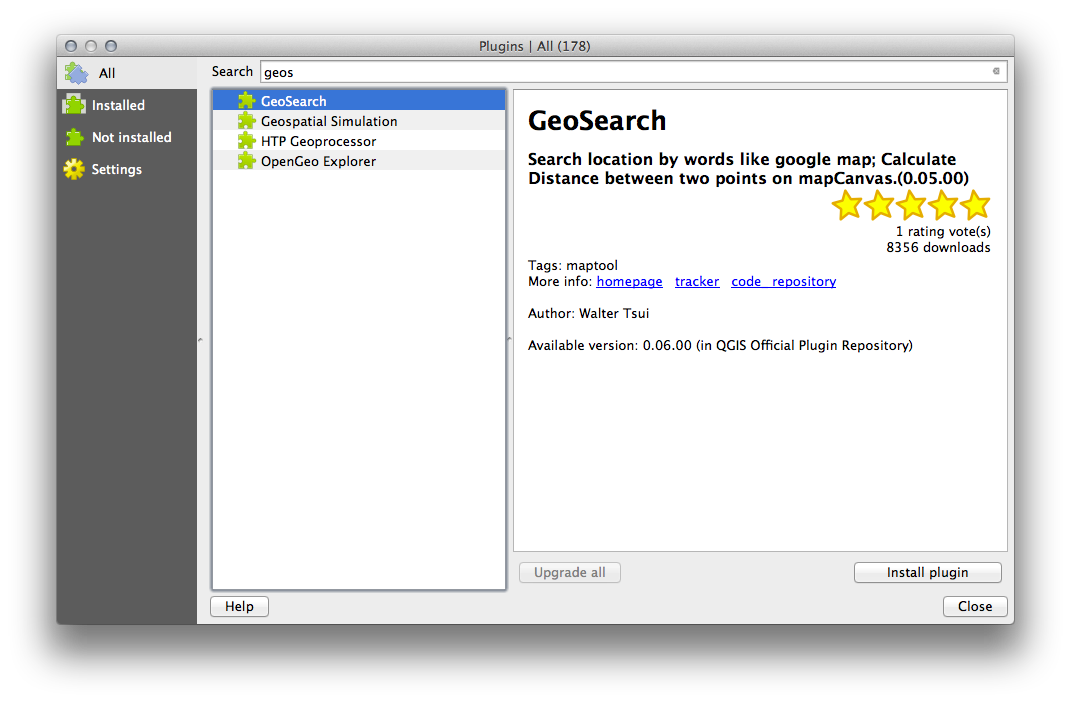
Close the Plugin Manager.
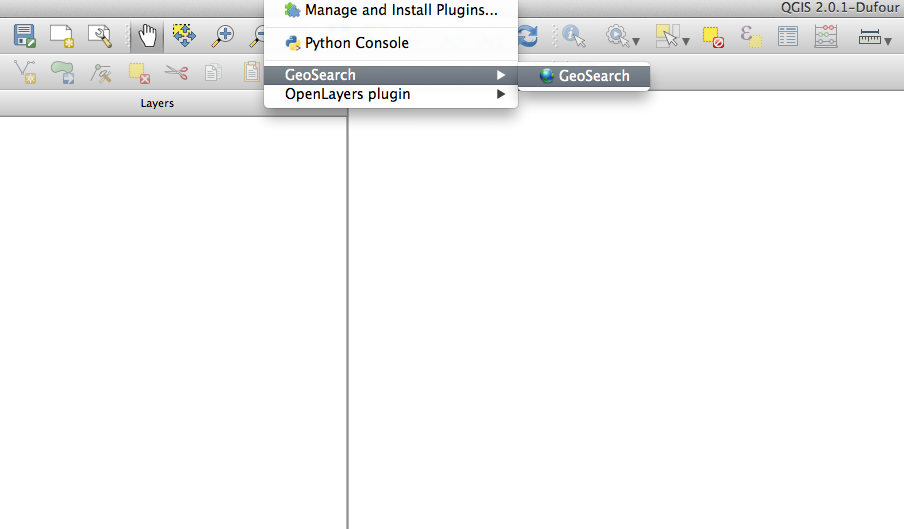
You can now use the GeoSearch plugin to search for placenames. Click on Plugins ‣ GeoSearch Plugin ‣ GeoSearch to open the GeoSearch dialog.
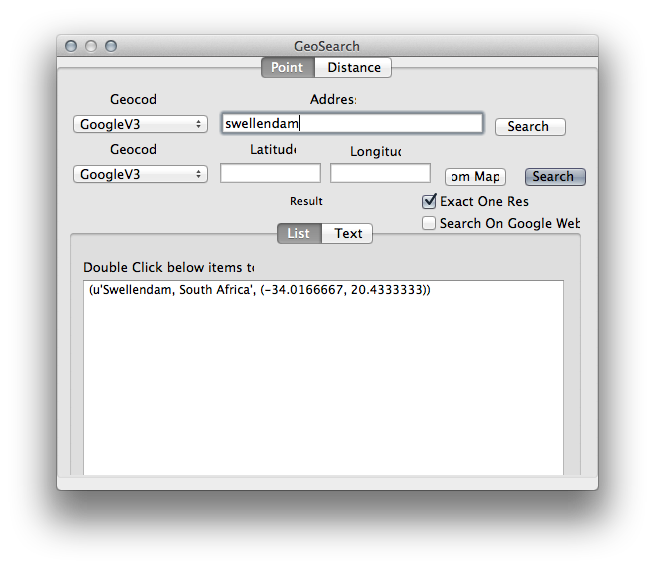
Search for Swellendam in the GeoSearch Dialog to locate it on your map:
10.2.4. In Conclusion
QGIS에서 사용할 수 있는 유용한 플러그인들이 많이 있습니다. 이 플러그인들을 설치하고 관리하기 위한 내장 도구를 사용하면, 새 플러그인을 찾아 최대한 활용할 수 있습니다.
10.2.5. What’s Next?
다음으로 원격 서버에 존재하는 레이어를 실시간으로 이용하는 방법을 배워보겠습니다.