13.1. Lesson: GRASS 설정
Using GRASS in QGIS requires you to think of the interface in a slightly different way. Remember that you’re not working in QGIS directly, but working in GRASS via QGIS.
이 강의의 목표: QGIS에서 GRASS 프로젝트를 시작하기.
13.1.1.  Follow Along: 새 GRASS 프로젝트 시작
To launch GRASS from within QGIS, you need to activate it as with any other plugin. First, open a new QGIS project.
Plugin Manager 의 목록에서, GRASS 를 활성화하십시오.
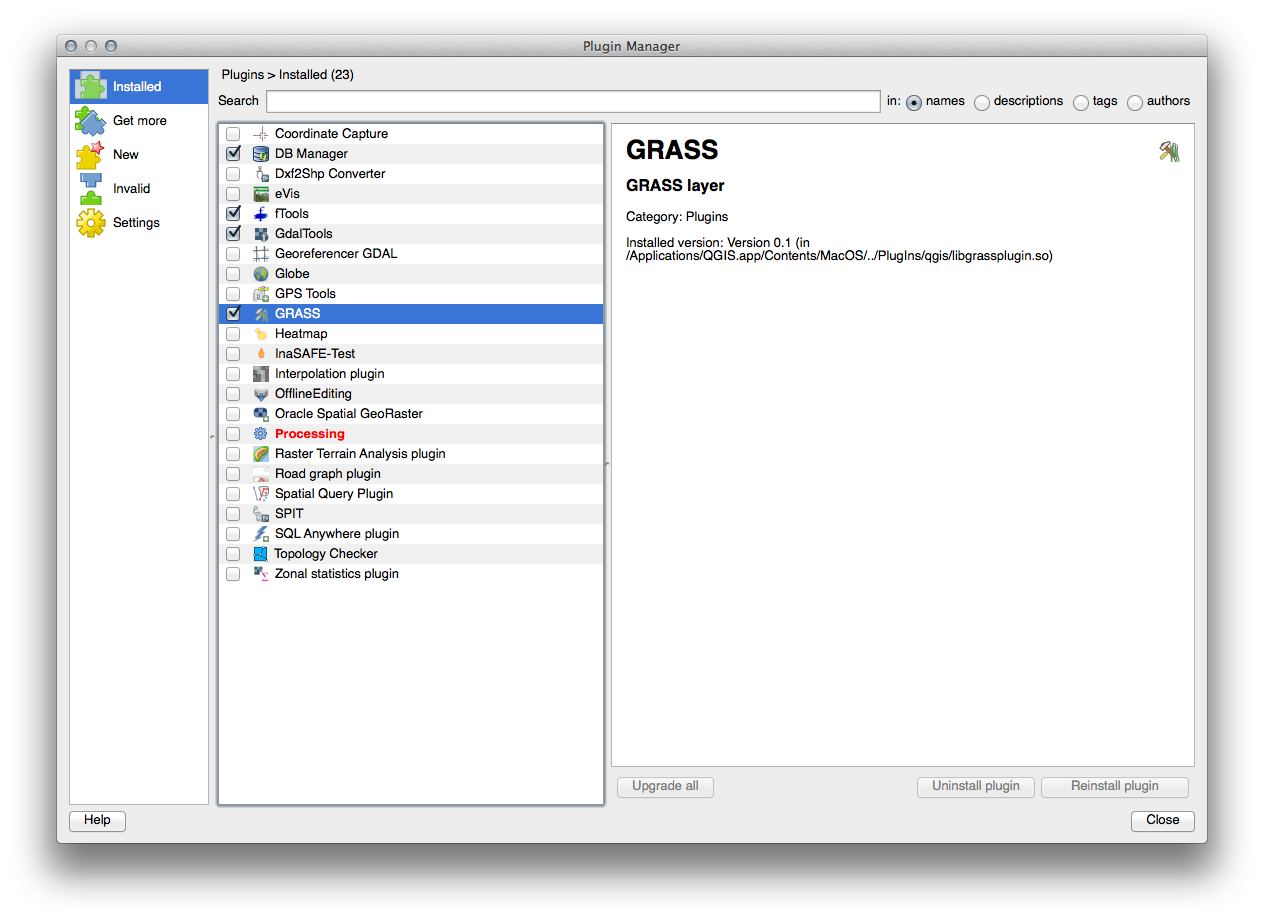
The GRASS toolbar will appear:

Before you can use GRASS, you need to create a mapset. GRASS always works in a database environment, which means that you need to import all the data you want to use into a GRASS database.
Click on the New mapset button:

You’ll see a dialog explaining the structure of a GRASS mapset.
Create a new directory called grass_db in exercise_data.
GRASS의 데이터베이스를 설정하는 데 다음과 같이 이 디렉터리를 설정하십시오.
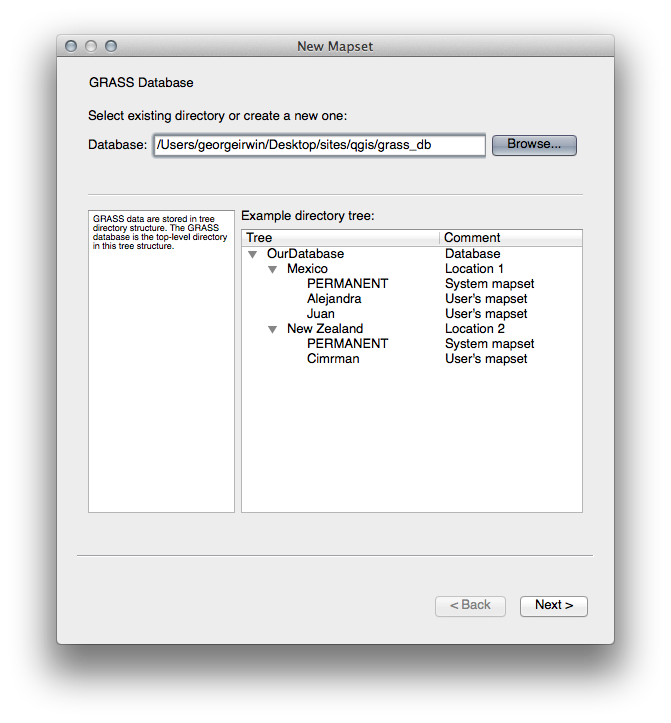
Next 를 클릭합니다.
GRASS needs to create a “location”, which describes the maximum extents of the geographic area you’ll be working in.
Call the new location South_Africa:
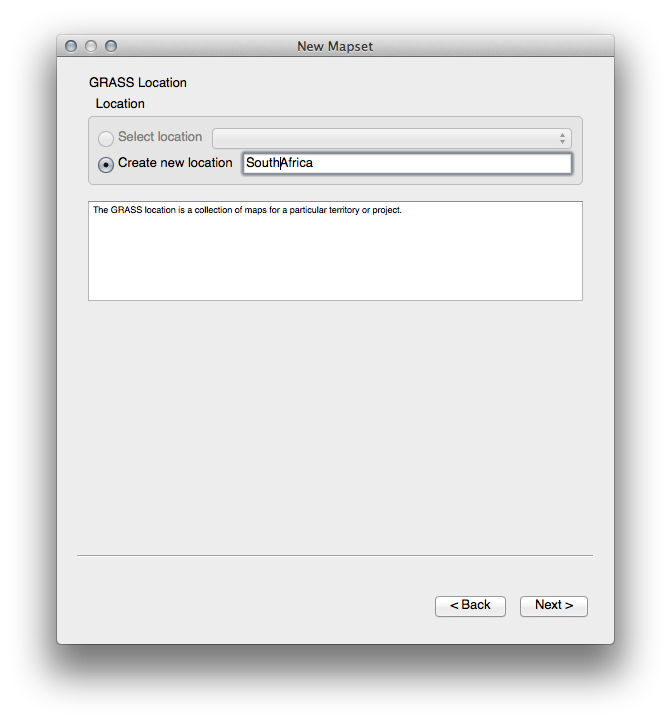
Next 를 클릭합니다.
We’ll be working with WGS 84, so search for and select this CRS:
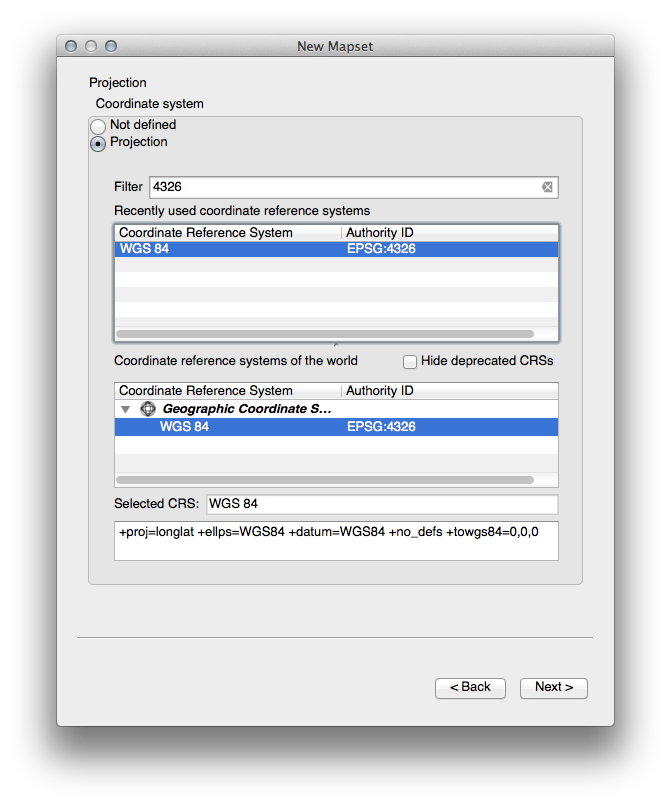
Next 를 클릭합니다.
이제 드롭다운 목록에서 South Africa 를 선택한 다음 Set 을 클릭하십시오.
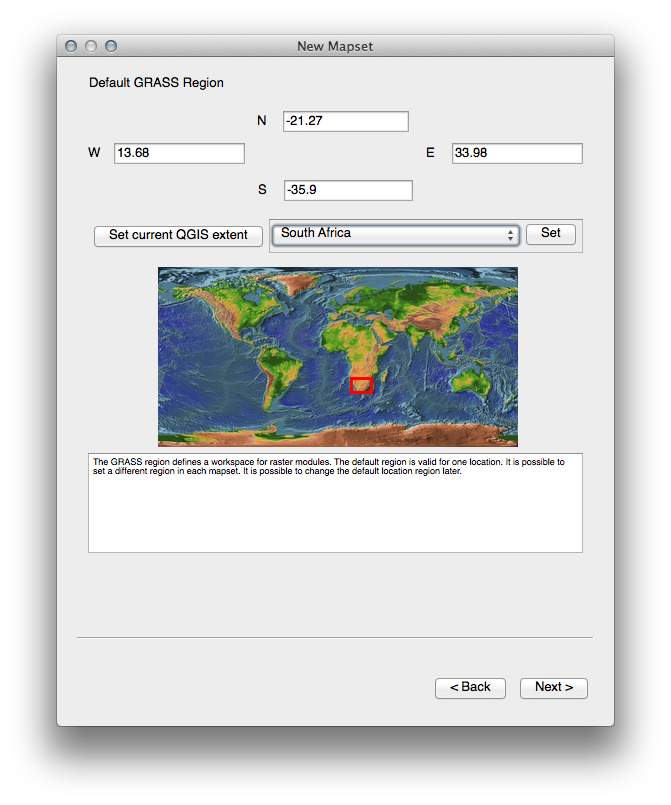
Next 를 클릭합니다.
여러분이 작업하게 될 맵 파일인 맵셋을 생성하십시오.
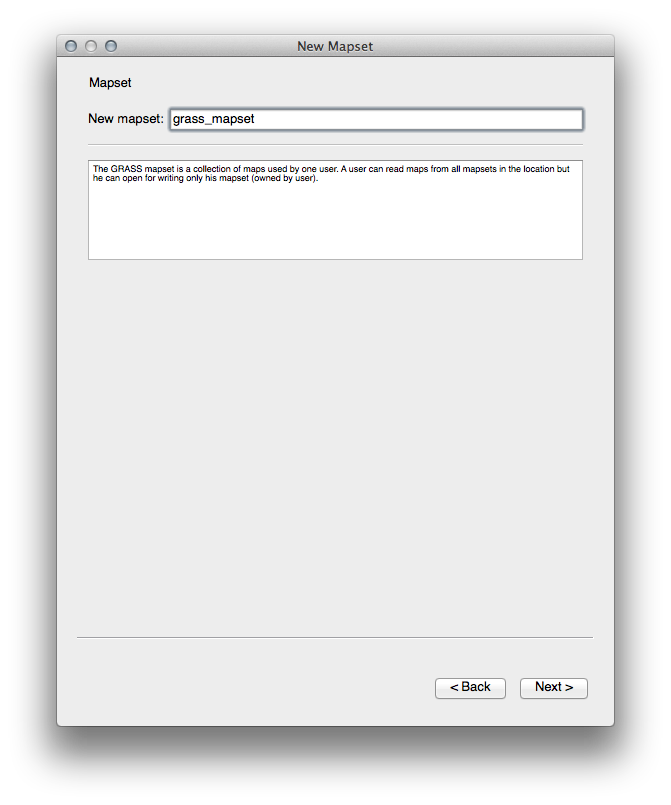
Once you’re done, you’ll see a dialog asking you to confirm that the settings it displays are correct.
Finish 를 클릭합니다.
이어지는 대화 창의 OK 를 클릭합니다.
13.1.2. GRASS에 벡터 데이터 불러오기
You’ll now have a blank map. To load data into GRASS, you need to follow a two-step process.
Load data into QGIS as usual. Use the roads.shp dataset (found under exercise_data/epsg4326/) for now.
As soon as it’s loaded, click on the GRASS Tools button:

In the new dialog, select Modules list.
Find the vector import tool by entering the term v.in.ogr.qgis in the Filter field.
The v stands for “vector”, in means its a function to import data into the GRASS database, ogr is the software library used to read vector data, and qgis means that the tool will look for a vector from among the vectors already loaded into QGIS.
Once you’ve found this tool, click on it to bring up the tool itself:
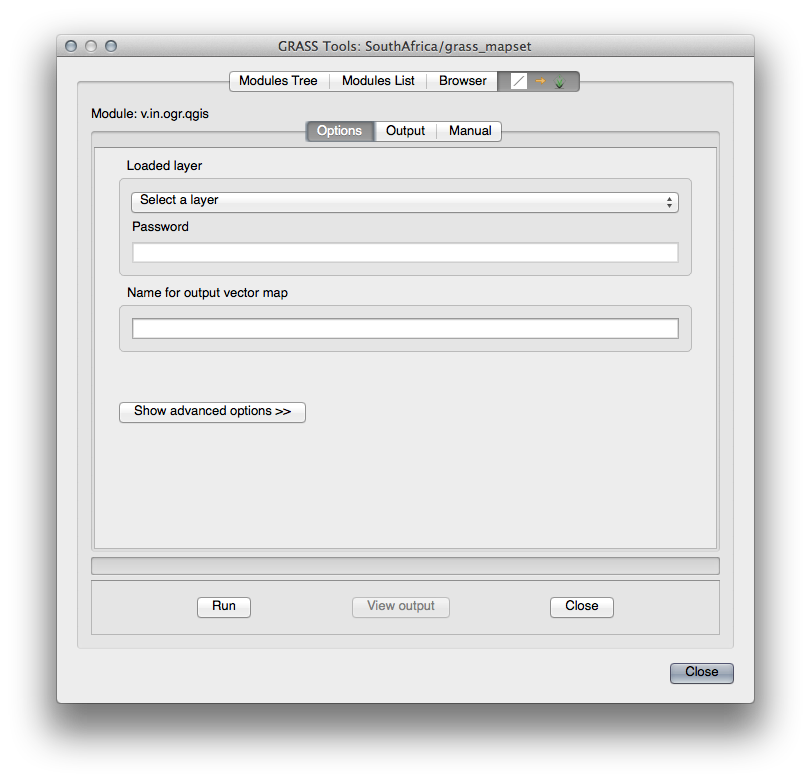
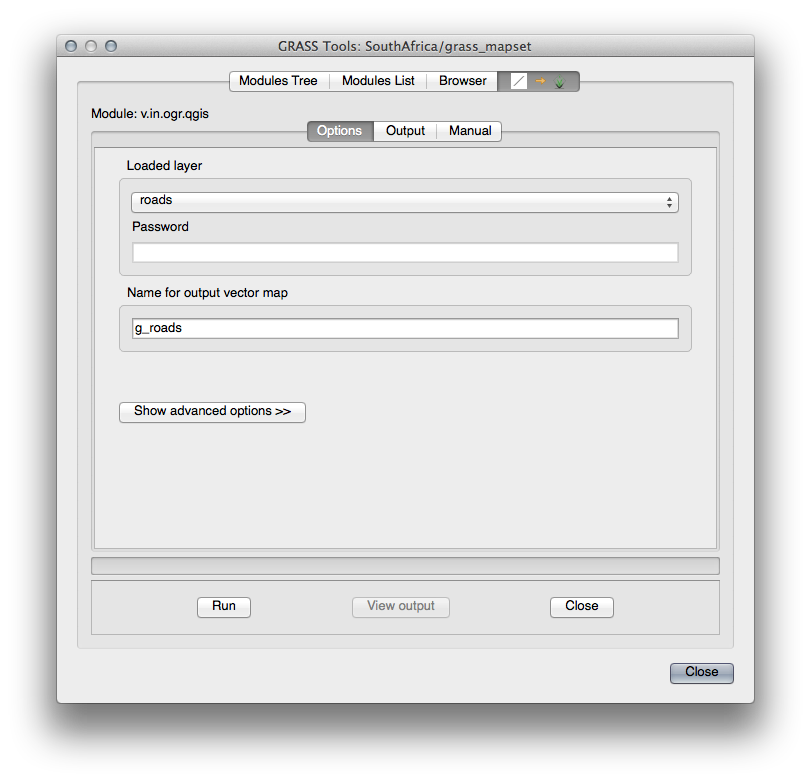
Set the loaded layer to roads and its GRASS version’s name to g_roads to prevent confusion.
주석
 Advanced Options 아래 있는 추가적인 가져오기 옵션들을 살펴보십시오. 이 옵션들 중에는 데이터를 가져오는 데 쓰이는 SQL 쿼리에 WHERE 구문을 추가할 수 있는 기능도 있습니다.
Run 을 클릭해서 가져오기를 시작합니다.
가져오기가 끝나면 View output 버튼을 클릭해서 맵에 새로 가져온 GRASS 레이어를 살펴보십시오.
첫 번째 가져오기 도구를 ( View output 바로 옆에 있는 Close 버튼을 클릭해서) 닫은 다음, GRASS Tools 창을 닫으십시오.
- Remove the original roads layer.
이제 사용자의 QGIS 맵에 가져온 GRASS 레이어만 보이게 됩니다.
13.1.3. Follow Along: GRASS에 래스터 데이터 불러오기
Recall that our DEM is in the Projected CRS UTM 33S / WGS 84, but our GRASS project is in the Geographic CRS WGS 84. So let’s re-project the DEM first.
Load the srtm_41_19.tif dataset (found under exercise_data/raster/SRTM/) into the QGIS map as usual, using QGIS’ Add Raster Layer tool.
Re-project it using GDAL Warp tool (Raster ‣ Projections ‣ Warp (Reproject)), setting it up as shown:

Save the raster under the same folder as the original, but with the file name DEM_WGS84.tif. Once it appears in your map, remove the srtm_41_19.tif dataset from your Layers list.
Now that it’s reprojected, you can load it into your GRASS database.
GRASS Tools 대화 창을 다시 여십시오.
Modules List 탭을 선택합니다.
Search for r.in.gdal.qgis and double click the tool to open the tool’s dialog.
Set it up so that the input layer is DEM_WGS84 and the output is g_dem.
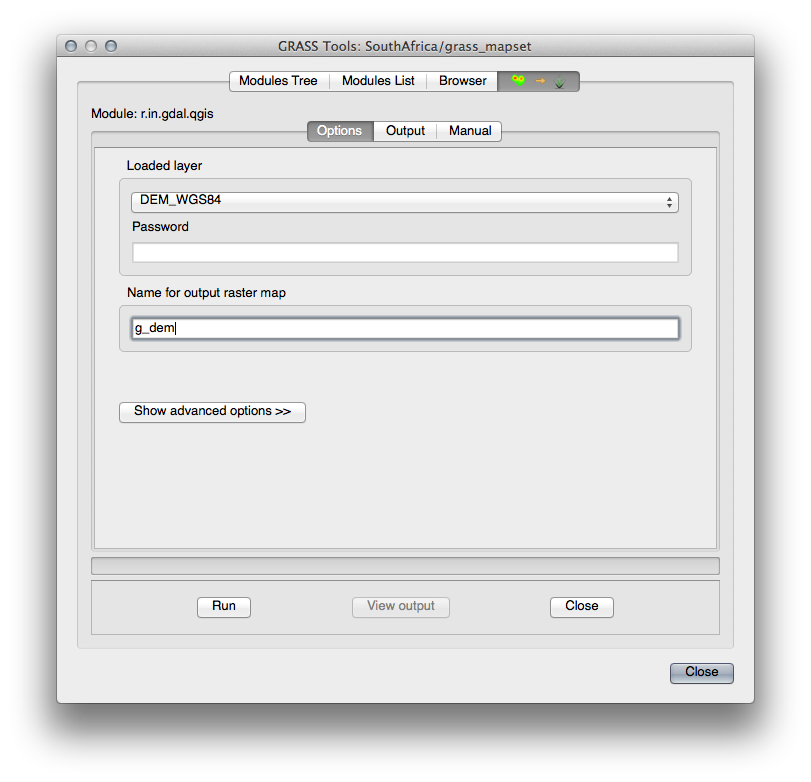
Run 을 클릭합니다.
처리가 끝나면 View output 을 클릭하십시오.
현재 탭의 Close 를 클릭한 다음, 전체 대화 창의 Close 를 클릭하십시오.
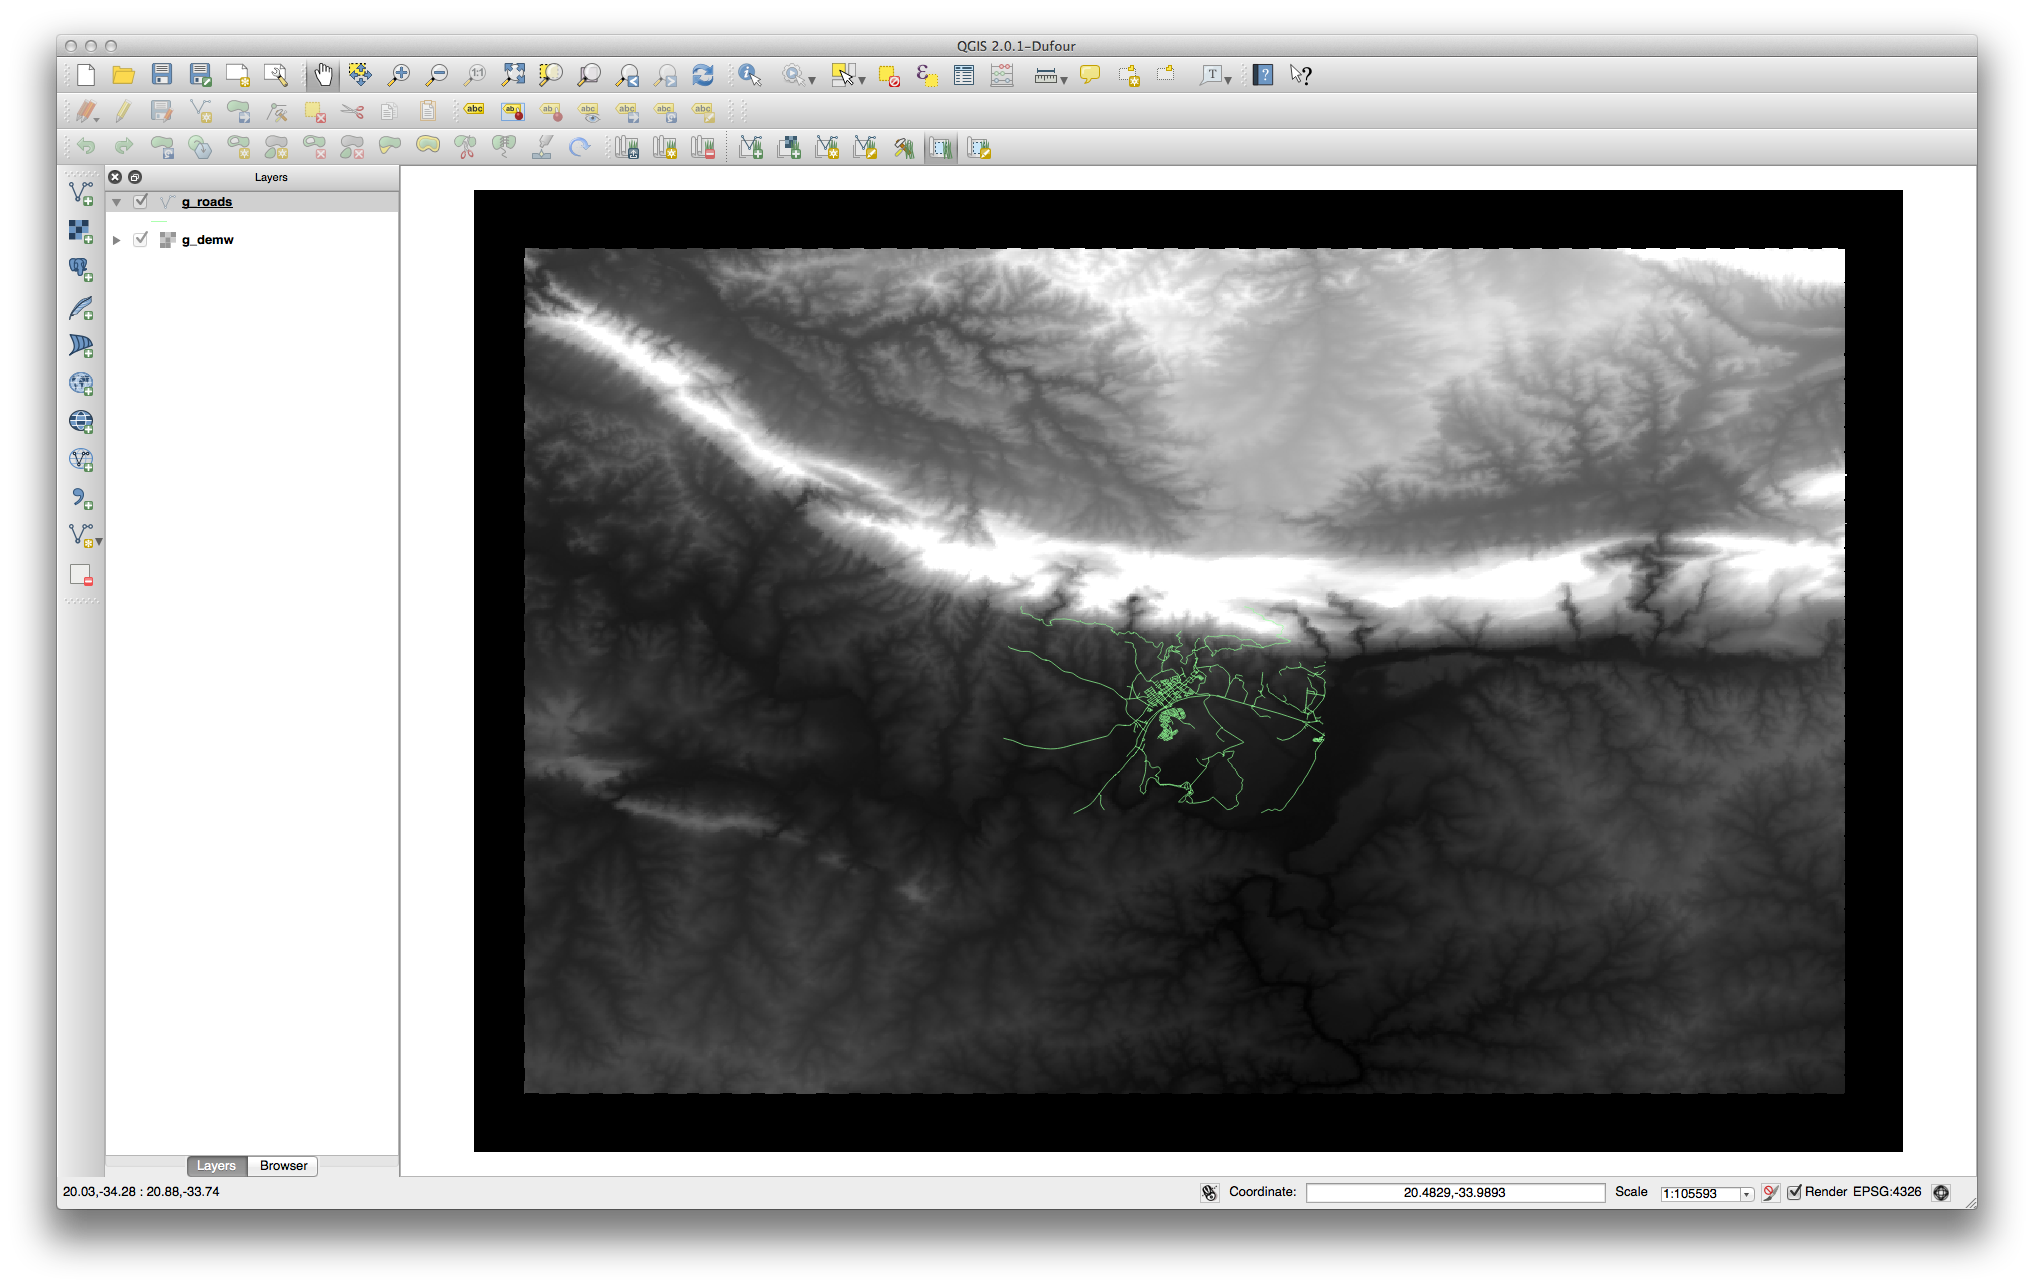
You may now remove the original DEM_WGS84 layer.
13.1.4. In Conclusion
GRASS는 데이터를 공간 데이터베이스 구조로 불러온다는 점에서 GRASS의 데이터 획득 작업 흐름은 QGIS의 방법과 약간 다릅니다. 하지만 QGIS를 프론트엔드로 사용하면, QGIS의 기존 레이어를 GRASS를 위한 데이터소스로 이용할 수 있기 때문에 GRASS 맵셋을 더 쉽게 설정할 수 있게 됩니다.
13.1.5. What’s Next?
이제 GRASS에 데이터를 가져왔으니, GRASS가 제공하는 고급 분석 작업을 해볼 차례입니다.