3.1. Lesson: 벡터 데이터 작업
Vector data is arguably the most common kind of data you will find in the daily use of GIS. It describes geographic data in terms of points, that may be connected into lines and polygons. Every object in a vector dataset is called a feature, and is associated with data that describes that feature.
이 강의의 목표: 벡터 데이터의 구조와 맵에 벡터 데이터셋을 로드하는 방법을 배우기.
3.1.1.  Follow Along: 레이어 속성 뷰
여러분이 작업할 데이터가 오브젝트가 어디에 위치하는지 나타낼 뿐만 아니라 어떤 오브젝트인지도 나타낸다는 사실을 알아야 합니다.
From the previous exercise, you should have the roads layer loaded in your map. What you can see right now is merely the position of the roads.
To see all the data available to you, with the roads layer selected in the Layers panel:
- Click on this button:

It will show you a table with more data about the roads layer. This extra data is called attribute data. The lines that you can see on your map represent where the roads go; this is the spatial data.
GIS에서 이 정의는 흔히 사용되므로, 잘 기억해두는 편이 좋습니다!
이제 속성 테이블을 닫으십시오.
Vector data represents features in terms of points, lines and polygons on a coordinate plane. It is usually used to store discrete features, like roads and city blocks.
3.1.2. Follow Along: Loading Vector Data From Shapefiles
The Shapefile is a specific file format that allows you to store GIS data in an associated group of files. Each layer consists of several files with the same name, but different file types. Shapefiles are easy to send back and forth, and most GIS software can read them.
Refer back to the introductory exercise in the previous section for instructions on how to add vector layers.
Load the data sets from the epsg4326 folder into your map following the same method:
- “places”
- “water”
- “rivers”
- “buildings”
3.1.3. Follow Along: Loading Vector Data From a Database
Databases allow you to store a large volume of associated data in one file. You may already be familiar with a database management system (DBMS) such as Microsoft Access. GIS applications can also make use of databases. GIS-specific DBMSes (such as PostGIS) have extra functions, because they need to handle spatial data.
- Click on this icon:

(If you’re sure you can’t see it at all, check that the Manage Layers toolbar is enabled.)
It will give you a new dialog. In this dialog:
- Click the New button.
- In the same epsg4326 folder, you should find the file landuse.sqlite. Select it and click Open.
You will now see the first dialog again. Notice that the dropdown select above the three buttons now reads “landuse.sqlite@...”, followed by the path of the database file on your computer.
- Click the Connect button. You should see this in the previously empty box:
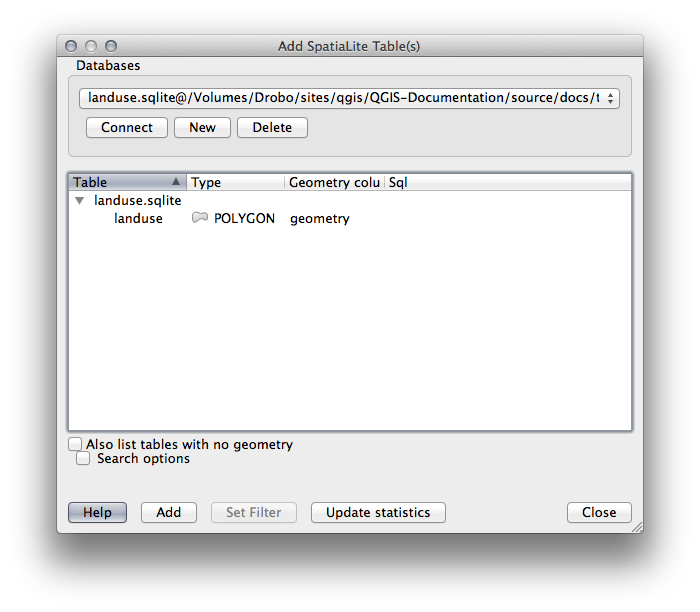
- Click on the landuse layer to select it, then click Add
주석
Remember to save the map often! The map file doesn’t contain any of the data directly, but it remembers which layers you loaded into your map.
3.1.4. Follow Along: 레이어 재배열
사용자 레이어 목록에 있는 레이어들은 맵 상에 특정 순서대로 그려집니다. 목록 맨 아래에 있는 레이어를 첫 번째로 그리고, 맨 위에 있는 레이어를 마지막에 그립니다. 목록에서 레이어 순서를 바꾸면 맵 상에 그려지는 순서도 바꿀 수 있습니다.
주석
Depending on the version of QGIS that you are using, you may have a checkbox beneath your Layers list reading Control rendering order. This must be checked (switched on) so that moving the layers up and down in the Layers list will bring them to the front or send them to the back in the map. If your version of QGIS doesn’t have this option, then it is switched on by default and you don’t need to worry about it.
현재 맵 상에 레이어가 로드되는 순서가 전혀 논리적이지 않을 수도 있습니다. 다른 레이어들이 road 레이어를 덮어 완전히 가려져 있을 수도 있습니다.
예를 들어 레이어 순서를 이렇게 하면...
... “roads” 및 “places” 레이어가 “urban areas” 레이어 아래로 가기 때문에 보이지 않게 됩니다.
이 문제를 해결하려면,
레이어 목록에서 레이어를 클릭 & 드래그하십시오.
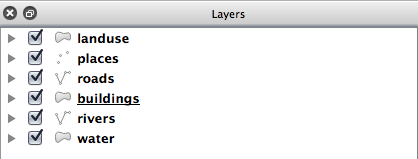
다음처럼 순서를 재배열하십시오.
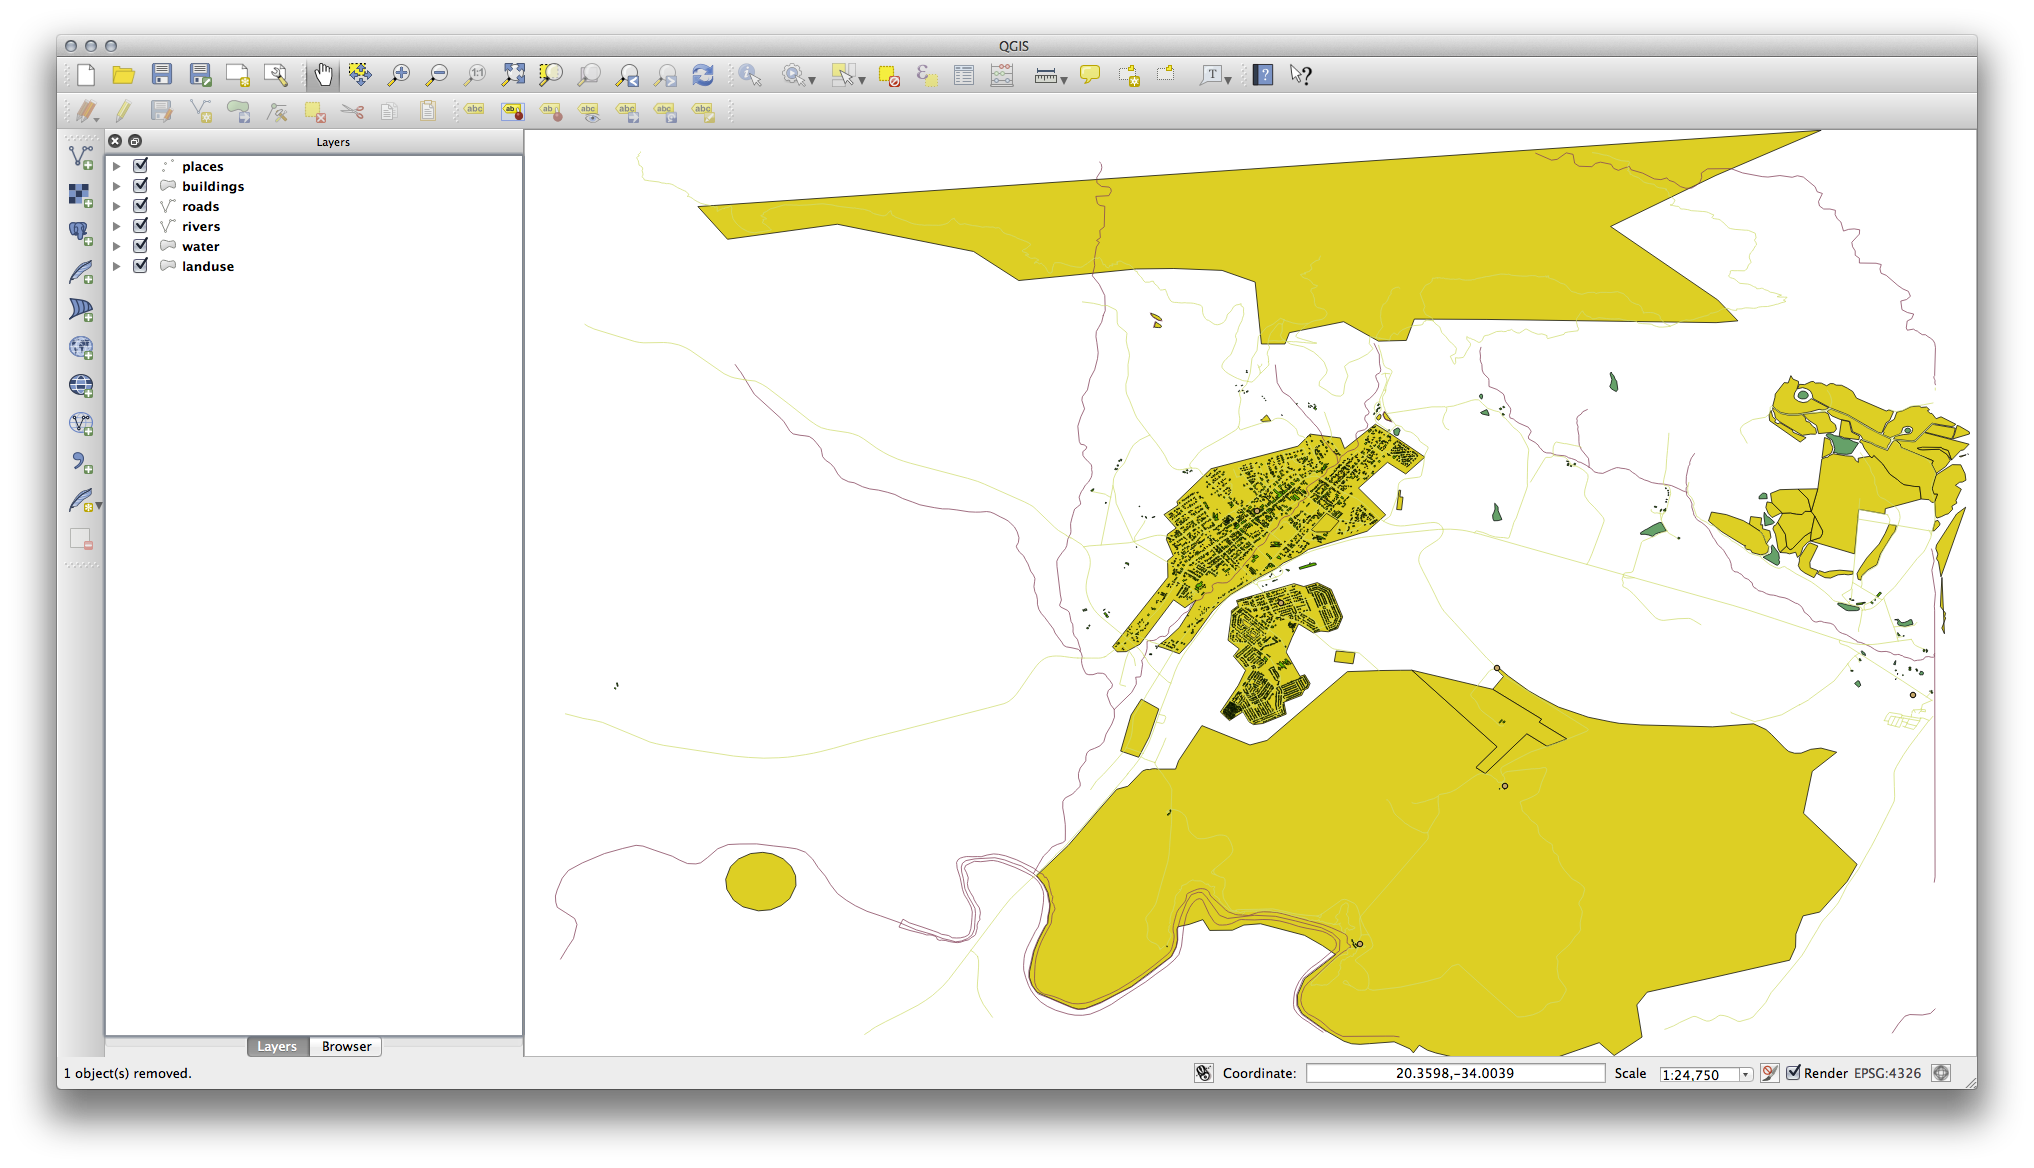
이제 도로와 건물이 토지이용구역 위에 나타나는, 시각적으로 더 논리적인 맵을 볼 수 있습니다.
3.1.5. In Conclusion
이제 몇 가지 다른 소스들로부터 필요한 모든 레이어를 추가했습니다.
3.1.6. What’s Next?
레이어를 로드할 때 랜덤한 색상이 자동적으로 적용되므로, 현재 사용자 맵을 읽기 힘들 수도 있습니다. 사용자가 직접 색상 및 심볼을 적용하는 편이 좋습니다. 다음 강의에서 그 방법을 배울 것입니다.