Important
La traduction est le fruit d’un effort communautaire auquel vous pouvez vous joindre. Cette page est actuellement traduite à 54.76%.
4. Découvrir et aller plus loin avec QtCreator et QGIS
QtCreator est un environnement de développement conçu par les créateurs de la bibliothèque Qt. Avec QtCreator, vous pouvez construire n’importe quel projet C++, mais il est vraiment optimisé pour les personnes travaillant sur des applications basées sur Qt (y compris les applications mobiles).
4.1. Installation de QtCreator
Qt Creator is available on all major platforms and can be downloaded from https://www.qt.io/development/download (Go the open source route). The installation procedure depends on your platform.
Si vous utilisez un système d’exploitation de type Unix, vous pouvez utiliser la ligne de commande, par exemple sur Debian :
sudo apt install qtcreator qtcreator-doc
Après l’installation, vous devriez le trouver dans votre menu.
4.2. Paramétrer votre projet
Nous supposons que vous avez déjà obtenu un clone local de QGIS contenant le code source, et que vous avez installé toutes les dépendances nécessaires, etc. Il existe des instructions détaillées pour l’accès git et les exigences relatives aux dépendances.
Sur notre système, nous avons extrait le code dans HOME/dev/cpp/QGIS et le reste de l’article est rédigé en supposant cela. Vous devriez mettre à jour ces chemins en fonction de votre système local.
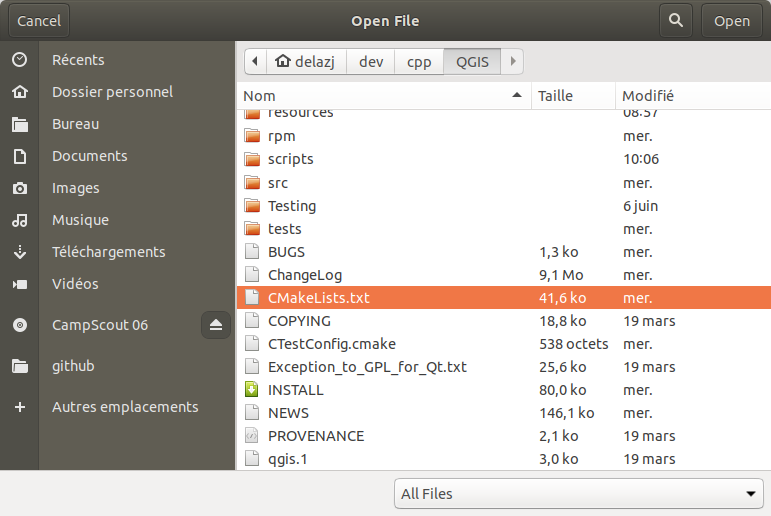
Après avoir lancé QtCreator, faites .
Utilisez ensuite la boîte de dialogue de sélection de fichier pour naviguer et ouvrir ce fichier:
$HOME/dev/cpp/QGIS/CMakeLists.txt
QtCreator va analyser le projet et vous serez invité à choisir un emplacement de compilation et des options dans la boîte de dialogue Configure Project.
Puisque nous voulons que QGIS ait des capacités de débogage, nous n’allons rendre active que l’option pour déboguer et la remplir avec notre emplacement de compilation :
Cocher
 Select all kits permettant l’entrée Desktop
Décochez tout sauf le sous-item
DébogageFill the path with the build directory. For our purpose, we create a specific build dir for QtCreator:
$HOME/dev/cpp/QGIS/build-master-qtcreatorIt’s probably a good idea to create separate build directories for different branches if you can afford the disk space.
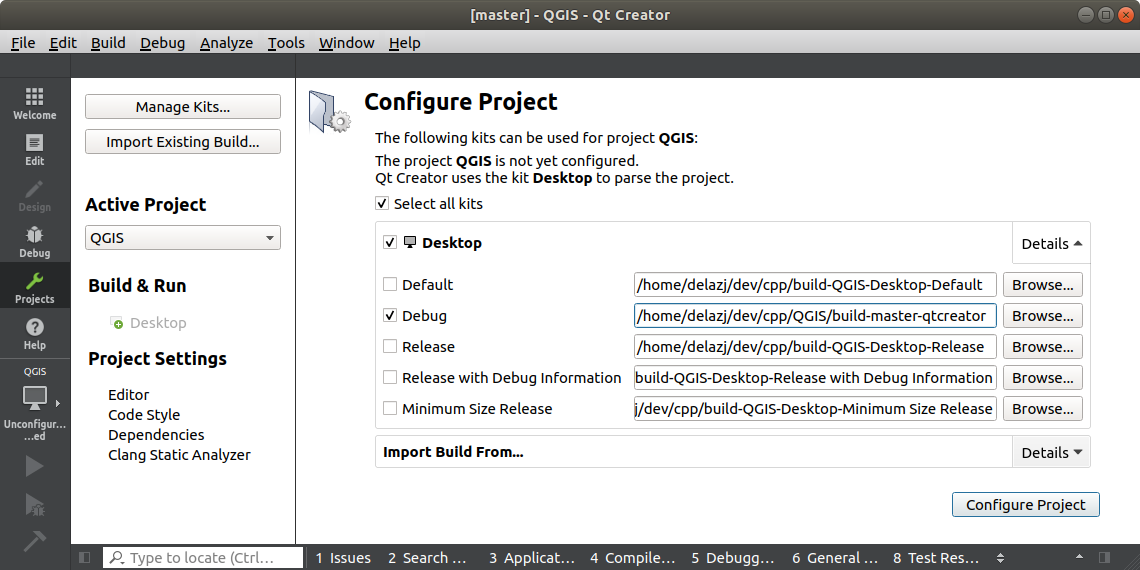
That’s the basics of it. Press the Configure Project button and QtCreator will start scanning the source tree for autocompletion support and do some other housekeeping stuff in the background.
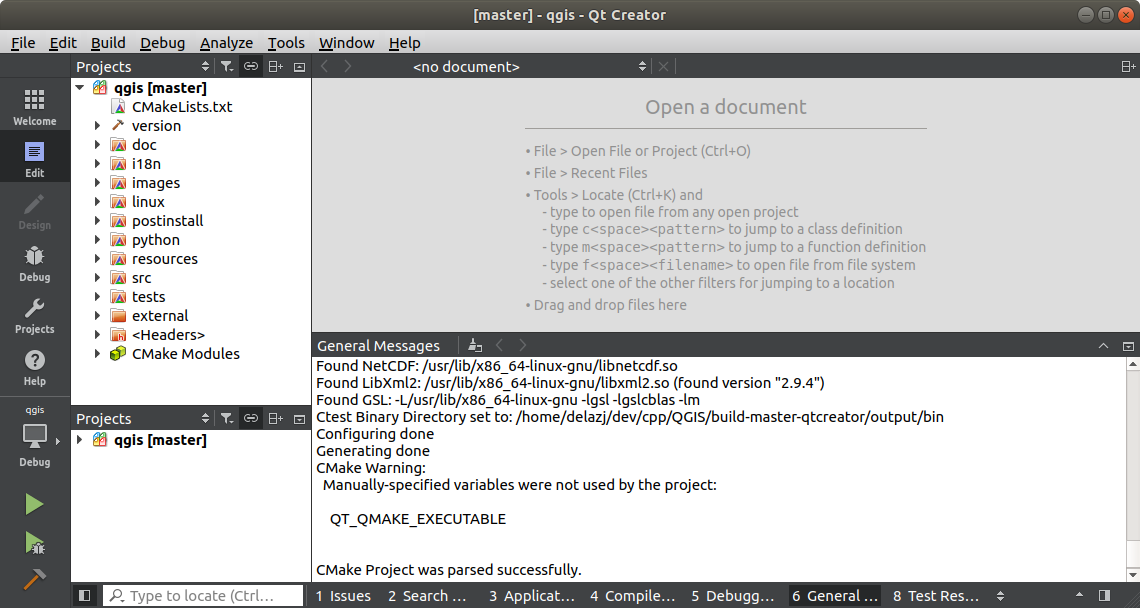
We want to tweak a few things before we start to build.
4.3. Paramétrez votre environnement de compilation
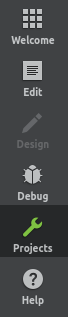
Cliquez sur l’onglet Projets dans le panneau latéral de la fenêtre de Qt Creator.
Sélectionnez l’onglet de paramétrage Build (normalement actif par défaut)
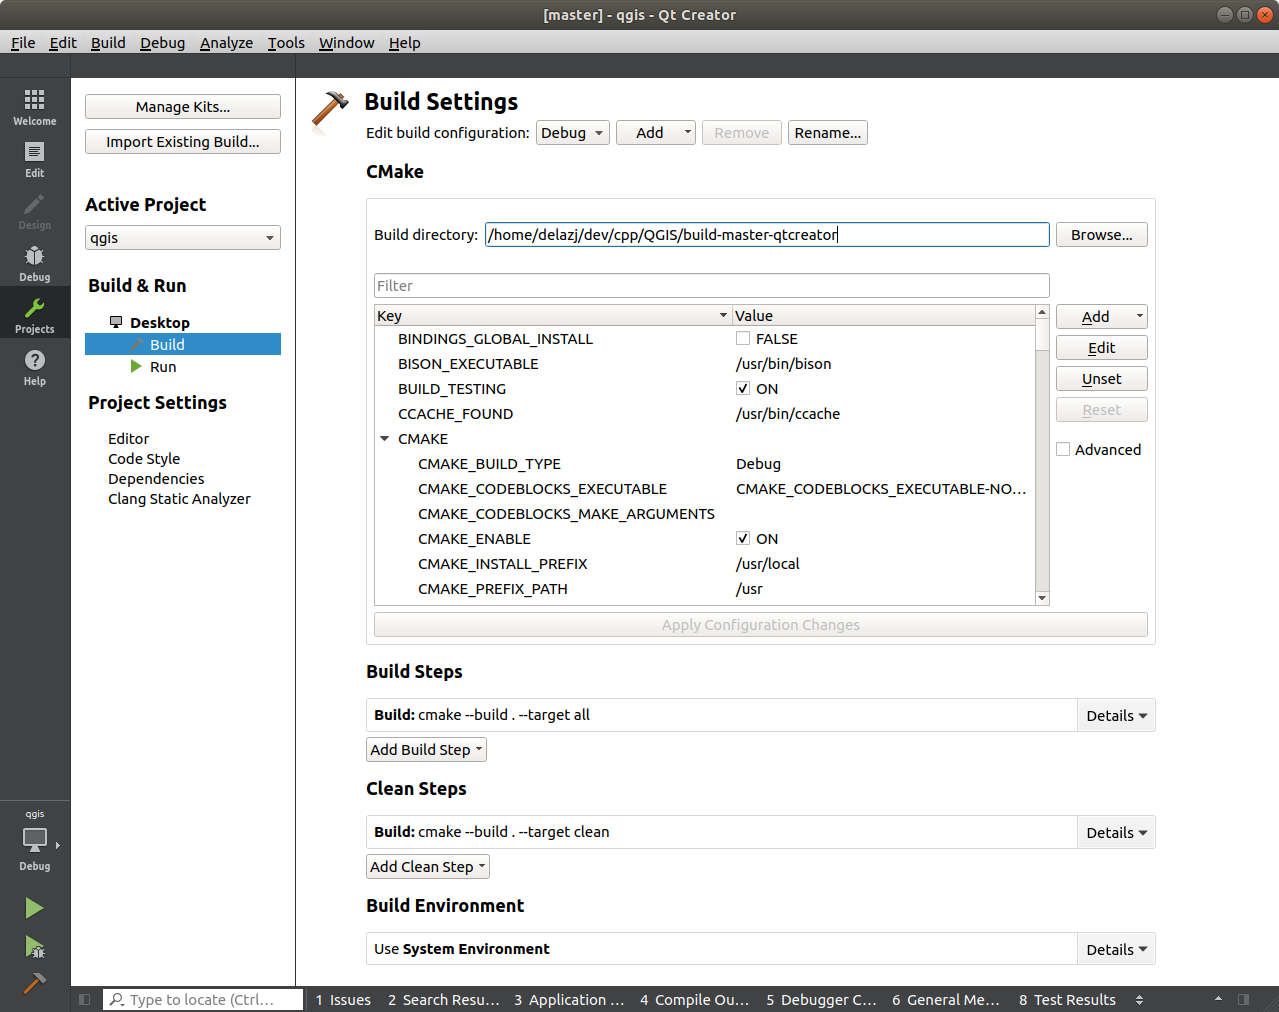
The dialog shows the Debug build configuration and allows you to
edit settings under the CMake section. While the default
configuration should be enough for a first pass, depending on your needs,
you may want to enable more features such as:
WITH_3D = ON pour le rendu 3D
WITH_CUSTOM_WIDGETS = ON to add QGIS custom widgets for interface design
Press Apply Configuration Changes.
You are now ready to build. Press the  Build button at the left
bottom of the dialog (or Ctrl+B) to launch the project build! Qt Creator
will begin compiling and this may take some time the first time, depending on your
device.
Build button at the left
bottom of the dialog (or Ctrl+B) to launch the project build! Qt Creator
will begin compiling and this may take some time the first time, depending on your
device.
At the end of the compilation, you can run QGIS by pressing the  Run button.
The compilation of QGIS also generates binaries in the build directory. Hence you can execute QGIS from the command line using:
cd $HOME/dev/cpp/QGIS/build-master-qtcreator
./output/bin/qgis
Sometimes you may want to install QGIS as an executable, outside the build directory.
Set the
CMAKE_INSTALL_PREFIXto somewhere you have write access to (we use$HOME/apps). This would avoid overwriting an existing QGIS installs (by your package manager for example).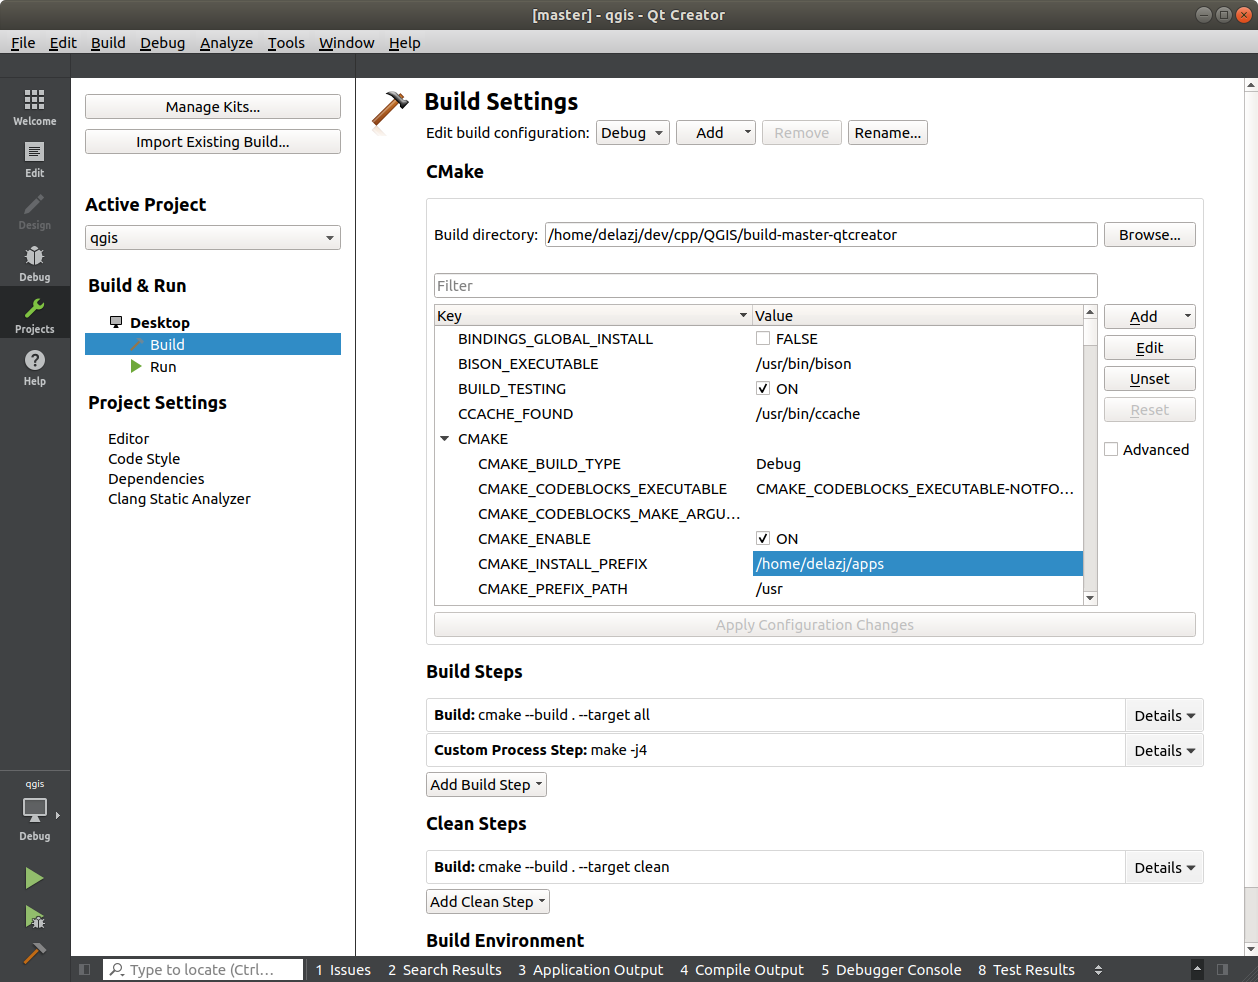
Press Apply Configuration Changes to update the settings
Appuyez sur le bouton
When the build is complete, you’ll find the
qgisexecutable in the$HOME/apps/binfolder.
4.4. Exécution et déboguage
Maintenant, vous êtes prêts à lancer et à déboguer QGIS. Pour insérer un point d’arrêt, ouvrez simplement un fichier source et cliquez dans la colonne de gauche.

Now launch QGIS under the debugger by clicking the  Start
Debugging in the bottom left of the window.
Start
Debugging in the bottom left of the window.