11.1. Lesson: Serviciile Web Mapping
Un Serviciu de Cartografiere Web (WMS) este un serviciu găzduit pe un server aflat la distanță. Similar unui site web, îl puteți accesa, atât timp cât aveți o conexiune la server. Cu ajutorul QGIS, puteți încărca un WMS direct în harta existentă.
Din lecția despre plugin-uri, ne amintim că este posibilă încărcarea unei noi imagini raster, spre exemplu, de la Google. Totuși, aceasta este o tranzacție once-off: o dată ce ați descărcat imaginea, aceasta nu se mai schimbă. Un WMS este diferit prin faptul că este un serviciu live, care se va actualiza automat, la deplasarea sau mărirea hărții.
Scopul acestei lecții: De a folosi un WMS și de a-i înțelege limitările.
11.1.1.  Follow Along: Încărcarea unui strat WMS
For this exercise, you can either use the basic map you made at the start of the course, or just start a new map and load some existing layers into it. For this example, we used a new map and loaded the original places and landuse layers and adjusted the symbology:
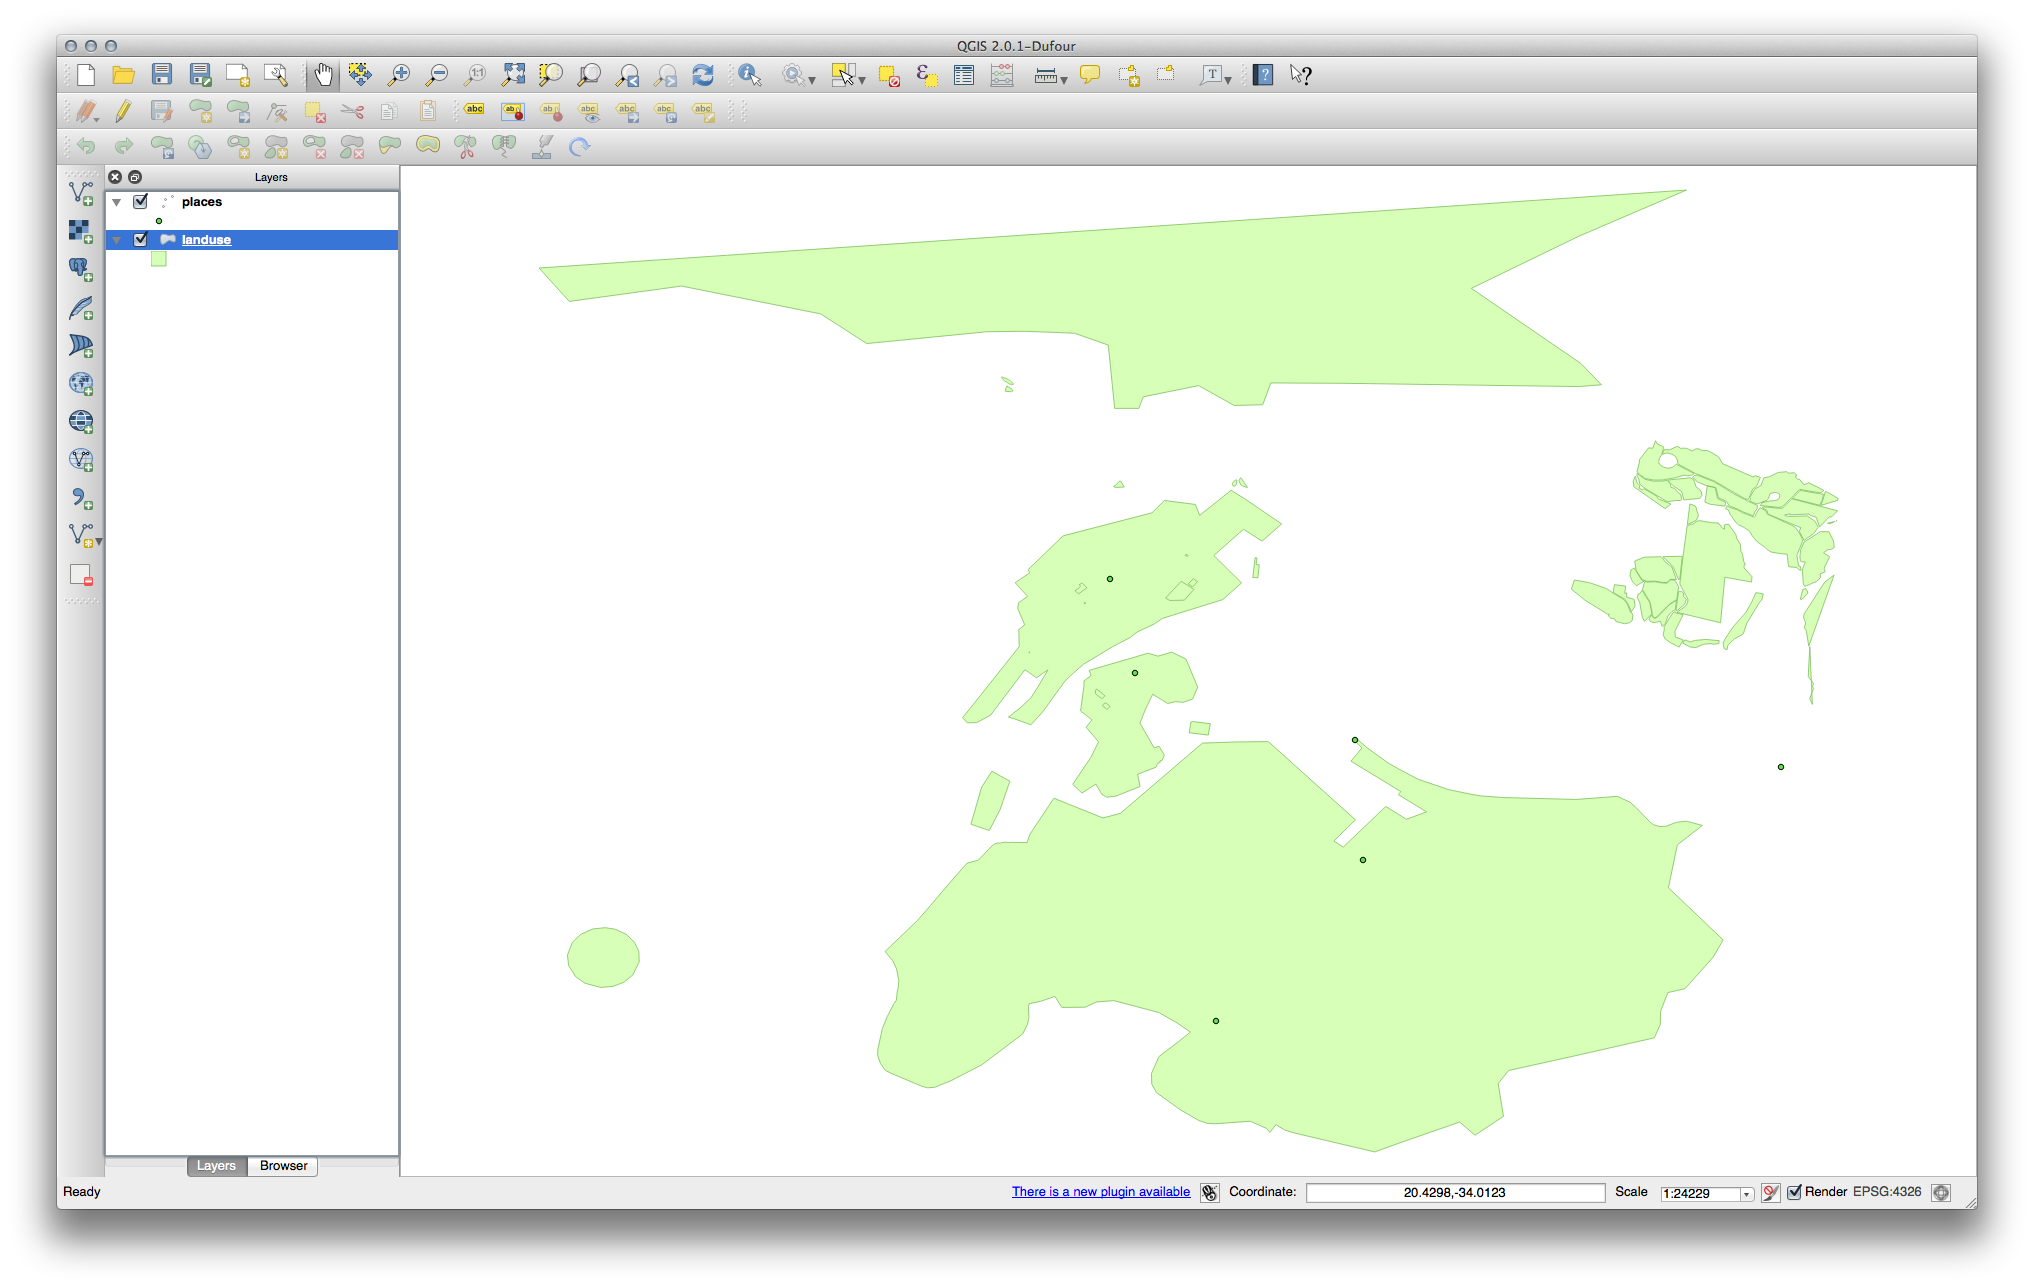
Încărcați aceste straturi într-o nouă hartă, sau folosiți harta originală doar cu aceste straturi vizibile.
Before starting to add the WMS layer, first deactivate “on the fly” projection. This may cause the layers to no longer overlap properly, but don’t worry: we’ll fix that later.
Pentru a adăuga straturi WMS, faceți clic pe butonul Add WMS Layer:

Remember how you connected to a SpatiaLite database at the beginning of the course. The landuse, places, and water layers are in that database. To use those layers, you first needed to connect to the database. Using a WMS is similar, with the exception that the layers are on a remote server.
Pentru a crea o nouă conexiune la un WMS, faceți clic pe butonul New.
You’ll need a WMS address to continue. There are several free WMS servers available on the Internet. One of these is terrestris, which makes use of the OpenStreetMap dataset.
Pentru a face uz de acest WMS, setați-l în dialogul curent, astfel:
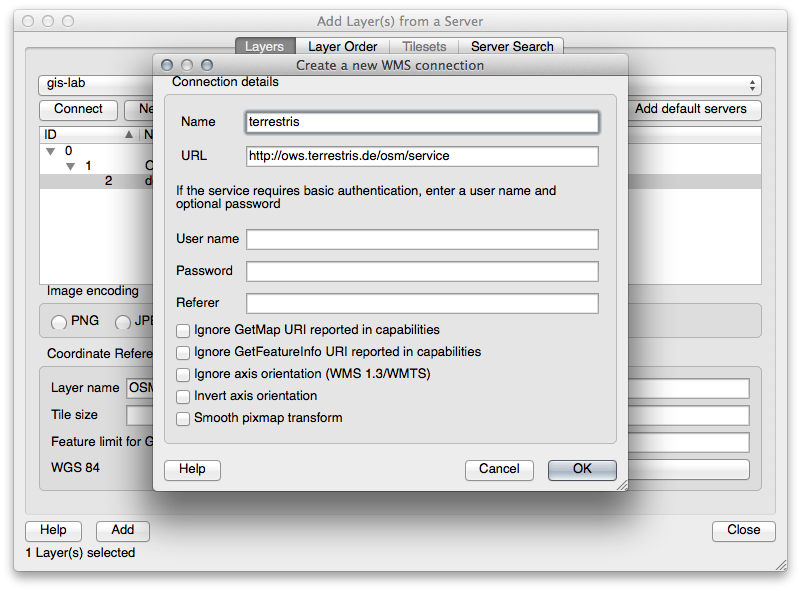
The value of the Name field should be terrestris.
The value of the URL field should be http://ows.terrestris.de/osm/service.
Faceți clic pe Ok. Ar trebui să vedeți listat noul server WMS:
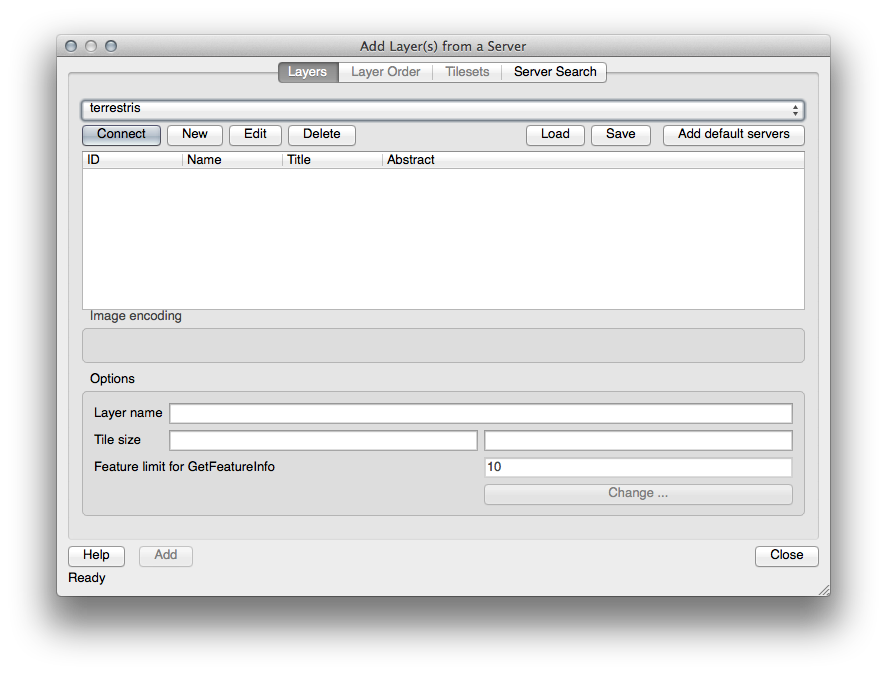
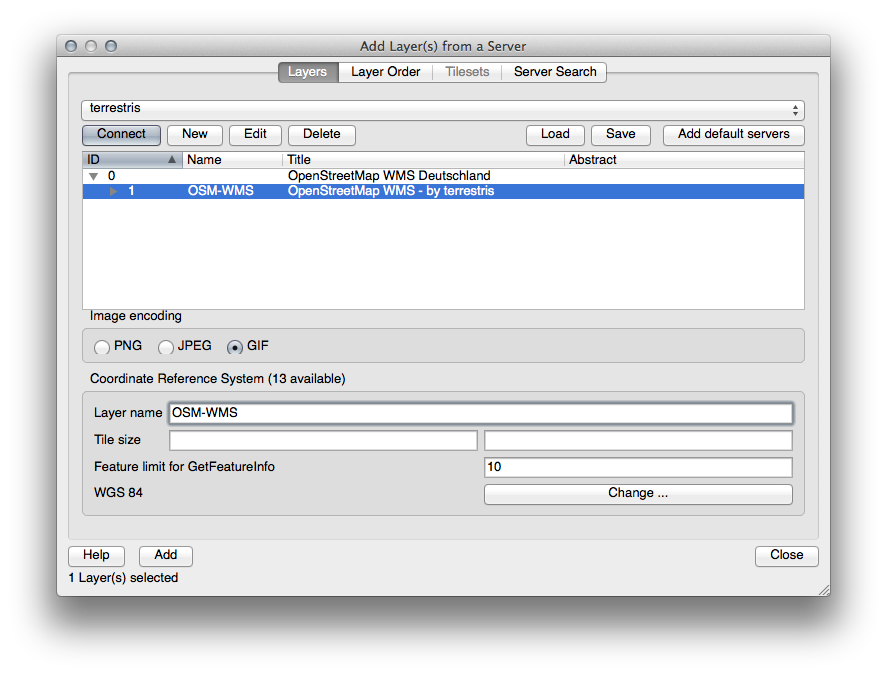
Faceți clic pe Conectare. În lista de mai jos, ar trebui să vedeți încărcate acum, aceste noi intrări:
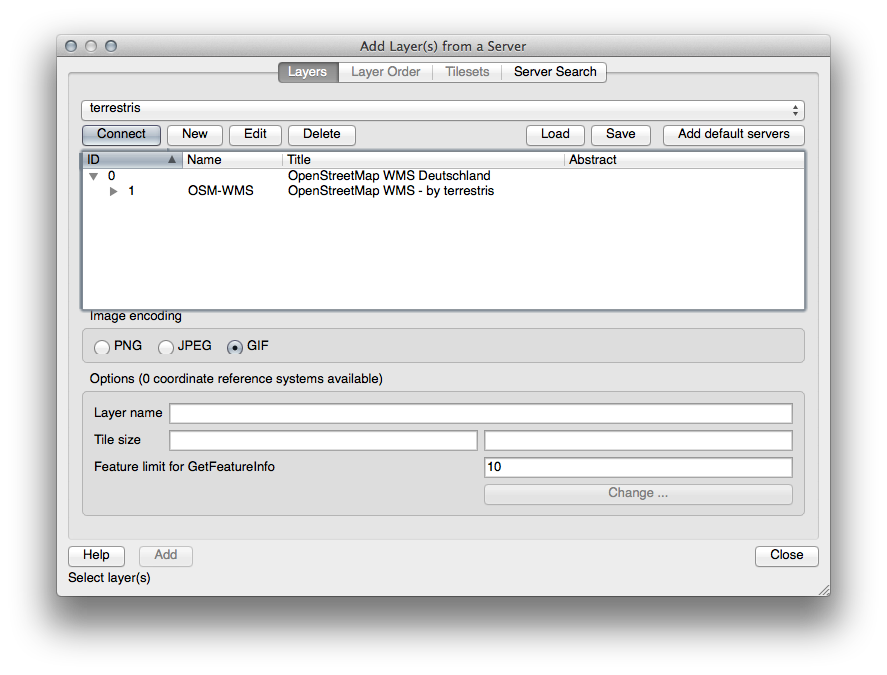
Acestea sunt toate straturile găzduite de acest server WMS.
Faceți clic o dată pe stratul OSM-WMS. Se va afișa Sistemul său de Coordonate de Referință:
Din moment ce nu utilizăm WGS 84 pentru harta noastră, să vedem toate CRS-urile dintre care putem alege.
Faceți clic pe butonul Change. Vom vedea un dialog standard de Selector de Sisteme de Coordonate de Referință.
Dorim un CRS proiectat, așa că haideți să alegem WGS 84 / Pseudo Mercator.
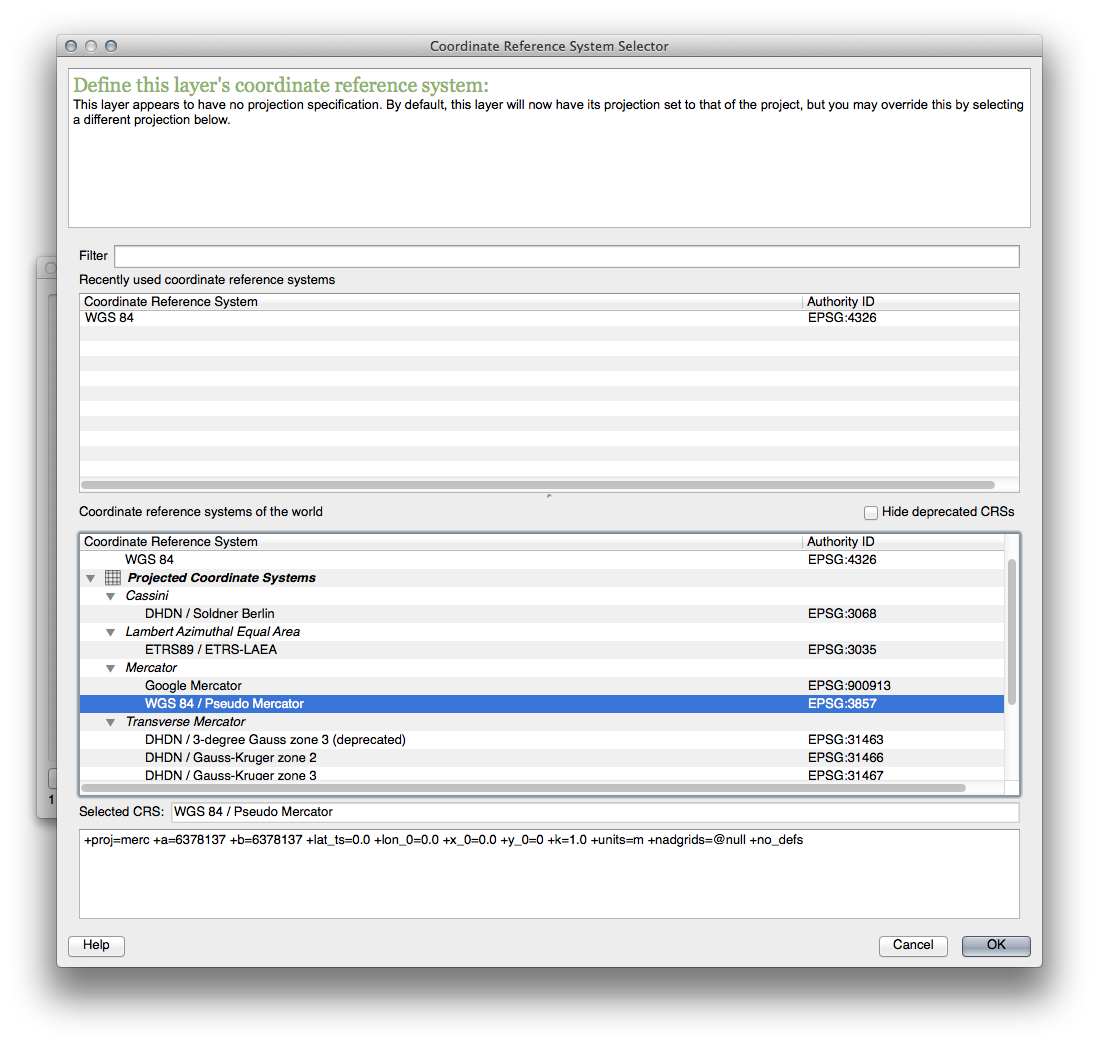
Clic pe OK
Clic Add, apoi noul strat va apărea în hartă sub denumirea OSM-WMS.
In the Layers list, click and drag it to the bottom of the list.
You will notice that your layers aren’t located correctly. This is because “on the fly” projection is disabled. Let’s enable it again, but using the same projection as the OSM-WMS layer, which is WGS 84 / Pseudo Mercator.
Activați proiecția “din zbor”.
În fila CRS (dialogul Proprietăților Proiectului), introduceți valoarea pseudo în câmpul Filtru:
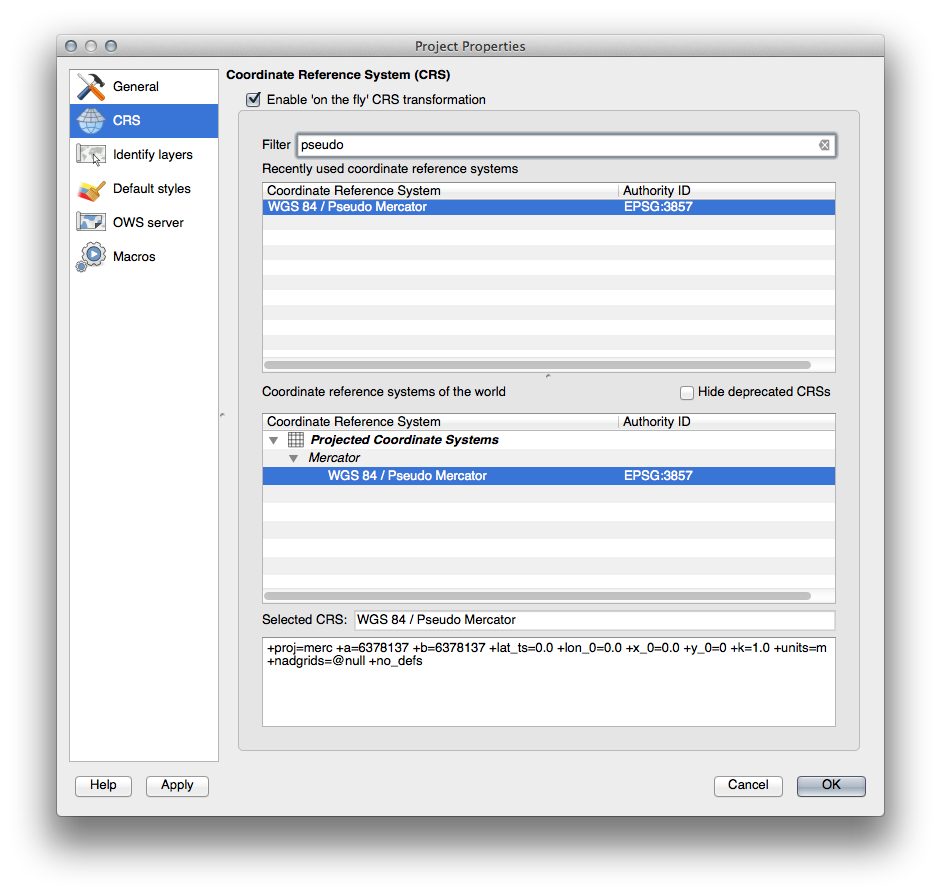
Alegeți WGS 84 / Pseudo Mercator din listă.
Clic pe OK
Now right-click on one of your own layers in the Layers list and click Zoom to layer extent. You should see the Swellendam area:
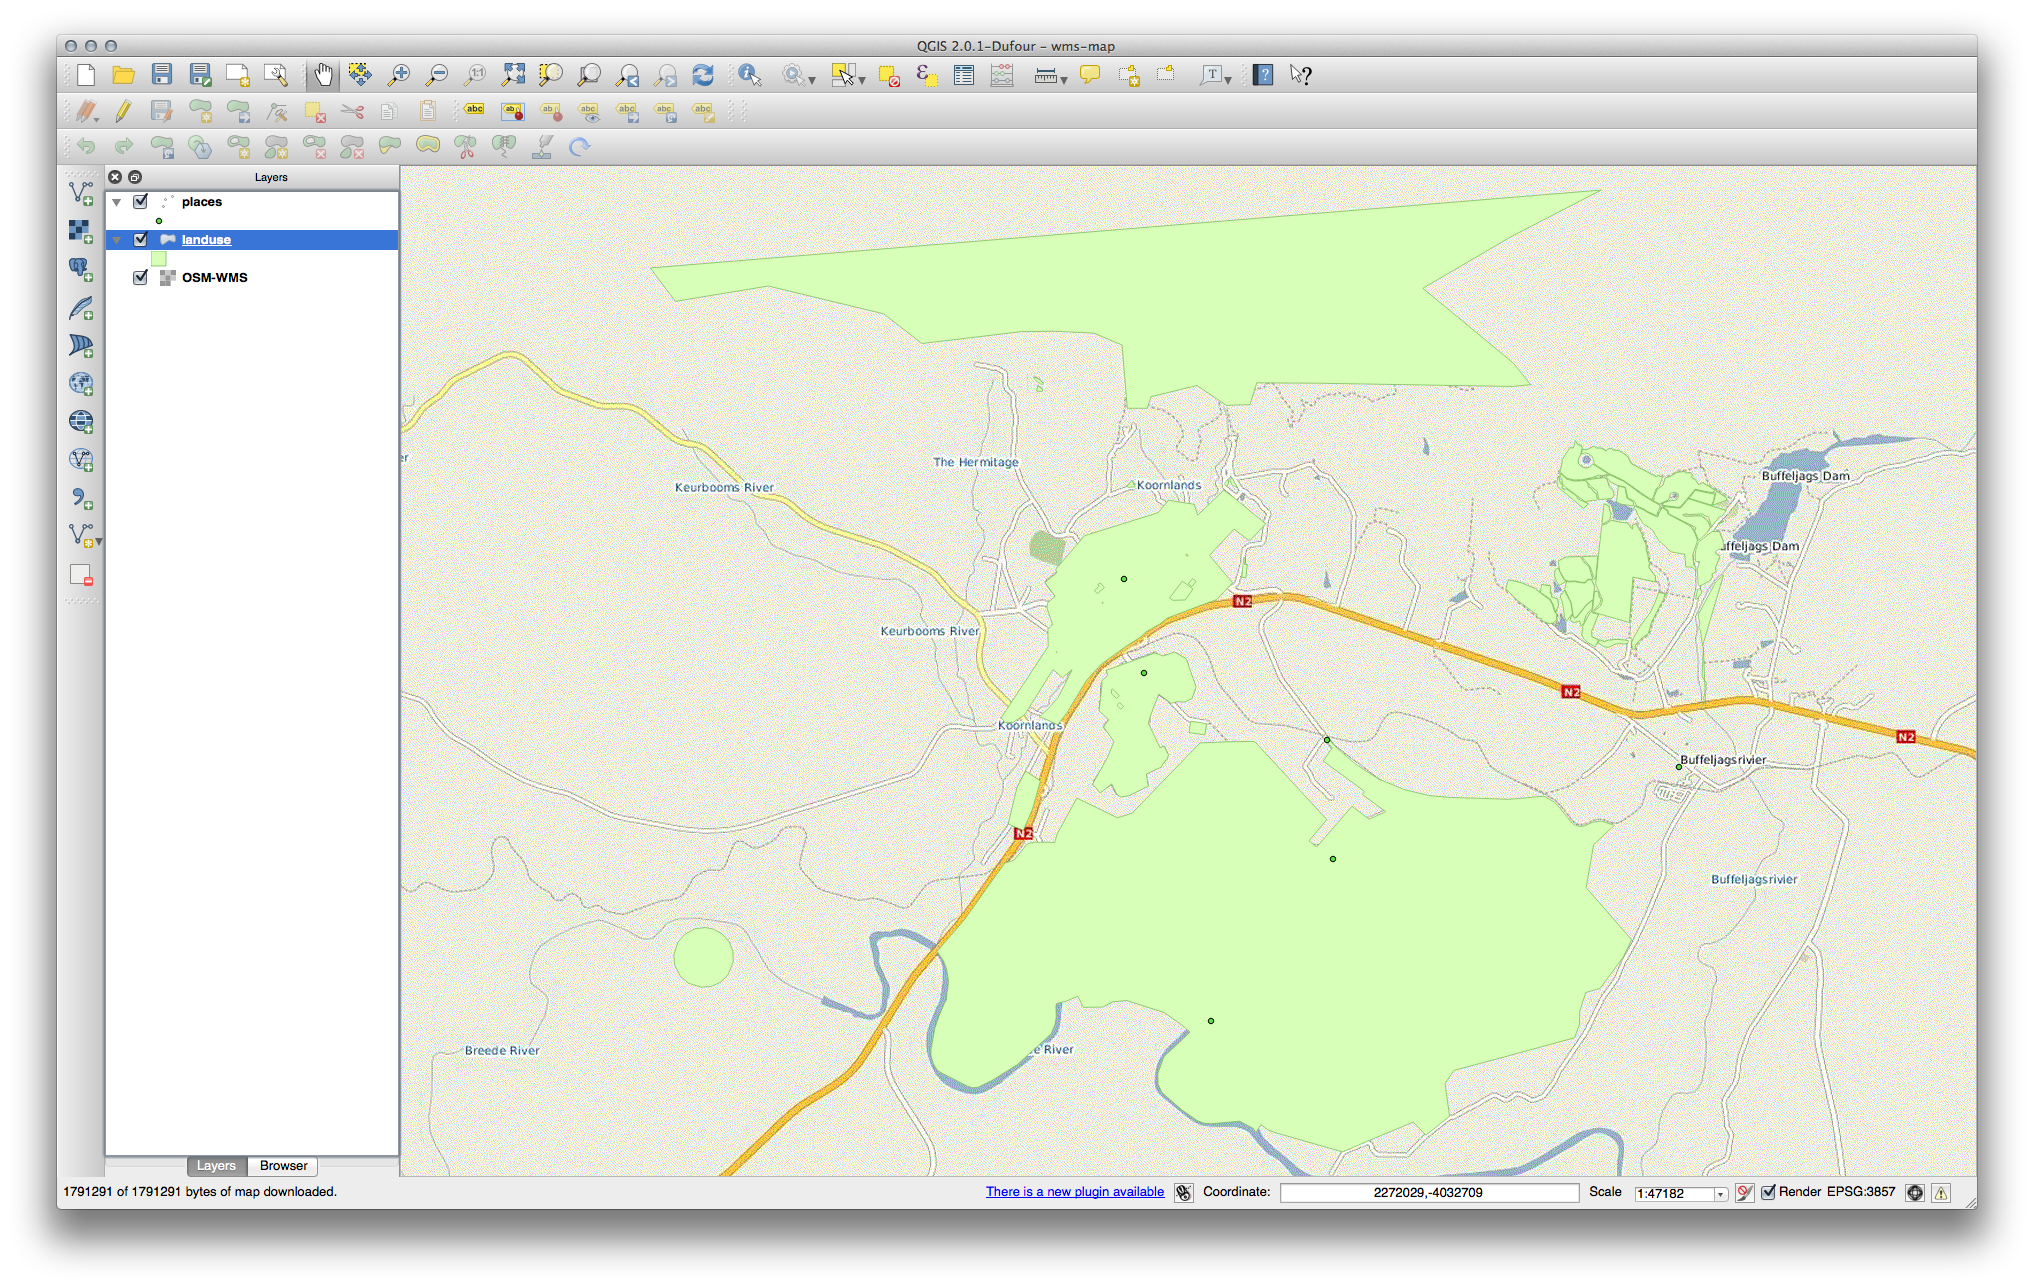
Notă cum se suprapun străzile stratului WMS cu propriile noastre străzi. Ăsta e un semn bun!
11.1.1.1. Natura și limitele WMS
By now you may have noticed that this WMS layer actually has many features in it. It has streets, rivers, nature reserves, and so on. What’s more, even though it looks like it’s made up of vectors, it seems to be a raster, but you can’t change its symbology. Why is that?
This is how a WMS works: it’s a map, similar to a normal map on paper, that you receive as an image. What usually happens is that you have vector layers, which QGIS renders as a map. But using a WMS, those vector layers are on the WMS server, which renders it as a map and sends that map to you as an image. QGIS can display this image, but can’t change its symbology, because all that is handled on the server.
This has several advantages, because you don’t need to worry about the symbology. It’s already worked out, and should be nice to look at on any competently designed WMS.
On the other hand, you can’t change the symbology if you don’t like it, and if things change on the WMS server, then they’ll change on your map as well. This is why you sometimes want to use a Web Feature Service (WFS) instead, which gives you vector layers separately, and not as part of a WMS-style map.
Acest lucru va fi acoperit în lecția următoare, cu toate acestea. În primul rând, haideți să adăugați un alt strat WMS din serverul terrestris.
11.1.2. Try Yourself
Hide the OSM-WSM layer in the Layers list.
Add the “ZAF CGS 1M Bedrock Lithostratigraphy” WMS server at this URL: http://196.33.85.22/cgi-bin/ZAF_CGS_Bedrock_Geology/wms
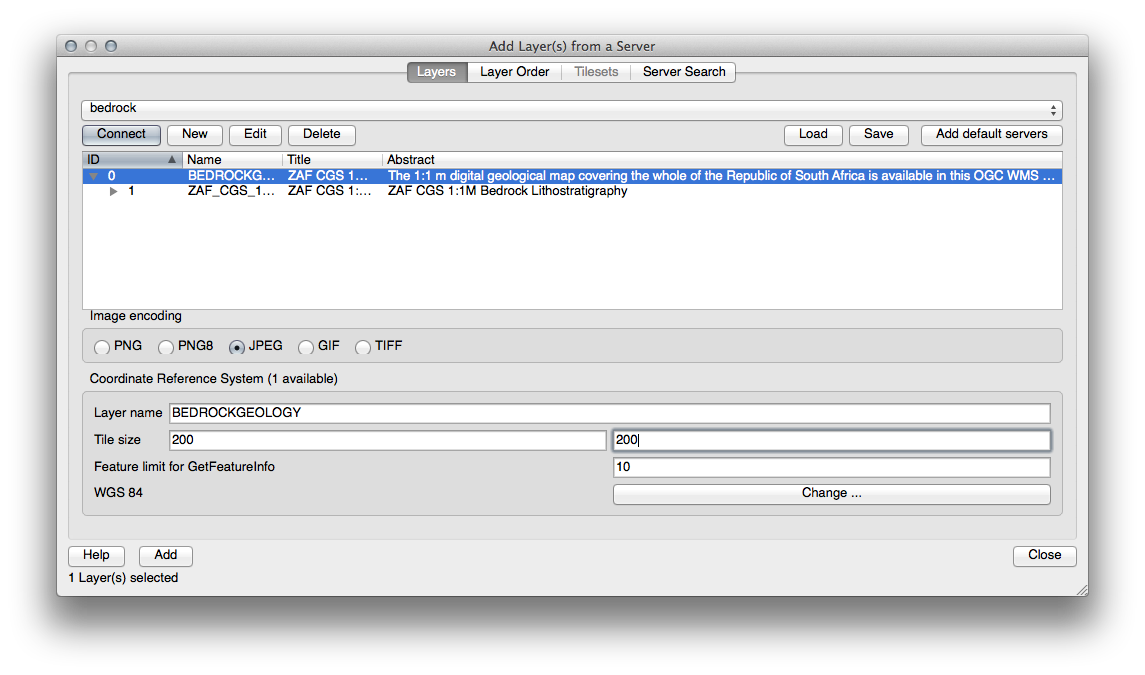
Load the BEDROCKGEOLOGY layer into the map (use the Add WMS Layer button as before). Remember to check that it’s in the same WGS 84 / World Mercator projection as the rest of your map!
Ați putea să-i setați Codificarea ca JPEG și opțiunea Tile size la 200 pe 200, pentru a se încărca mai rapid:
11.1.3.  Try Yourself
Ascundeți toate celelalte straturi WMS, pentru a preveni randarea inutilă din fundal.
- Add the “OGC” WMS server at this URL: http://ogc.gbif.org:80/wms
Adăugați stratul bluemarble.
11.1.4.  Try Yourself
O parte din dificultatea de a folosi WMS, este de a găsi un server bun (și gratuit).
Find a new WMS at directory.spatineo.com (or elsewhere online). It must not have associated fees or restrictions, and must have coverage over the Swellendam study area.
Amintiți-vă că pentru un WMS aveți nevoie doar de URL-ul său (și, de preferință, un fel de descriere).
11.1.5. In Conclusion
Folosind un WMS, puteți adăuga hărți inactive ca fundaluri pentru datele hărților existente.
11.1.6. Further Reading
11.1.7. What’s Next?
Now that you’ve added an inactive map as a backdrop, you’ll be glad to know that it’s also possible to add features (such as the other vector layers you added before). Adding features from remote servers is possible by using a Web Feature Service (WFS). That’s the topic of the next lesson.