3.1. Lesson: Lucrul cu Datele Vectoriale
Vector data is arguably the most common kind of data you will find in the daily use of GIS. It describes geographic data in terms of points, that may be connected into lines and polygons. Every object in a vector dataset is called a feature, and is associated with data that describes that feature.
Scopul acestei lecții: De a învăța despre structura datelor vectoriale, și cum să încărcăm seturile de date vectoriale într-o hartă.
3.1.1.  Follow Along: Vizualizarea Atributelor Straturilor
De asemenea, este important de știut că datele cu care lucrați nu reprezintă doar locul “unde” se află obiectele în spațiu, dar vă spun și ce sunt acele obiecte.
From the previous exercise, you should have the roads layer loaded in your map. What you can see right now is merely the position of the roads.
To see all the data available to you, with the roads layer selected in the Layers panel:
- Click on this button:

It will show you a table with more data about the roads layer. This extra data is called attribute data. The lines that you can see on your map represent where the roads go; this is the spatial data.
Aceste definiții sunt utilizate în mod obișnuit în GIS, așa că este esențial să vi le amintiți!
Acum, puteți închide tabelul de atribute.
Vector data represents features in terms of points, lines and polygons on a coordinate plane. It is usually used to store discrete features, like roads and city blocks.
3.1.2. Follow Along: Loading Vector Data From Shapefiles
The Shapefile is a specific file format that allows you to store GIS data in an associated group of files. Each layer consists of several files with the same name, but different file types. Shapefiles are easy to send back and forth, and most GIS software can read them.
Refer back to the introductory exercise in the previous section for instructions on how to add vector layers.
Load the data sets from the epsg4326 folder into your map following the same method:
- “places”
- “water”
- “rivers”
- “buildings”
3.1.3. Follow Along: Loading Vector Data From a Database
Databases allow you to store a large volume of associated data in one file. You may already be familiar with a database management system (DBMS) such as Microsoft Access. GIS applications can also make use of databases. GIS-specific DBMSes (such as PostGIS) have extra functions, because they need to handle spatial data.
- Click on this icon:

(If you’re sure you can’t see it at all, check that the Manage Layers toolbar is enabled.)
It will give you a new dialog. In this dialog:
- Click the New button.
- In the same epsg4326 folder, you should find the file landuse.sqlite. Select it and click Open.
You will now see the first dialog again. Notice that the dropdown select above the three buttons now reads “landuse.sqlite@...”, followed by the path of the database file on your computer.
- Click the Connect button. You should see this in the previously empty box:
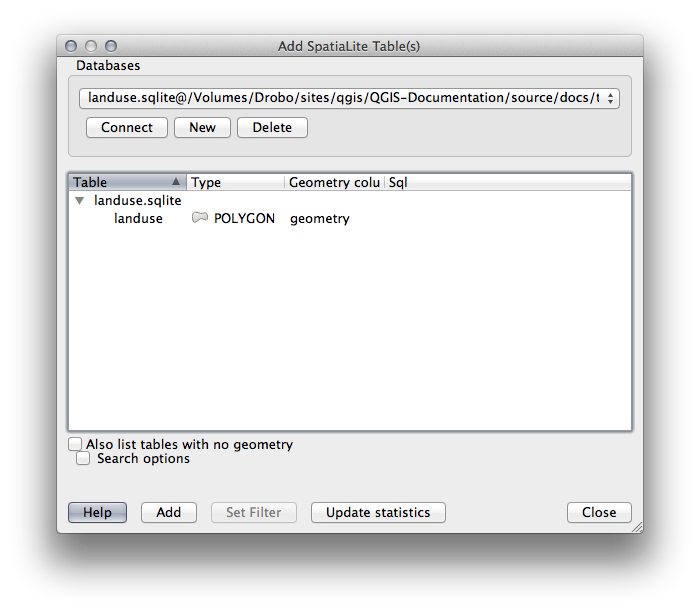
- Click on the landuse layer to select it, then click Add
Note
Remember to save the map often! The map file doesn’t contain any of the data directly, but it remembers which layers you loaded into your map.
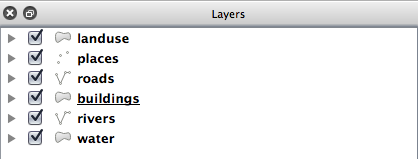
3.1.4. Follow Along: Reordonarea Straturilor
Straturile din lista de straturi sunt desenate pe hartă într-o anumită ordine. Stratul cel mai jos în listă este desenat primul, iar stratul de la vârful listei este desenat ultimul. Schimbând ordinea în care sunt prezentate în listă puteți schimba ordinea în care sunt desenate.
Note
Depending on the version of QGIS that you are using, you may have a checkbox beneath your Layers list reading Control rendering order. This must be checked (switched on) so that moving the layers up and down in the Layers list will bring them to the front or send them to the back in the map. If your version of QGIS doesn’t have this option, then it is switched on by default and you don’t need to worry about it.
Ordinea în care straturile au fost încărcate în hartă probabil că nu este logică în acest moment. Este posibil ca stratul de străzi să fie complet ascuns deoarece alte straturi sunt deasupra lui.
De exemplu, această ordine a straturilor...
... va produce drumuri și locuri ascunse, pe măsură ce acestea rulează dedesubtul zonelor urbane.
Pentru a rezolva această problemă:
Clic apoi glisați pe un strat din Lista straturilor.
Reordonați-le, pentru a arăta în felul următor:
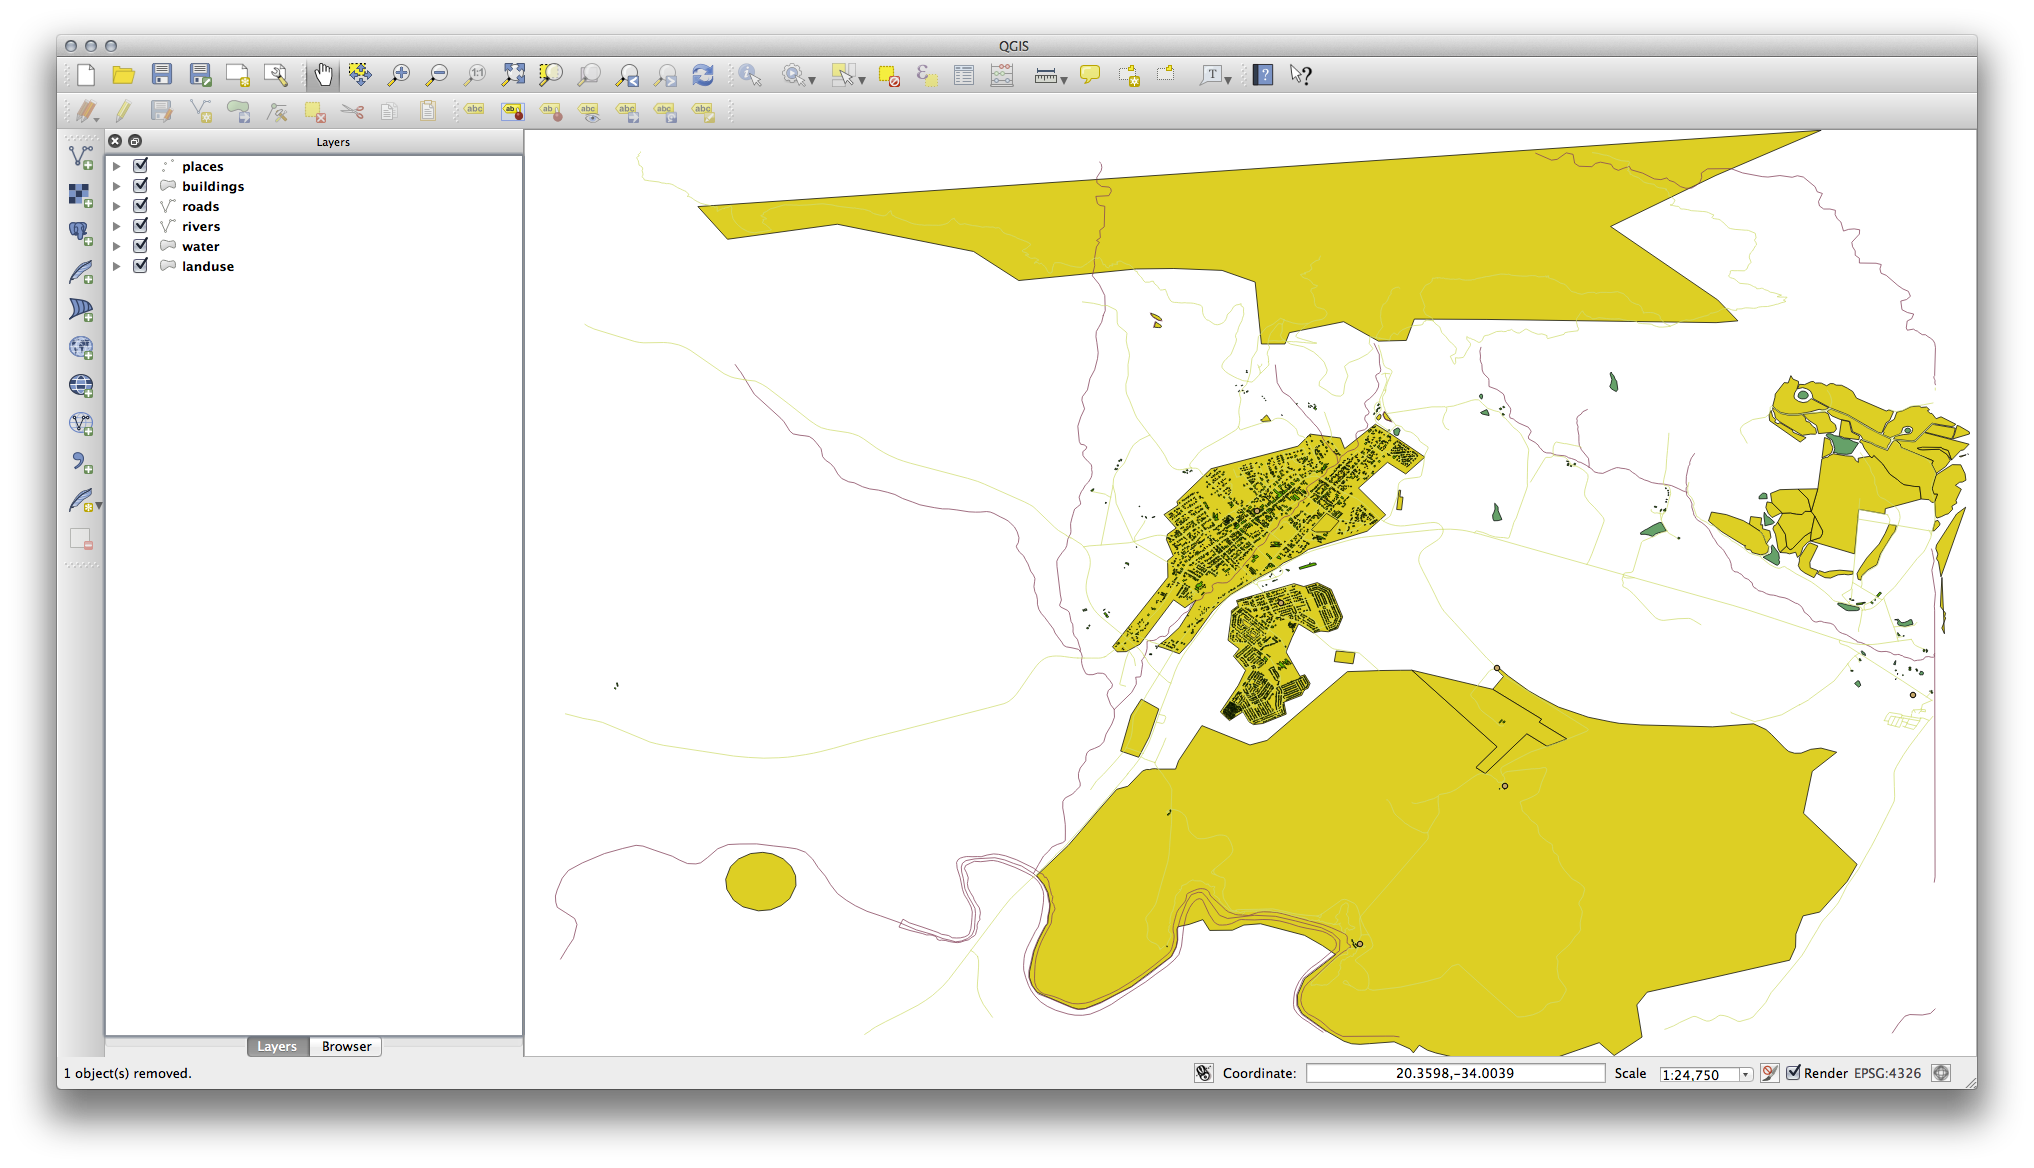
Veți vedea că harta are mai mult sens, cu străzile și clădirile desenate deasupra regiunilor.
3.1.5. In Conclusion
Acum, ați adăugat, din mai multe surse diferite, toate straturile de care aveți nevoie.
3.1.6. What’s Next?
Utilizând paleta aleatoare asignată automat la încărcarea straturilor, harta curentă este probabil greu lizibilă. Ar fi de preferat să alegeți propriile culori și simboluri. Asta veți învăța să faceți în lecția următoare.