Important
Traducerea este un efort al comunității, la care puteți să vă alăturați. În prezent, această pagină este tradusă 39.13%.
18.3. Lesson: Working with SpatiaLite databases in QGIS
While PostGIS is generally used on a server to provide spatial database capabilities to multiple users at the same time, QGIS also supports the use of a file format called SpatiaLite that is a lightweight, portable way to store an entire spatial database in a single file. Obviously, these 2 types of spatial databases should be used for different purposes, but the same basic principles and techniques apply to both. Let’s create a new SpatiaLite database and explore the functionality provided to work with these databases in QGIS.
The goal for this lesson: To learn how to interact with SpatiaLite databases using the QGIS Browser interface.
18.3.1. ★☆☆ Follow Along: Creating a SpatiaLite database with the Browser
Using the Browser panel, we can create a new SpatiaLite database and get it setup for use in QGIS.
Right click on the SpatiaLite entry in the Browser tree and select Create Database.
Specify where on your filesystem you want to store the file and name it
qgis-sl.db.Again right click on the SpatiaLite entry in the Browser tree and now select the New Connection item. Find the file you created in the last step and open it.
Acum, că v-ați configurat noua bază de date, veți descoperi că intrarea din arborele Navigatorului nu are nimic sub ea, iar singurul lucru pe care îl puteți face în acest moment este de a șterge conexiunea. Acest lucru se datorează faptului că, desigur, noi nu am adăugat nici un tabel în această bază de date. Haideți să mergem mai departe și să facem asta.
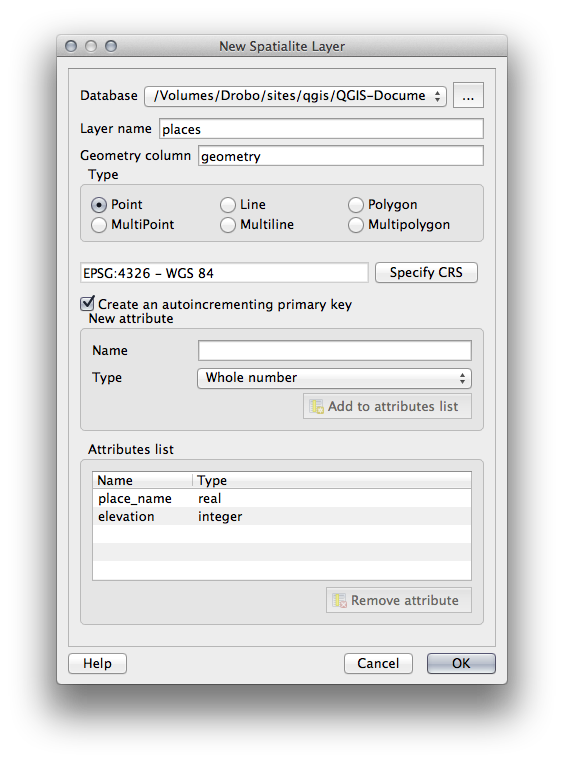
Find the button to create a new layer and use the dropdown to create a new SpatiaLite layer, or select
 .
.Selectați baza de date pe care am creat-o în pașii anteriori în meniul derulant.
Give the layer the name
places.Bifați caseta de lângă Create an auto-incrementing primary key.
Add two attributes as shown in below
Clic pe OK, pentru a crea tabela.
Click the refresh button at the top of the Browser and you should now see your
placestable listed.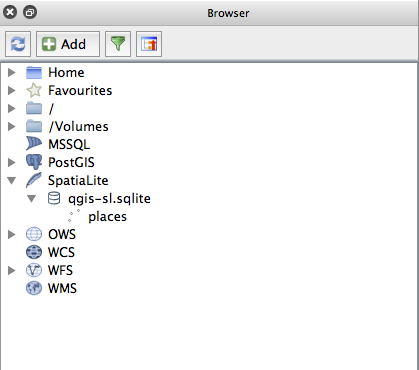
Puteți să faceți clic dreapta pe tabelă și să-i vizualizați proprietățile, așa cum am făcut-o în exercițiul precedent.
De aici puteți începe o sesiune de editare și să adăugați date direct la noua bază de date.
We also learned about how to import data into a database using the DB Manager and you can use this same technique to import data into your new SpatiaLite DB.
18.3.2. În concluzie
You have seen how to create SpatiaLite databases, add tables to them and use these tables as layers in QGIS.