2.2. Lesson: 最初のレイヤーを追加する
アプリケーションを起動し、その例と演習で使用する基本的な地図を作成します。
このレッスンの目標: 例の地図で始める
ノート
Before starting this exercise, QGIS must be installed on your computer. Also, download the training_manual_exercise_data.zip file from the QGIS data downloads area.
デスクトップのショートカット、メニュー、アイテムなどからQGISを起動します。この設定はインストール時の設定に依存します。
ノート
The screenshots for this course were taken in QGIS 2.0 running on MacOS. Depending on your setup, the screens you encounter may well appear somewhat different. However, all the same buttons will still be available, and the instructions will work on any OS. You will need QGIS 2.0 (the latest version at time of writing) to use this course.
すぐにはじめましょう!
2.2.1.  Follow Along: 地図を準備
QGISを開きます。新規に空白の地図があります。
- Look for the Add Vector Layer button:

- Click on it to open the following dialog:
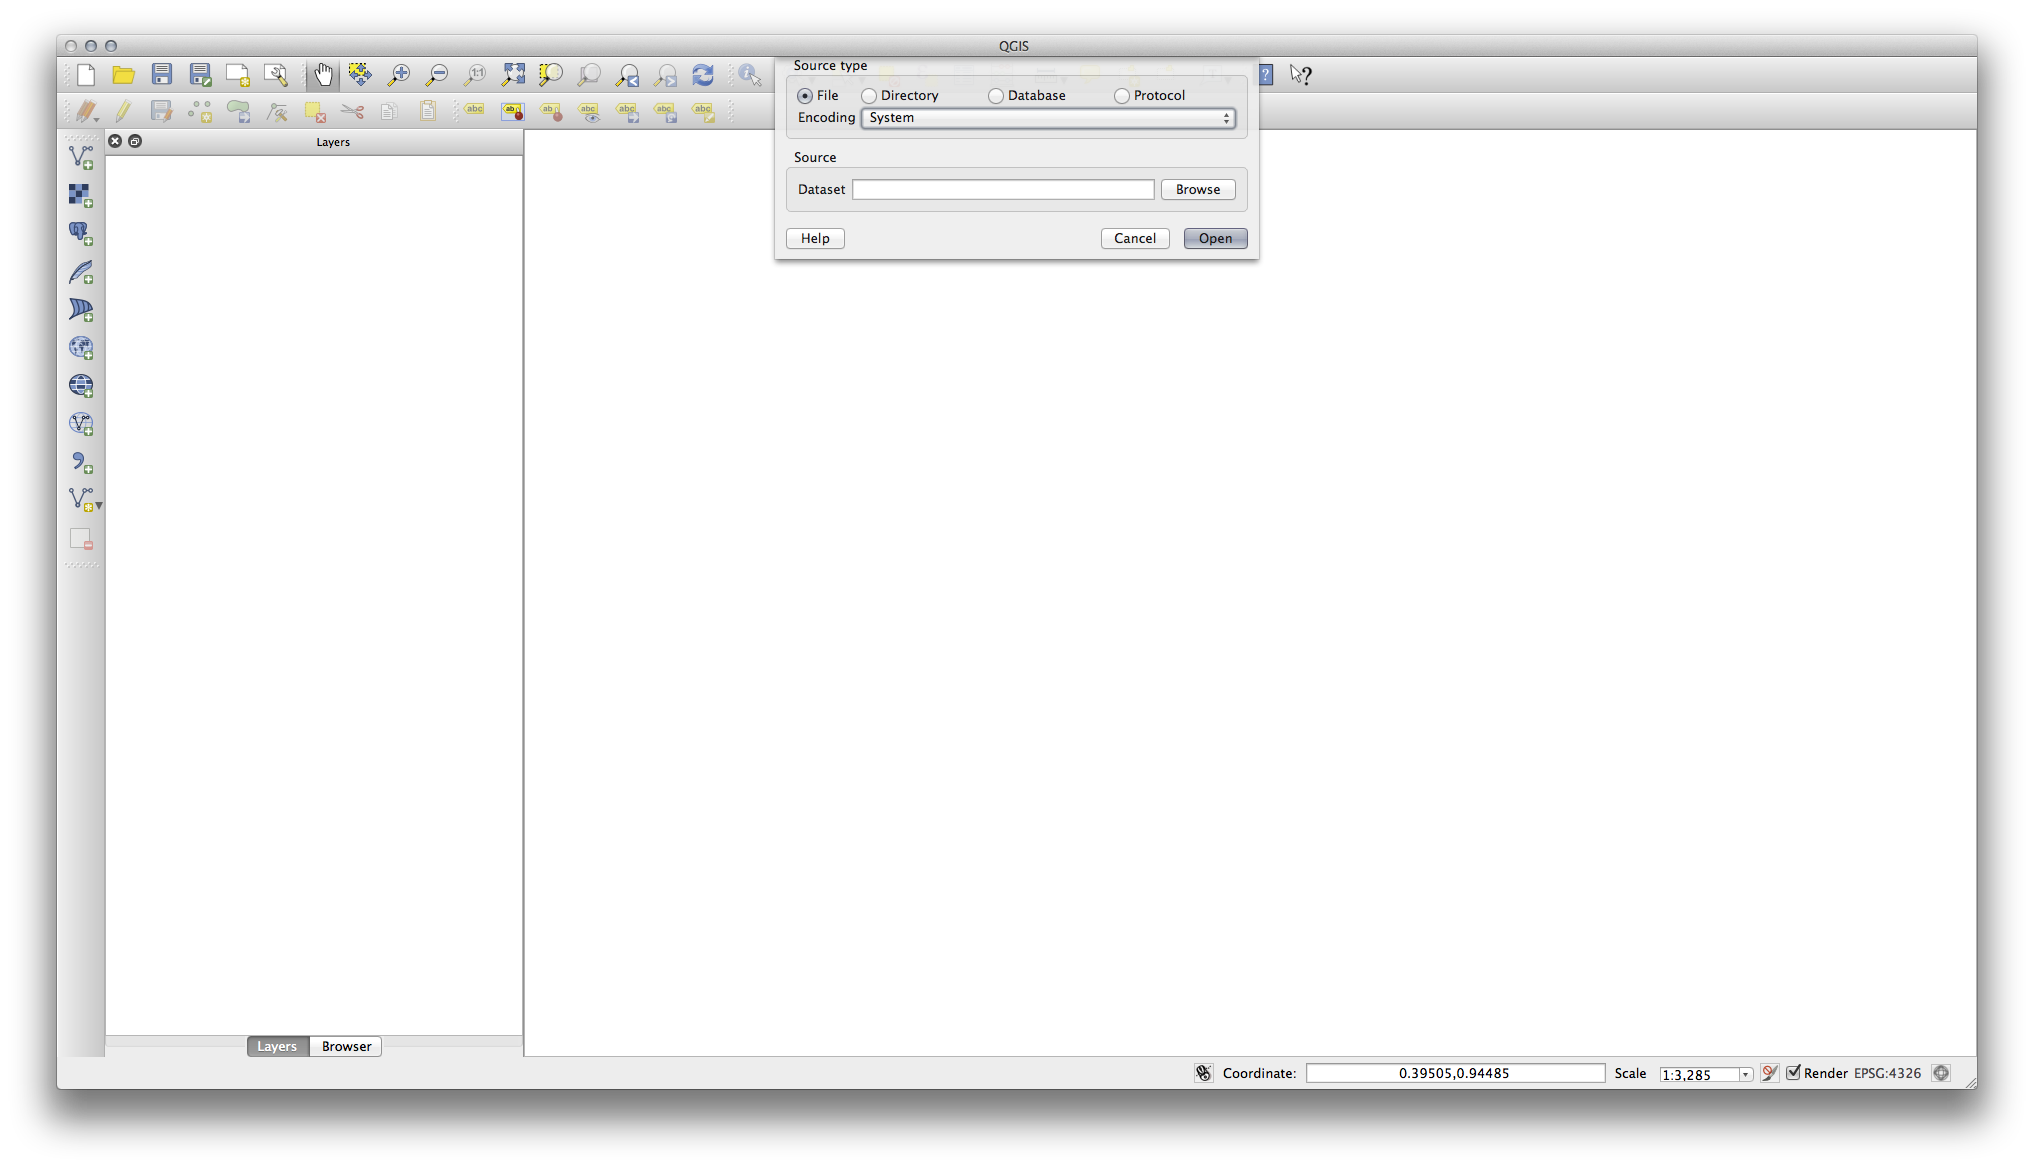
- Click on the Browse button and navigate to the file exercise_data/epsg4326/roads.shp (in your course directory). With this file selected, click Open. You will see the original dialog, but with the file path filled in. Click Open here as well. The data you specified will now load.
おめでとうございます!これで基本的な地図ができました。作業を保存するにはよいタイミングでしょう。
名前を付けて保存 ボタンをクリックしてください:

- Save the map under exercise_data/ and call it basic_map.qgs.
2.2.2. In Conclusion
レイヤーの追加方法と基本地図の作成について学びました!
2.2.3. What’s Next?
Now you’re familiar with the function of the Add Vector Layer button, but what about all the others? How does this interface work? Before we go on with the more involved stuff, let’s first take a good look at the general layout of the QGIS interface. This is the topic of the next lesson.