13.1. Lesson: GRASSのセットアップ
Using GRASS in QGIS requires you to think of the interface in a slightly different way. Remember that you’re not working in QGIS directly, but working in GRASS via QGIS.
このレッスンの目標: QGISでGRASSのプロジェクトを始めます。
13.1.1.  Follow Along: 新しいGRASSプロジェクトの開始
To launch GRASS from within QGIS, you need to activate it as with any other plugin. First, open a new QGIS project.
プラグインマネージャ で GRASS を有効にします:
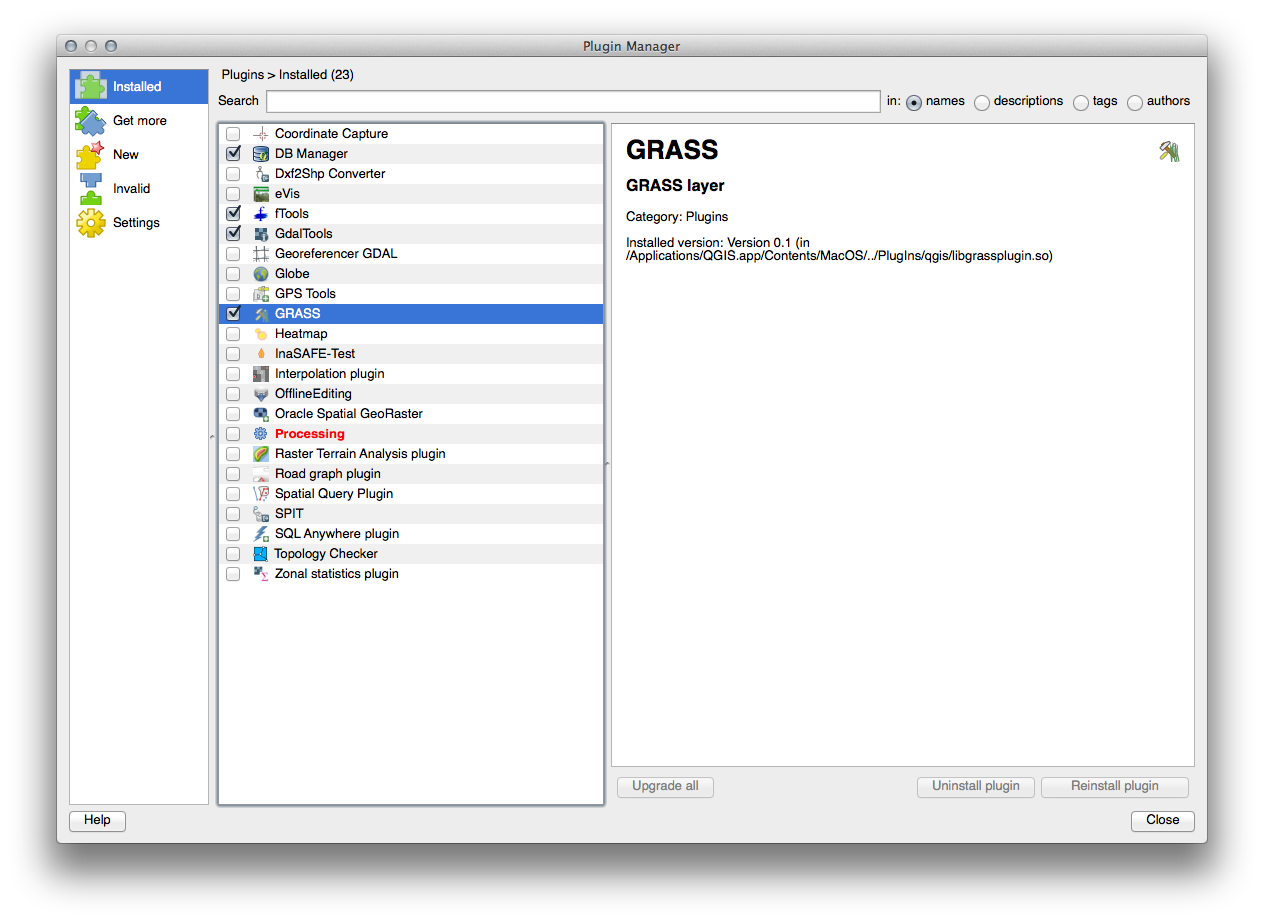
The GRASS toolbar will appear:

Before you can use GRASS, you need to create a mapset. GRASS always works in a database environment, which means that you need to import all the data you want to use into a GRASS database.
Click on the New mapset button:

You’ll see a dialog explaining the structure of a GRASS mapset.
Create a new directory called grass_db in exercise_data.
データベースを構成するためにそれをGRASSが使用するディレクトリとして設定します:
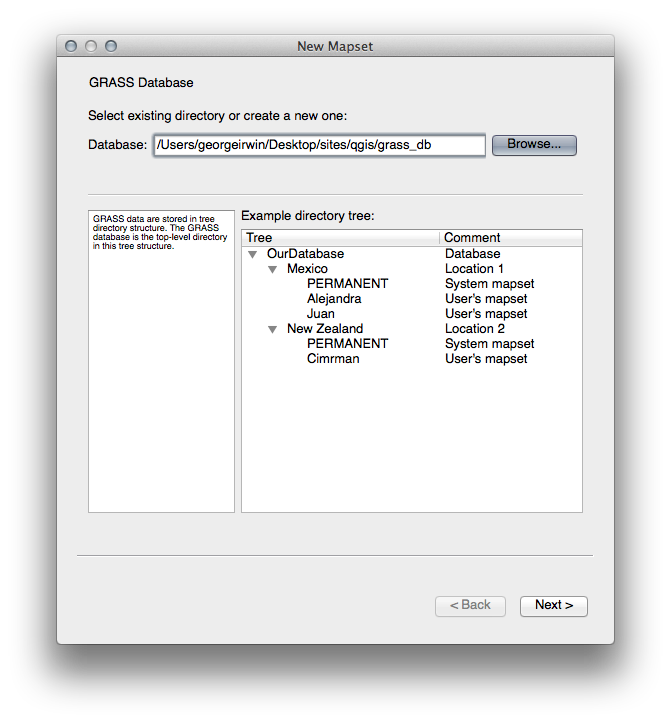
次へ をクリックします。
GRASS needs to create a “location”, which describes the maximum extents of the geographic area you’ll be working in.
Call the new location South_Africa:
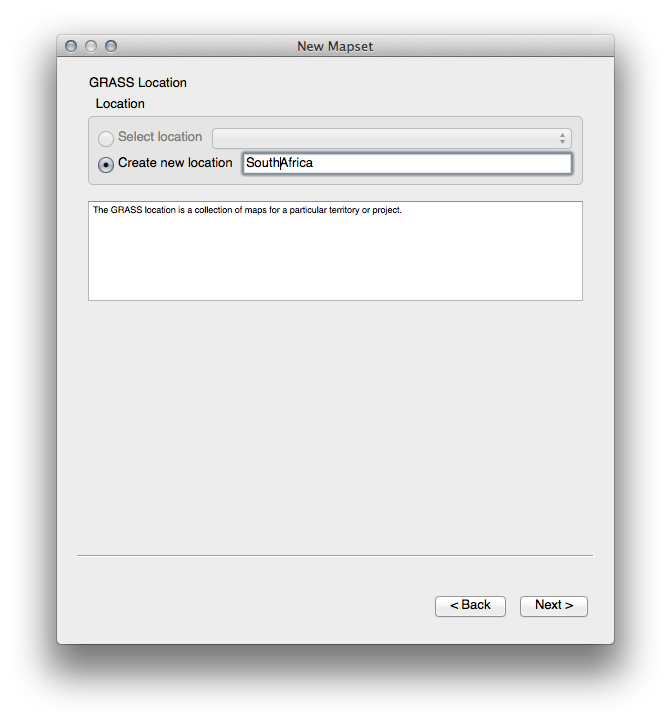
次へ をクリックします。
We’ll be working with WGS 84, so search for and select this CRS:
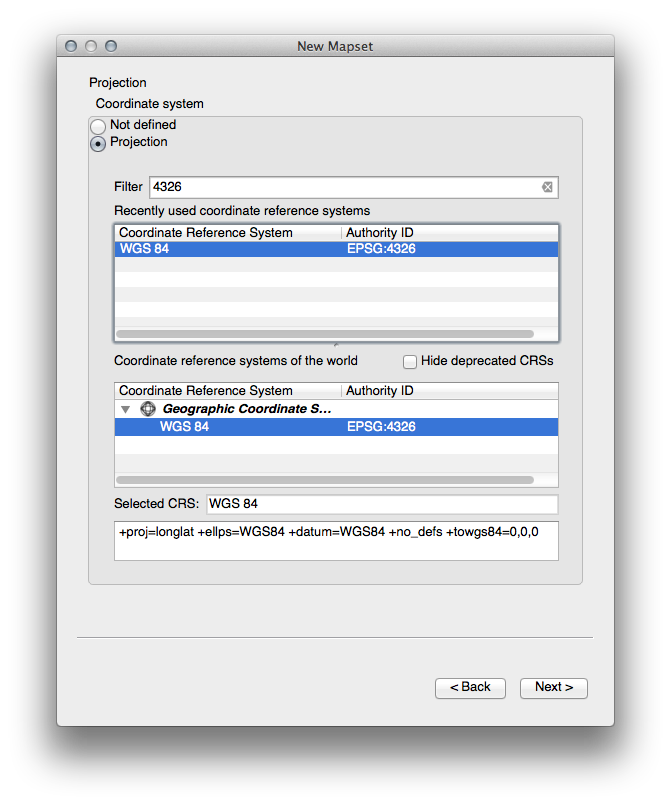
次へ をクリックします。
ドロップダウンリストから South Africa の領域を選択して、 設定 をクリックします:
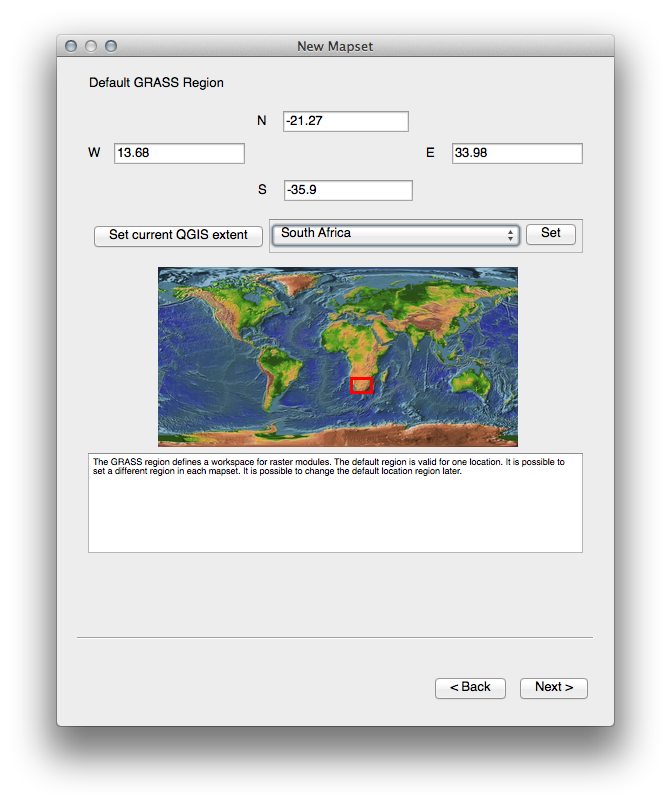
次へ をクリックします。
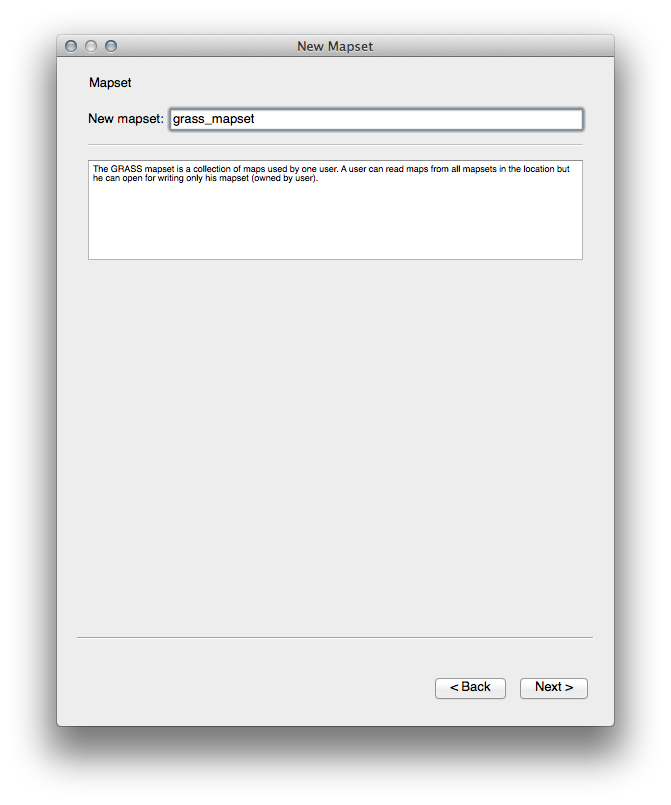
マップセットを作成します。あなたがこれから作業するマップファイルです。
Once you’re done, you’ll see a dialog asking you to confirm that the settings it displays are correct.
完了 をクリックします。
成功ダイアログで OK をクリックします。
13.1.2. Follow Along: GRASSにベクターデータを読み込む
You’ll now have a blank map. To load data into GRASS, you need to follow a two-step process.
Load data into QGIS as usual. Use the roads.shp dataset (found under exercise_data/epsg4326/) for now.
As soon as it’s loaded, click on the GRASS Tools button:

In the new dialog, select Modules list.
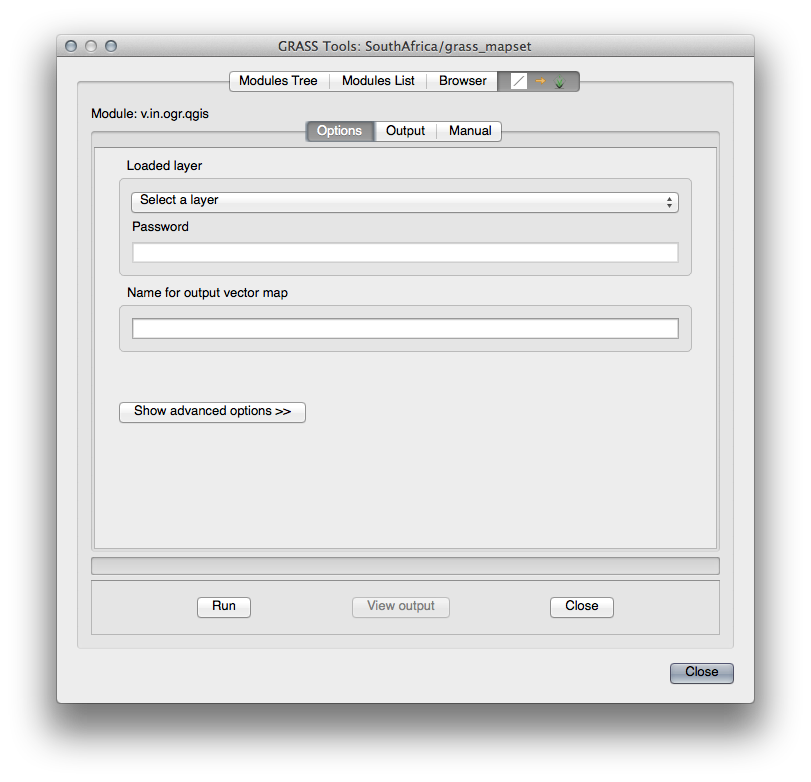
Find the vector import tool by entering the term v.in.ogr.qgis in the Filter field.
The v stands for “vector”, in means its a function to import data into the GRASS database, ogr is the software library used to read vector data, and qgis means that the tool will look for a vector from among the vectors already loaded into QGIS.
Once you’ve found this tool, click on it to bring up the tool itself:
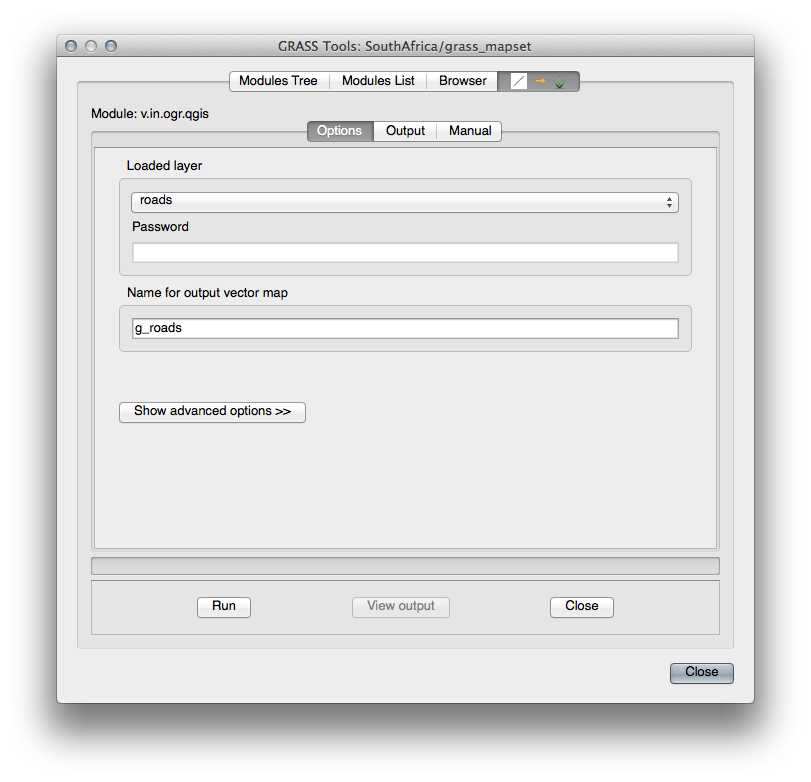
Set the loaded layer to roads and its GRASS version’s name to g_roads to prevent confusion.
ノート
 別のインポートオプションが アドバンスドオプション で提供されています。データのインポートに使用するSQLクエリのWHERE句を追加する機能が含まれます。
実行 をクリックしてインポートを開始します。
それが終わったら 出力を見る をクリックして新しくインポートされたGRASSレイヤを地図に表示します。
まずインポートツールを閉じて (出力を見る のすぐ右にある 閉じる ボタンをクリックします)、そして GRASSツール ウィンドウを閉じます。
- Remove the original roads layer.
今、QGISの地図に表示されているのはインポートされたGRASSレイヤーだけです。
13.1.3. Follow Along: GRASSにラスターデータを読み込む
Recall that our DEM is in the Projected CRS UTM 33S / WGS 84, but our GRASS project is in the Geographic CRS WGS 84. So let’s re-project the DEM first.
Load the srtm_41_19.tif dataset (found under exercise_data/raster/SRTM/) into the QGIS map as usual, using QGIS’ Add Raster Layer tool.
Re-project it using GDAL Warp tool (Raster ‣ Projections ‣ Warp (Reproject)), setting it up as shown:
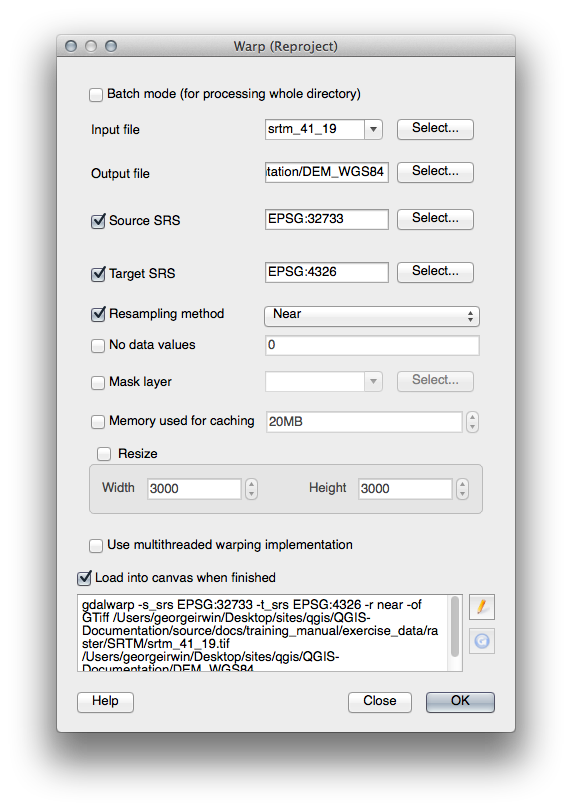
Save the raster under the same folder as the original, but with the file name DEM_WGS84.tif. Once it appears in your map, remove the srtm_41_19.tif dataset from your Layers list.
Now that it’s reprojected, you can load it into your GRASS database.
GRASSツール ダイアログを再度開きます。
モジュールリスト タブをクリックします。
Search for r.in.gdal.qgis and double click the tool to open the tool’s dialog.
Set it up so that the input layer is DEM_WGS84 and the output is g_dem.
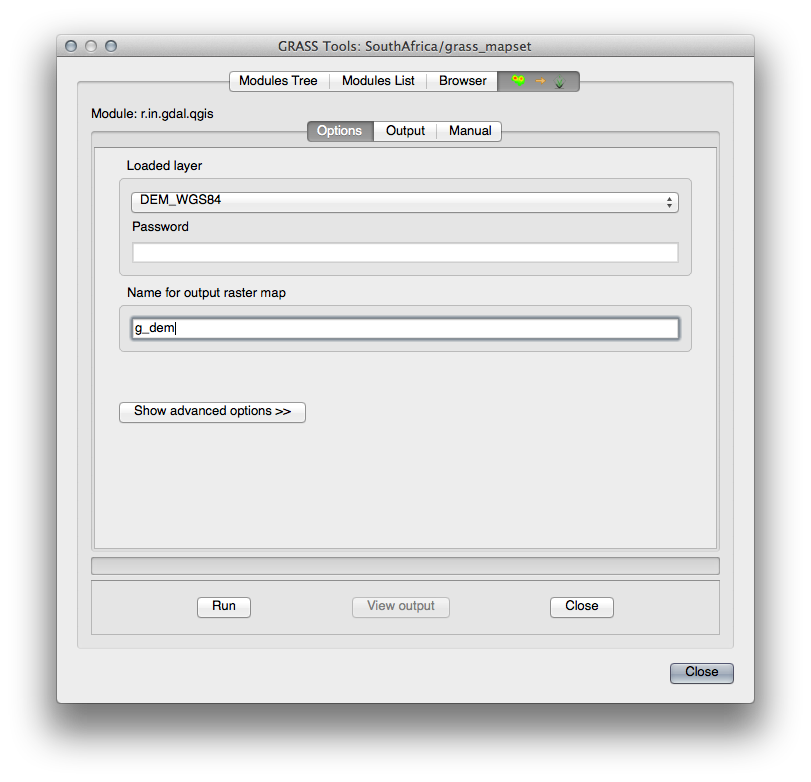
実行 をクリックします。
処理が完了したら 出力を見る をクリックします。
現在のタブを閉じ、そしてダイアログボックスを閉じます。
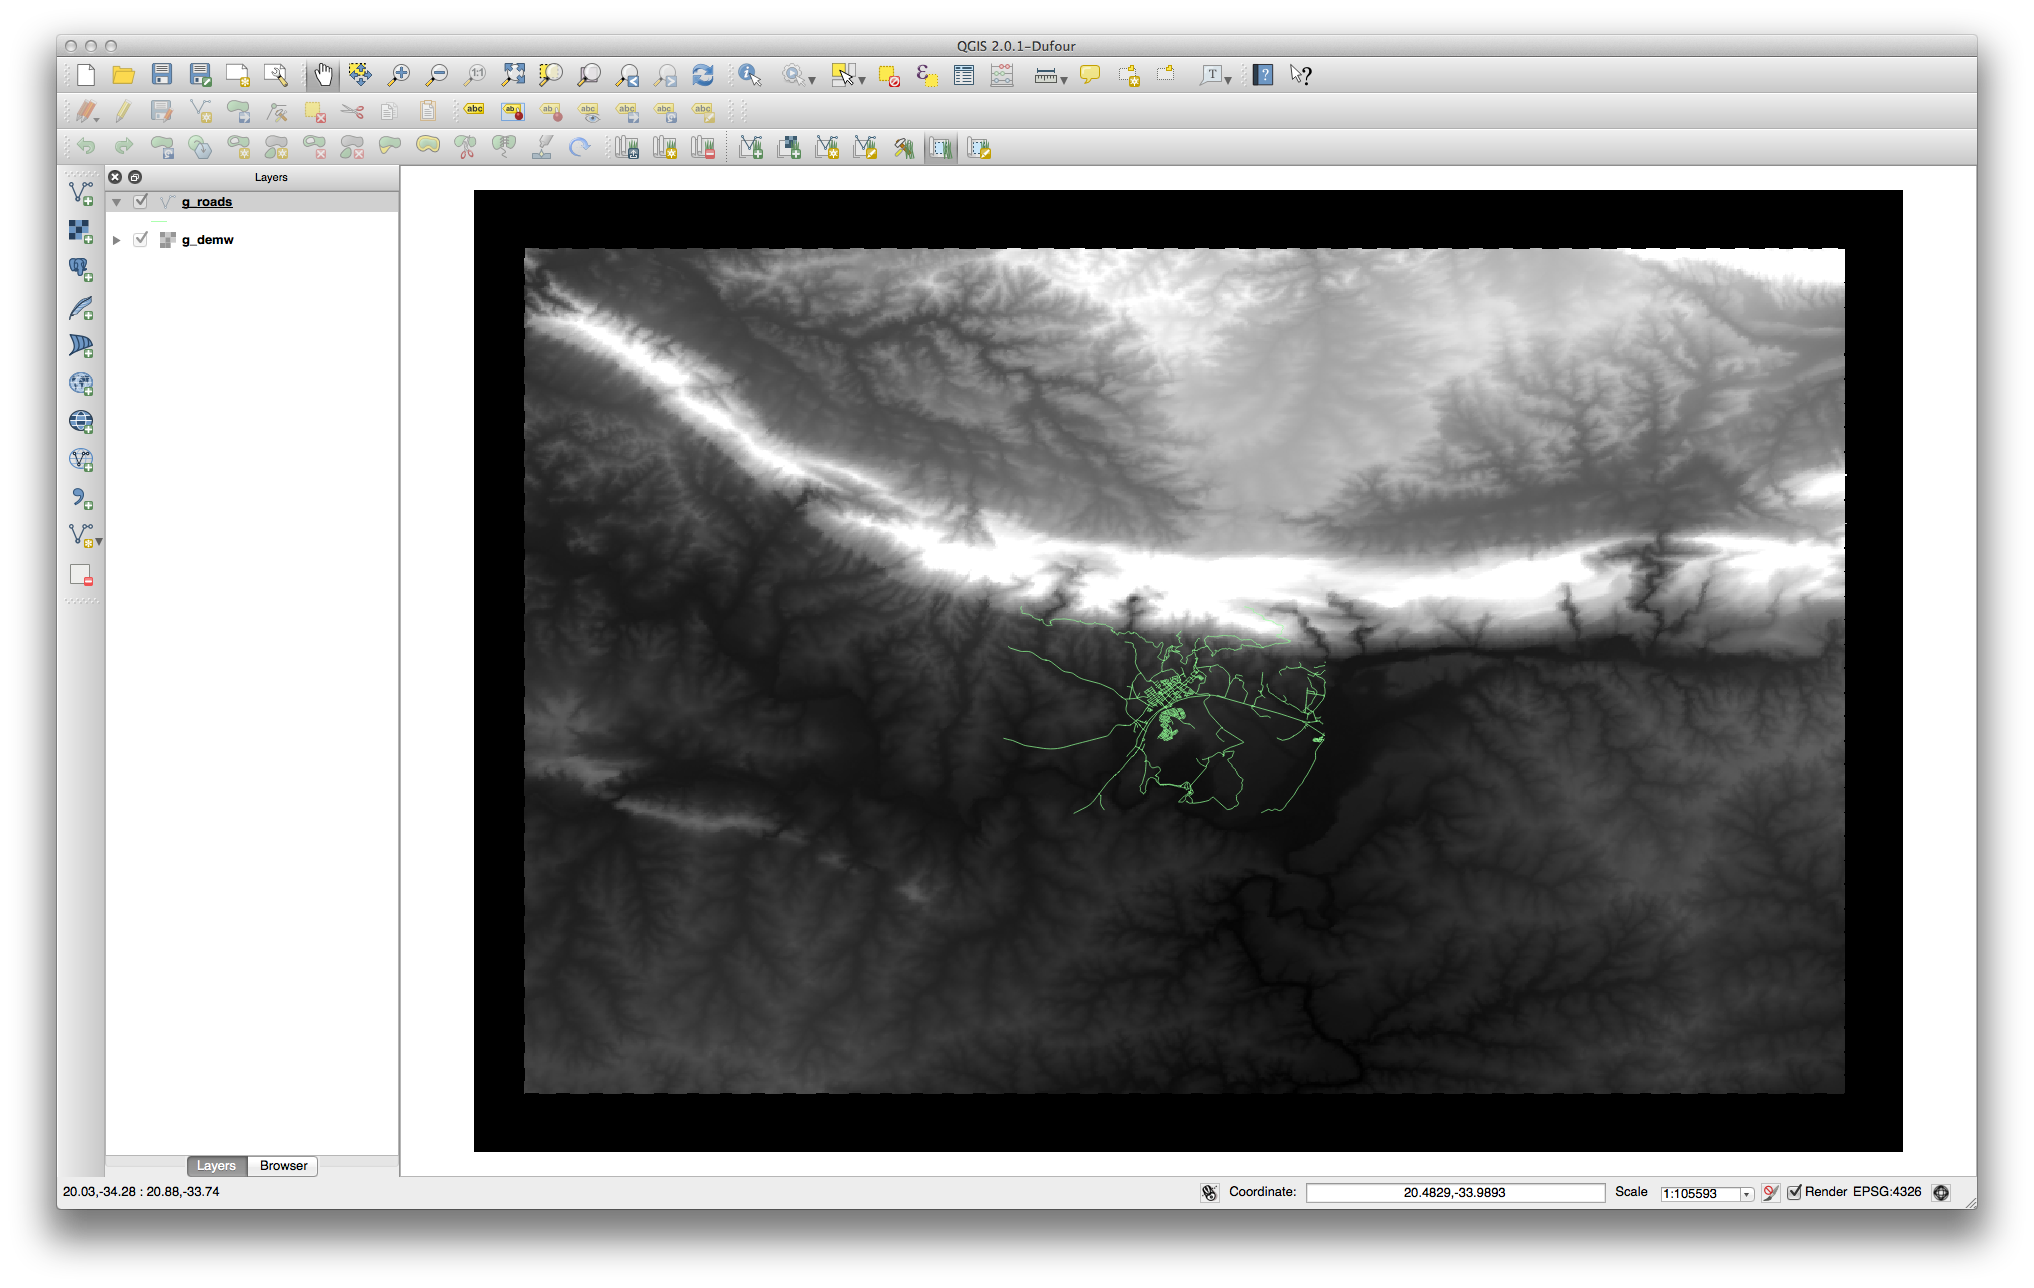
You may now remove the original DEM_WGS84 layer.
13.1.4. In Conclusion
GRASSはデータを空間データベース構造にロードするため、GRASSのデータ収集ワークフローはQGISの方法とは多少異なります。しかし、フロントエンドとしてQGISを使用することによってGRASSのデータソースとしてQGIS内の既存レイヤーを使用でき、GRASSマップセットのセットアップを簡単にすることができます。
13.1.5. What’s Next?
データはGRASSにインポートされました。GRASSの高度な分析操作を見ることができます。