10.2. Lesson: Des extensions utiles de QGIS
Maintenant que vous pouvez installer, activer et désactiver des extensions, regardons comment, dans la pratique, elles peuvent vous aider au travers de quelques exemples d’extensions utiles.
Le but de cette leçon : Vous familiariser avec l’interface des extensions et vous faire prendre connaissance de certain les extensions utiles.
10.2.1.  Follow Along: The Raster Terrain Analysis Plugin
- Start a new map with only the srtm_41_19.tif raster dataset in it (look in exercise_data/raster/SRTM).
From the lesson on raster analysis, you’re already familiar with raster analysis functions. You used GDAL tools (accessible via Raster ‣ Analysis) for this. However, you should also know about the Raster Terrain Analysis plugin. This ships standard with newer versions of QGIS, and so you don’t need to install it separately.
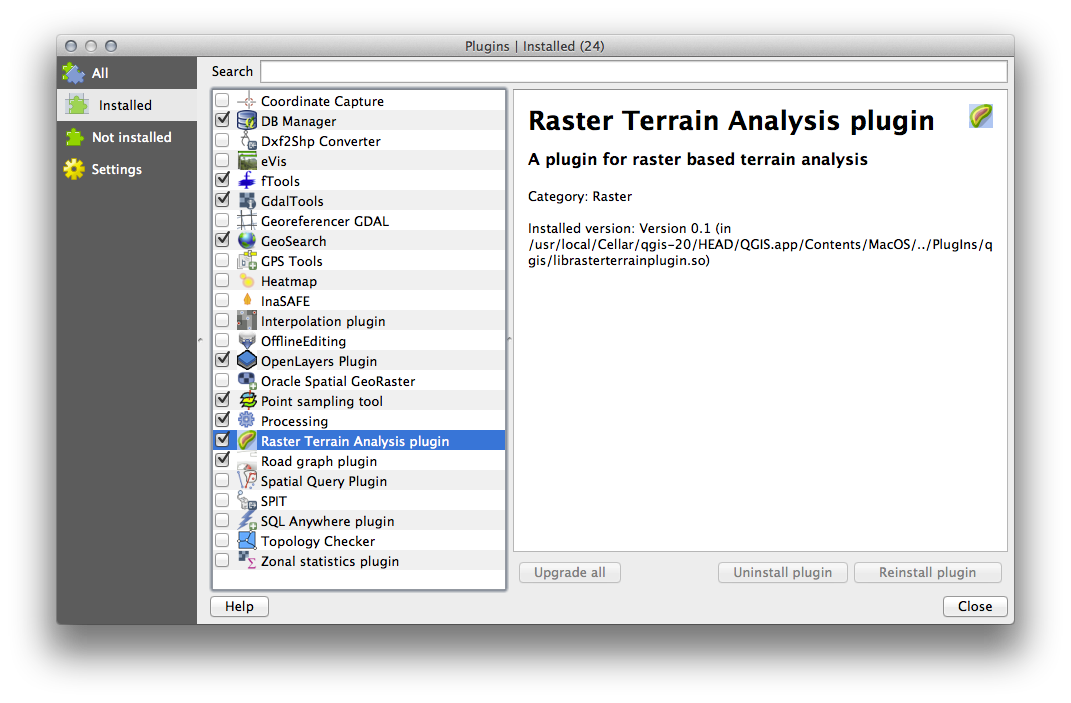
Open the Plugin Manager and check that the Raster Terrain Analysis plugin is enabled:
Open the Raster menu. You should see a Terrain analysis submenu.
Click on Terrain analysis ‣ Relief and input the following options:
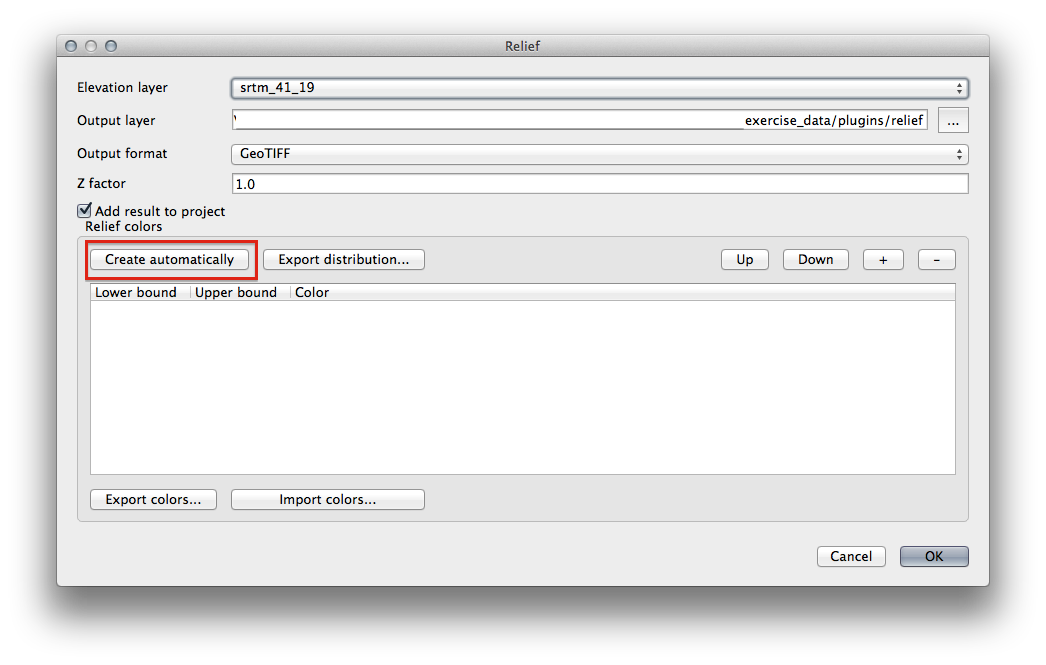
Save the new file under exercise_data/plugins/relief.tif (create a new folder if necessary).
Leave the Output format and Z factor unchanged.
Make sure the Add result to project box is checked.
Click the Create automatically button. The list below will be populated:
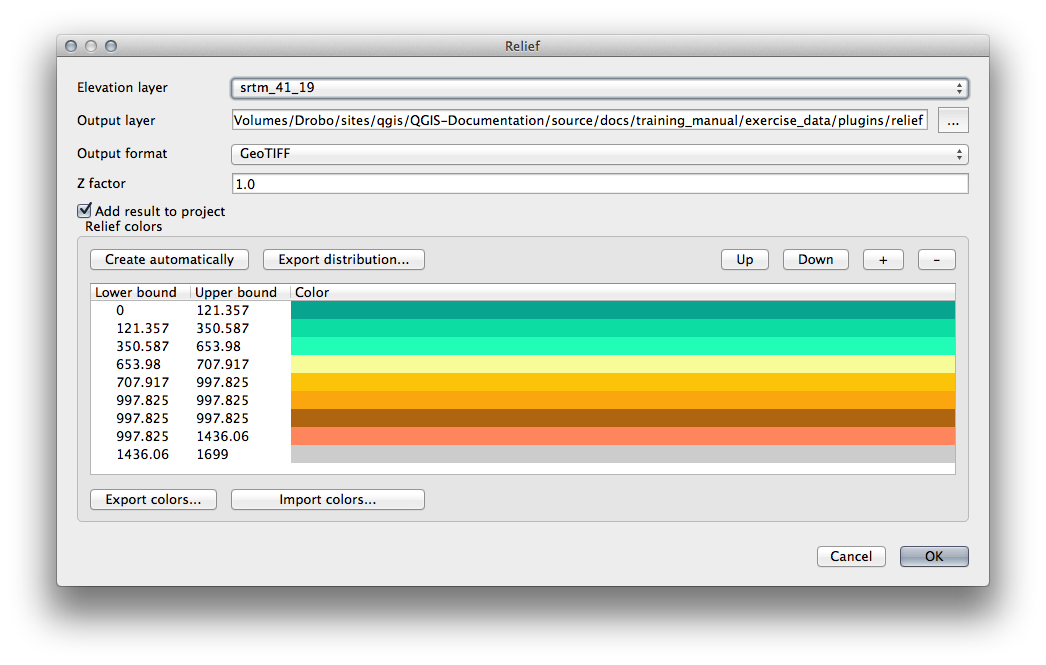
These are the colors that the plugin will use to create the relief.
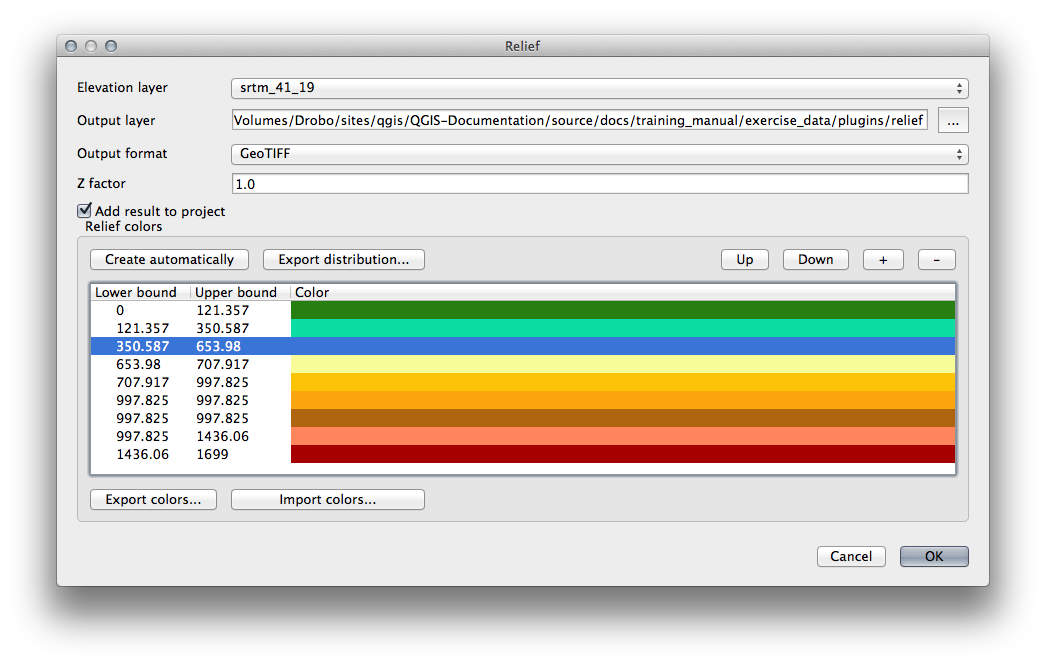
If you like, you can change these colors by double-clicking on each row’s color bar. For example:
Click OK and the relief will be created:
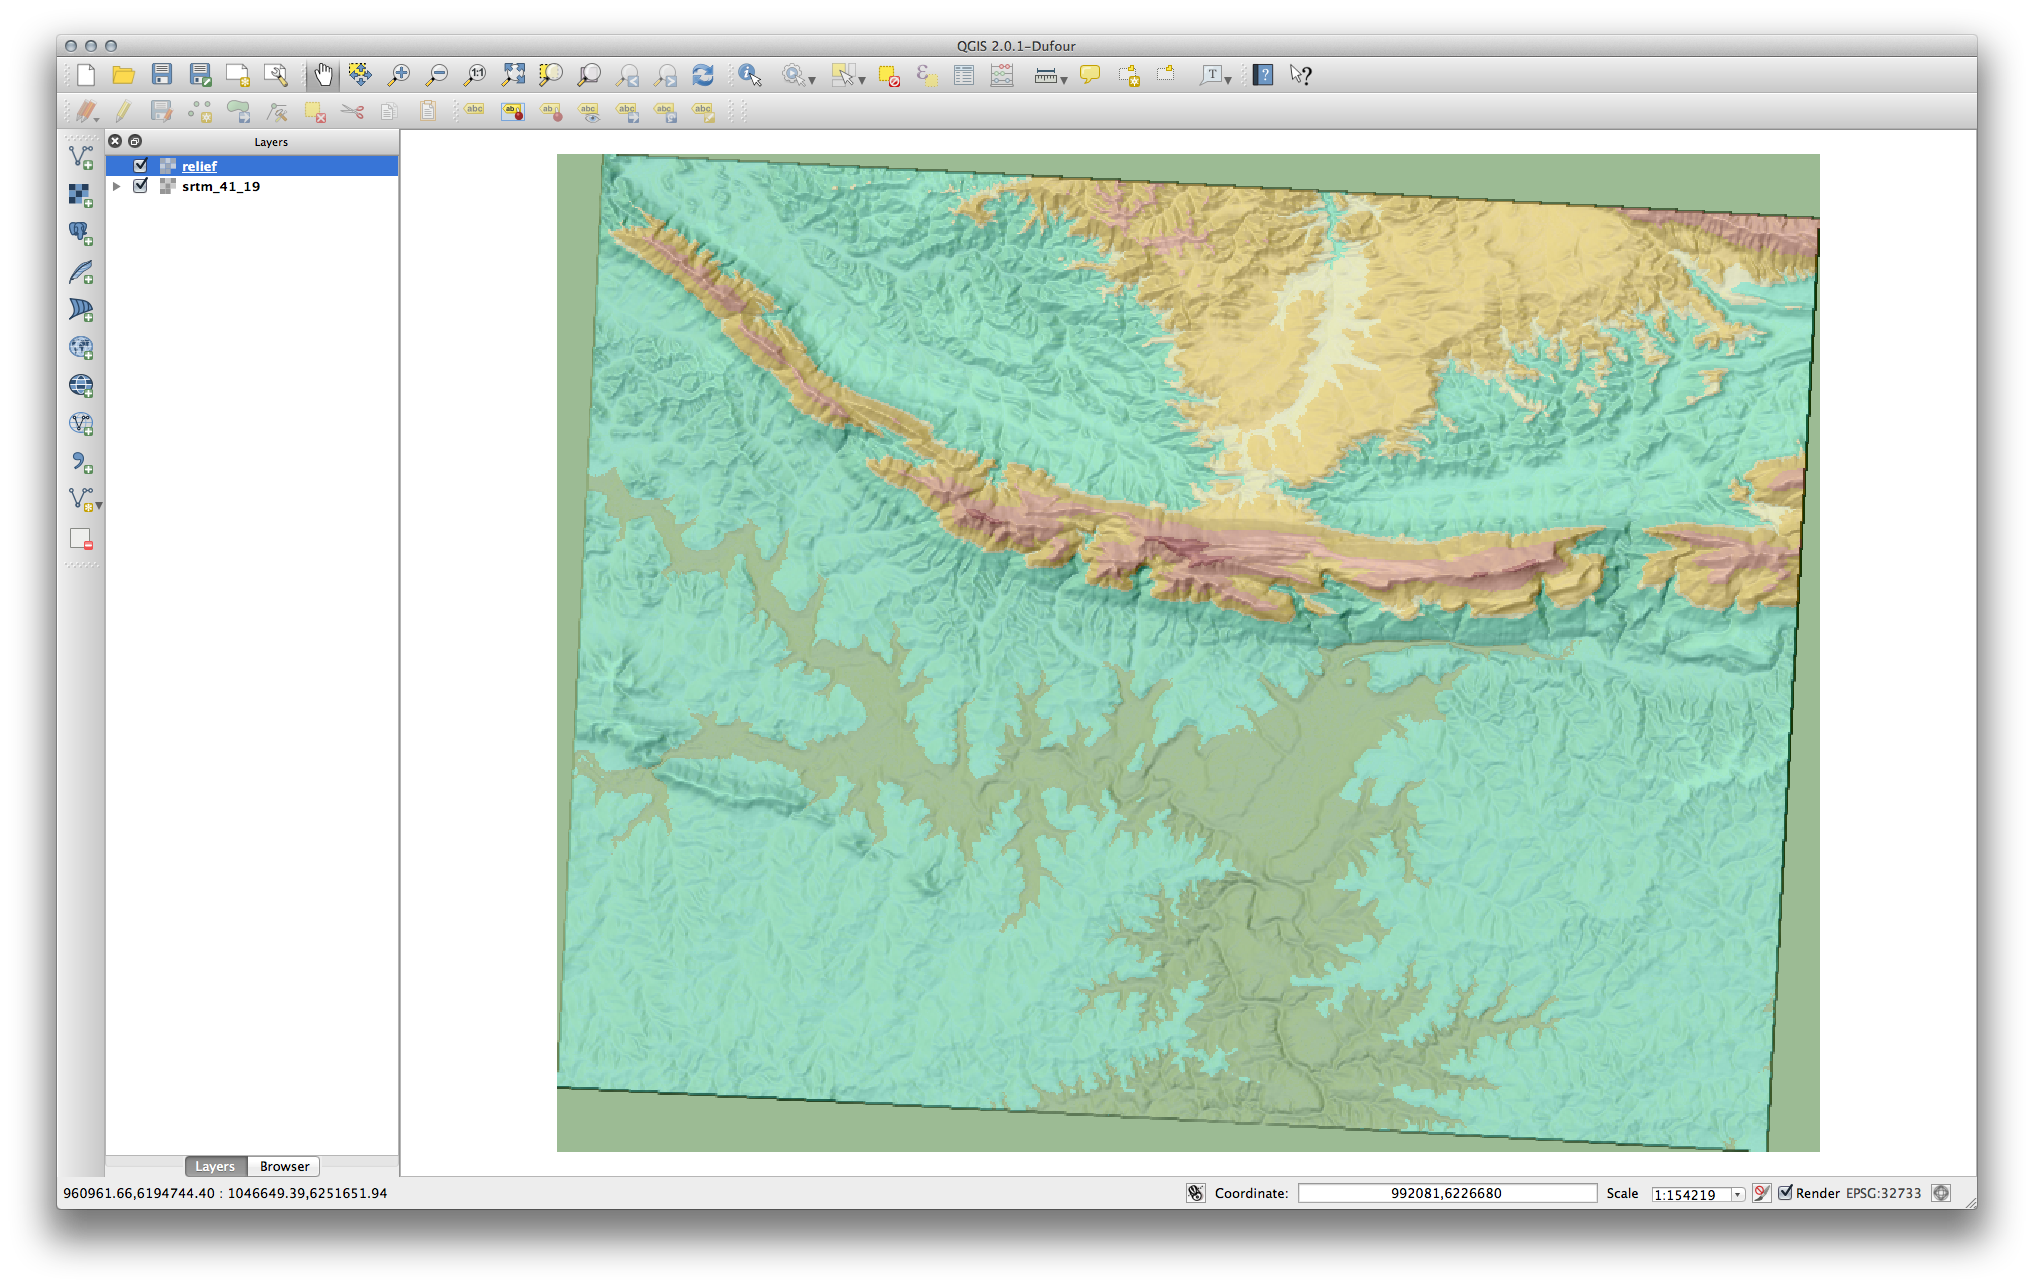
This achieves a similar effect to when you used the semi-transparent hillshade as an overlay over another raster layer. The advantage of this plugin is that it creates this effect using only one layer.
10.2.2. Follow Along: The OpenLayers Plugin
Start a new map and add the roads.shp layer to it.
Zoom in over the Swellendam area.
Using the Plugin Manager, find a new plugin by entering the word OpenLayers in the Filter field.
Select the OpenLayers plugin from the filtered list:
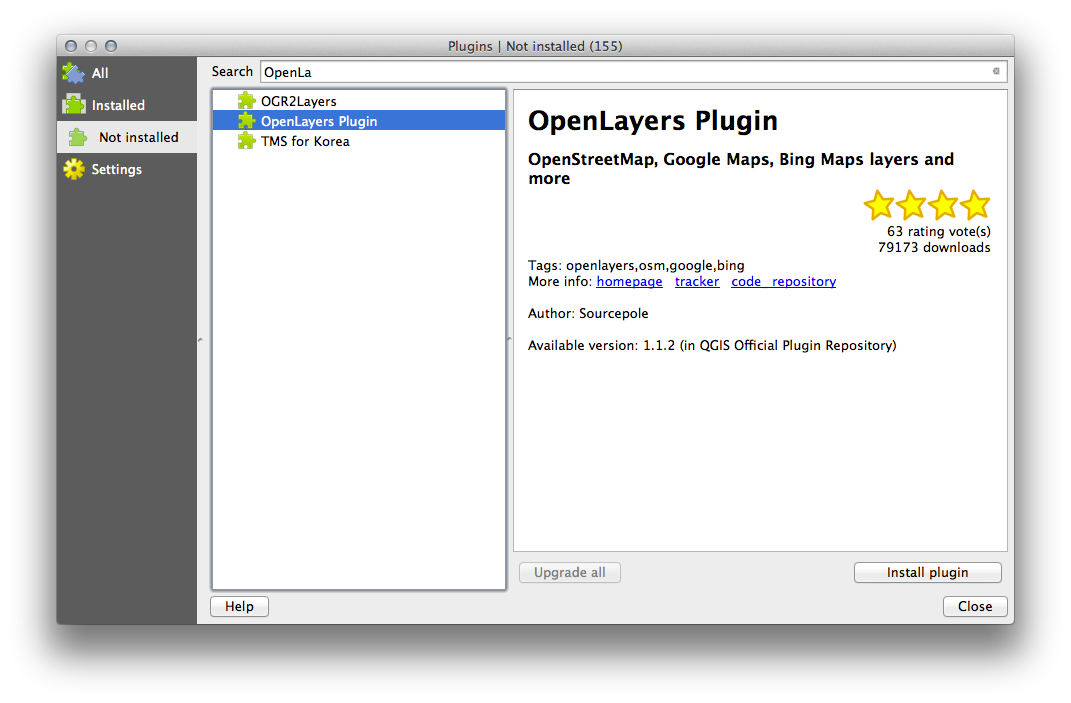
Click the Install plugin button to install.
When it’s done, close the Plugin Manager.
Before using it, make sure that both your map and the plugin are configured properly:
Open the plugin’s settings by clicking on Web ‣ OpenLayers plugin ‣ OpenLayers Overview.
Use the panel to choose a map type you want. In this example, we’ll use the “Hybrid” type map, but you can choose any others if you want.
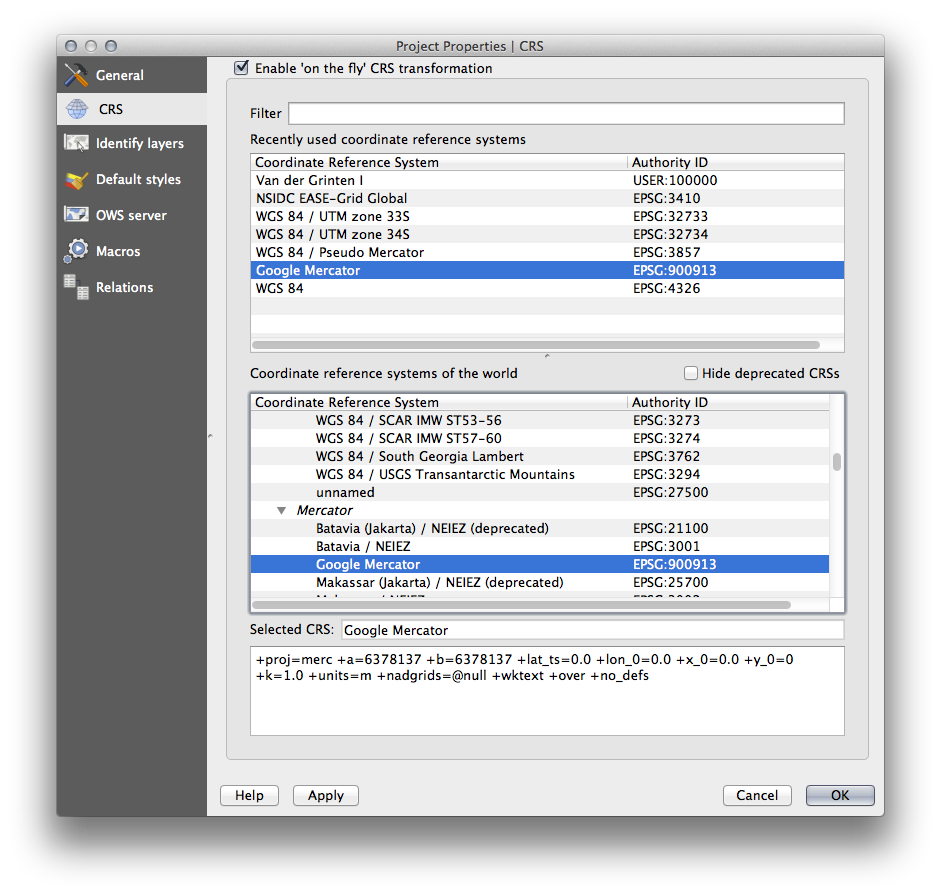
Open the Project Properties Dialog by selecting Project –> Project Properties from the menu.
Enable “on the fly” projection and use the Google Mercator projection:
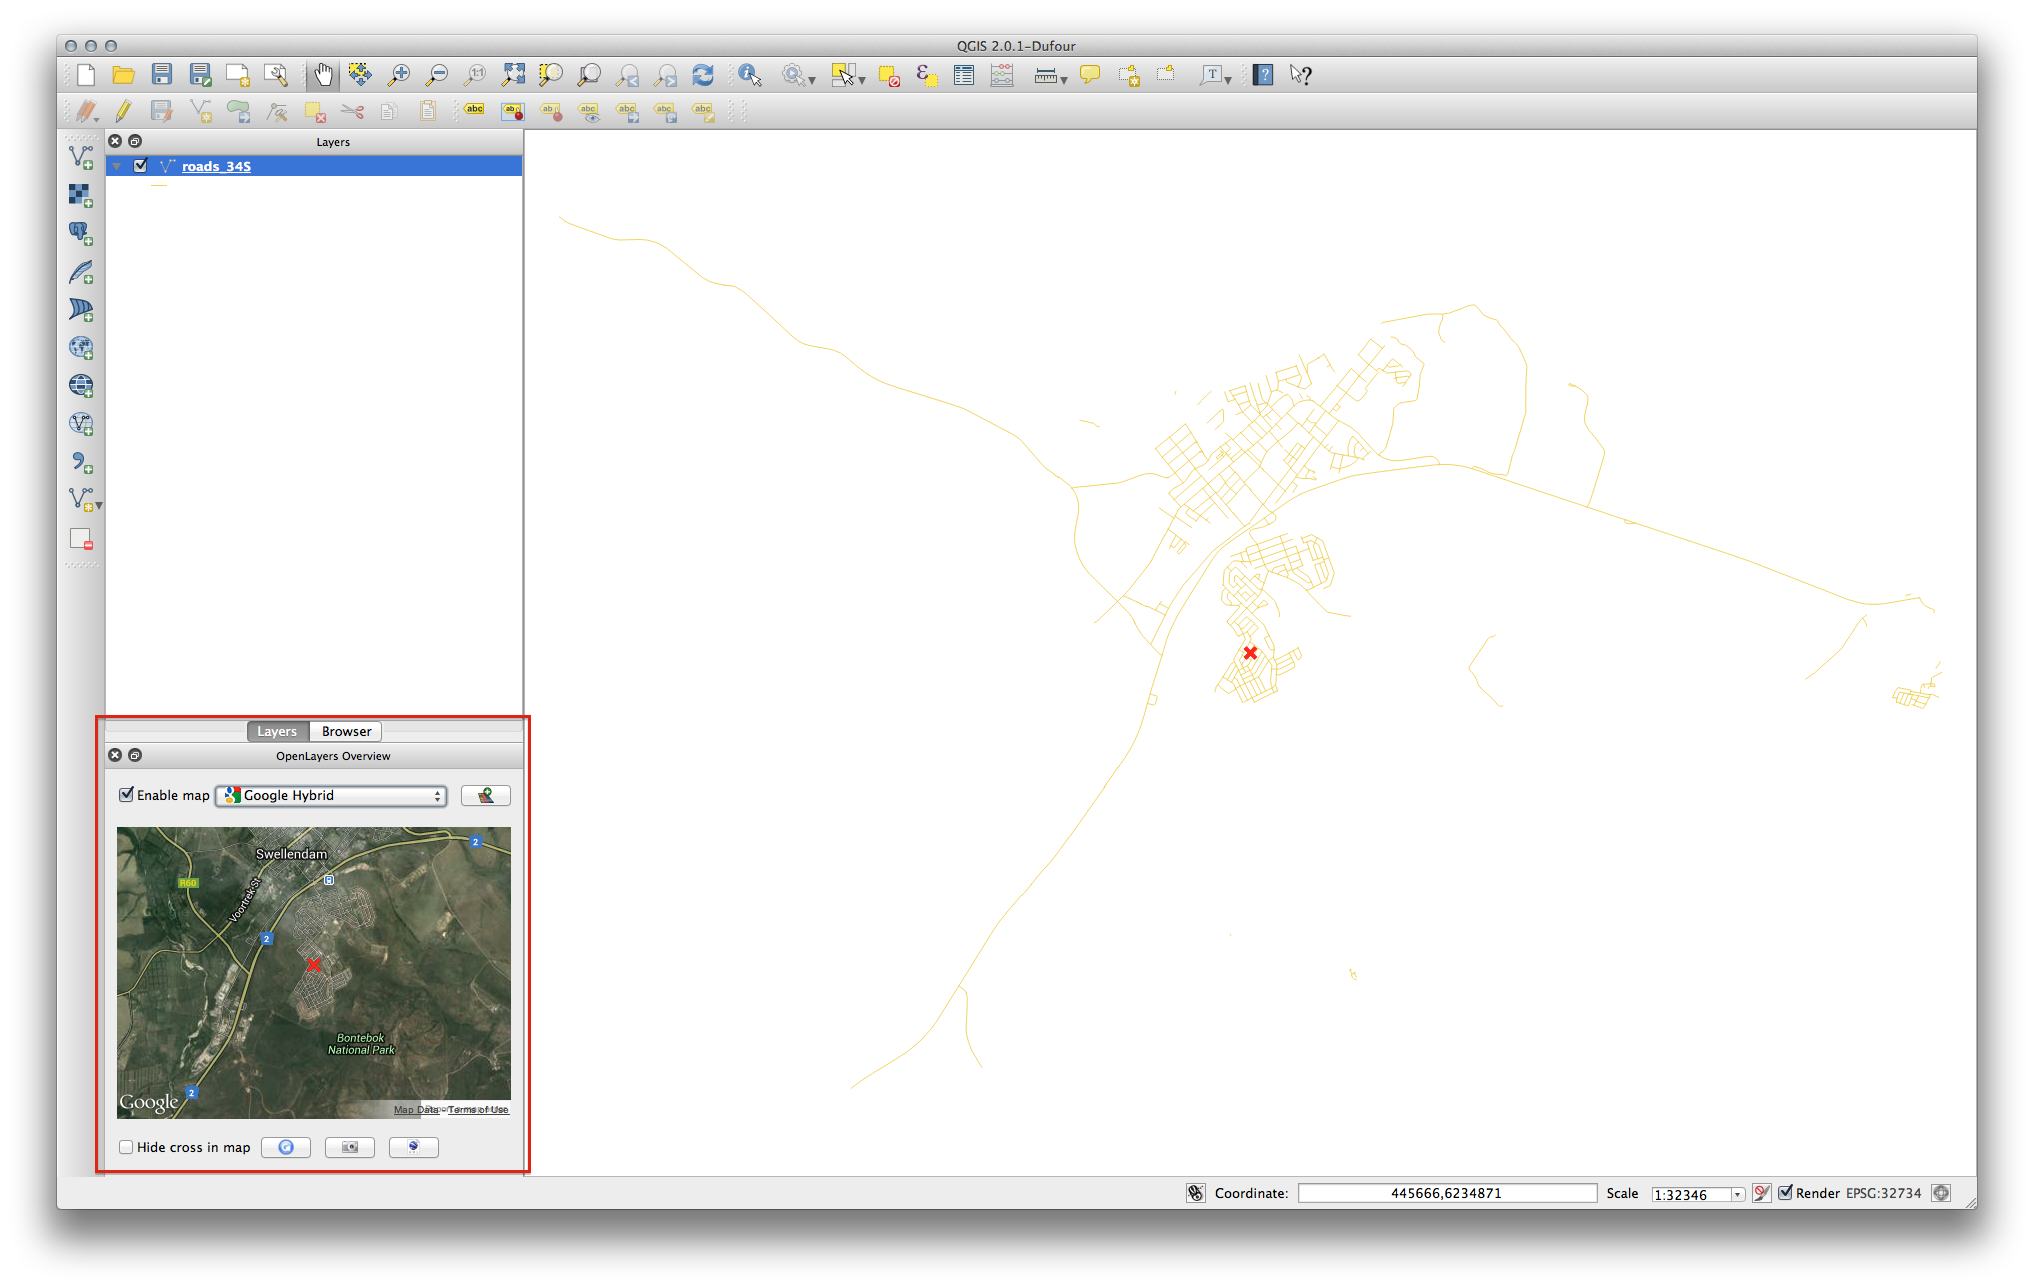
Now use the plugin to give you a Google map of the area. You can click on Web ‣ OpenLayers Plugin ‣ Add Google Hybrid Layer to add it:
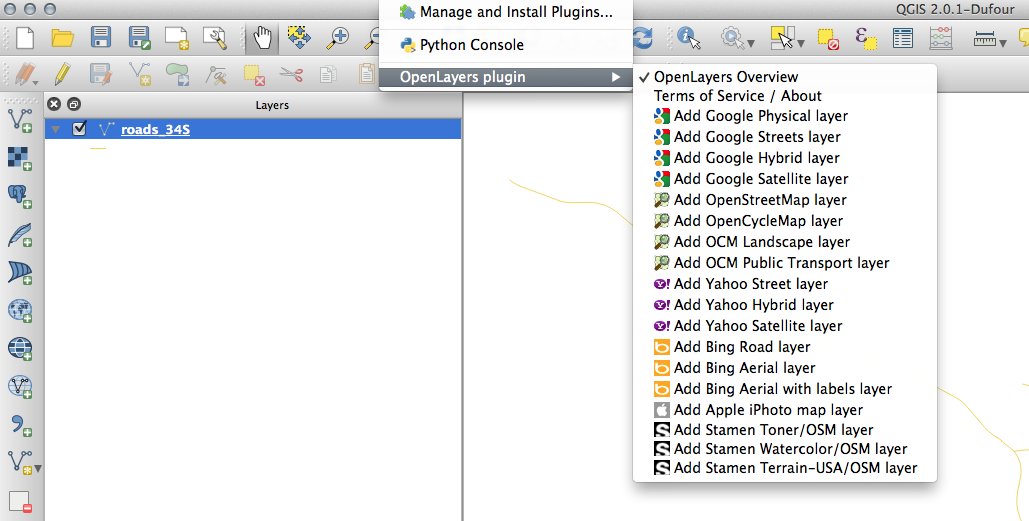
This will load a new raster image in from Google that you can use as a backdrop, or to help you find out where you are on the map. Here is such a layer, with our own vector road layer as overlay:
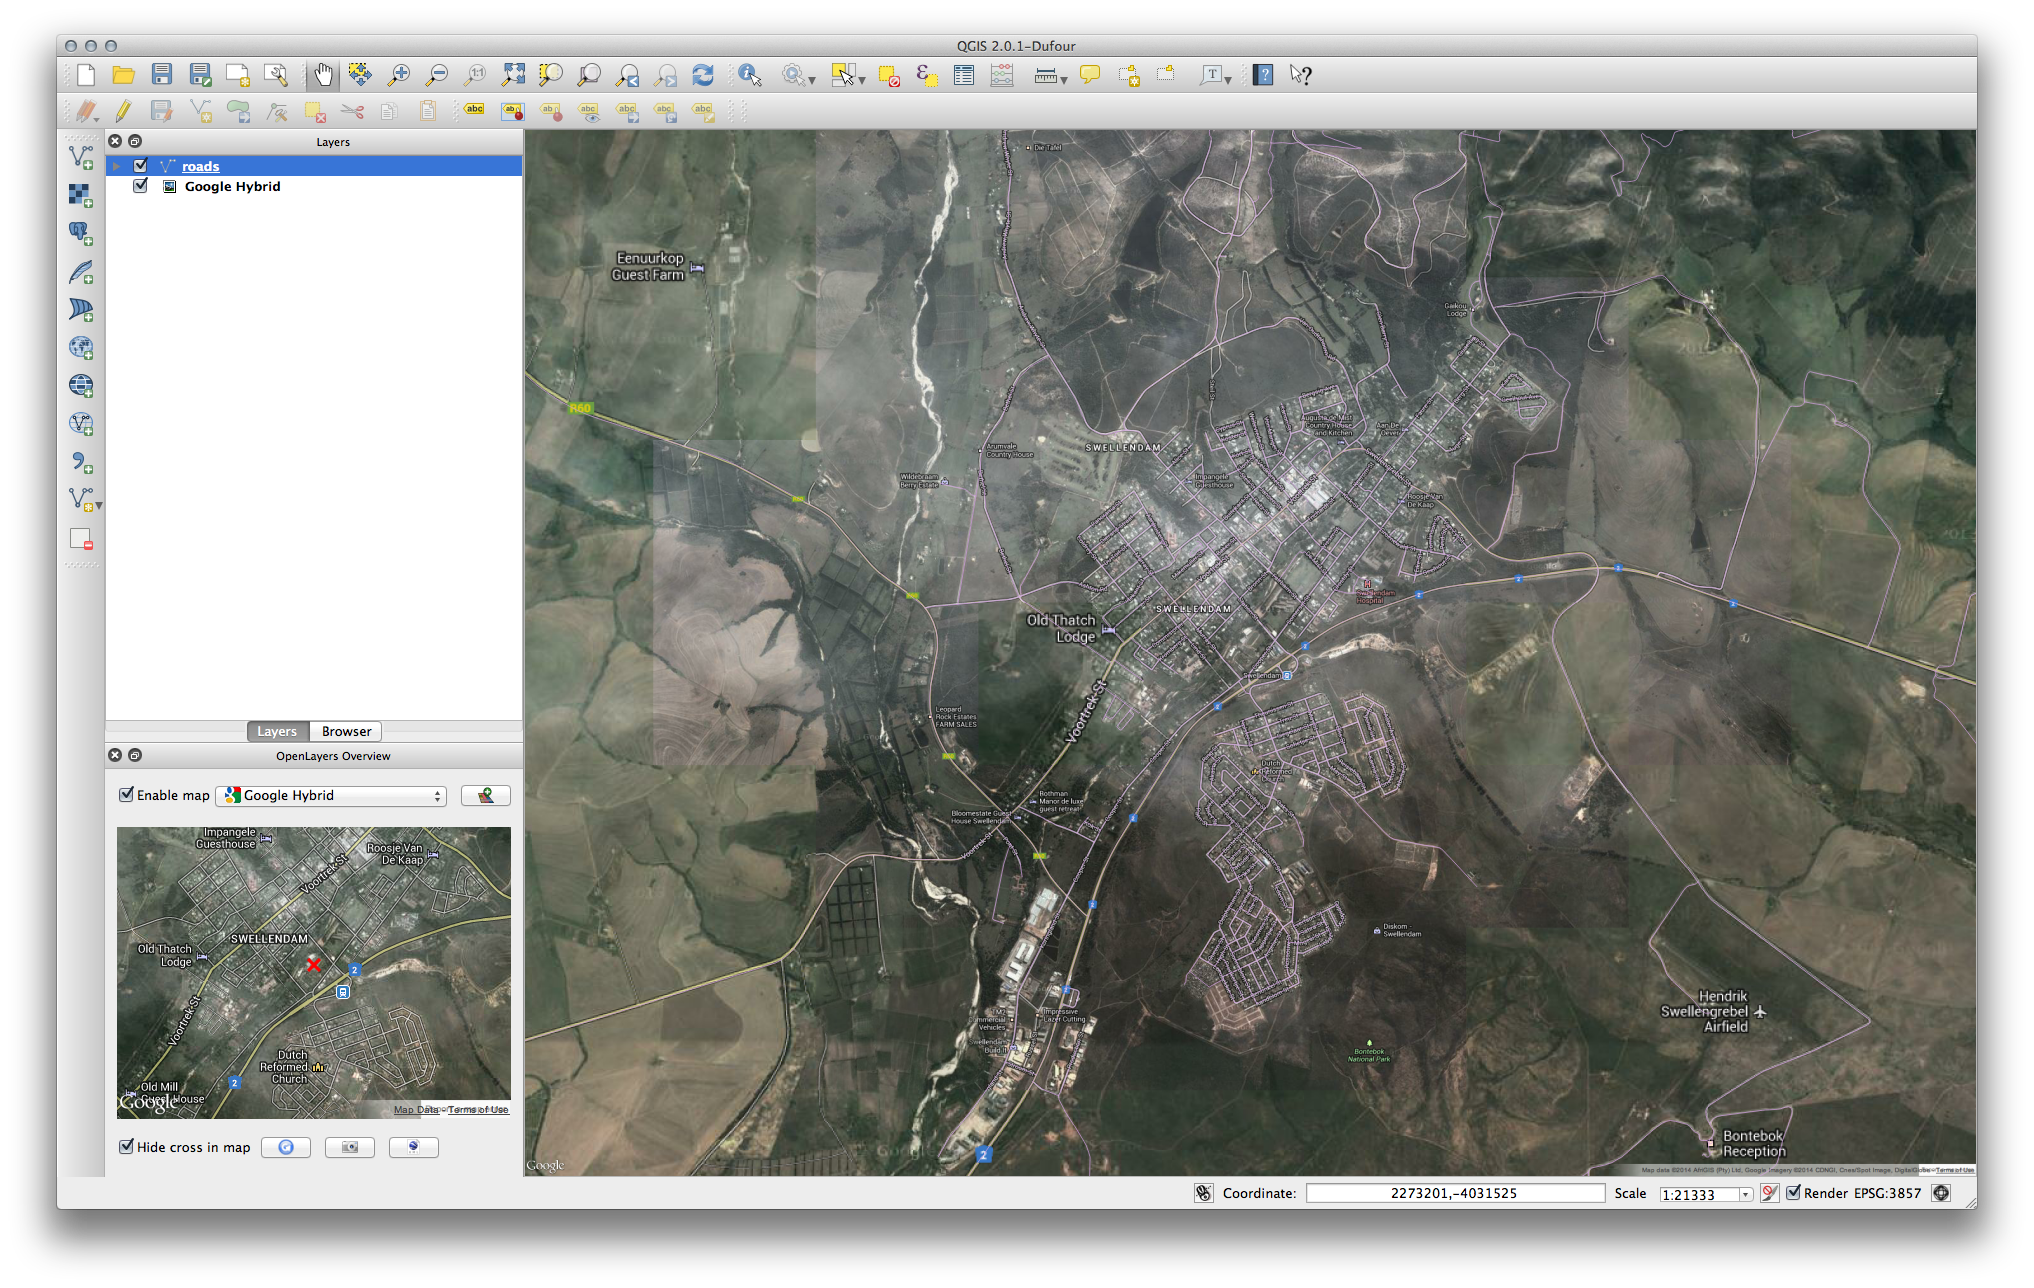
Note
You may need to drag your roads layer above the Google layer to make it visible above the background layer. It may also be necessary to zoom to the extent of the roads layer to re-center the map.
10.2.3.  Follow Along: The GeoSearch Plugin
Start a new map with no datasets.
Open the Plugin Manager and filter for the GeoSearch Plugin and click Install Plugin to install it.

Close the Plugin Manager.
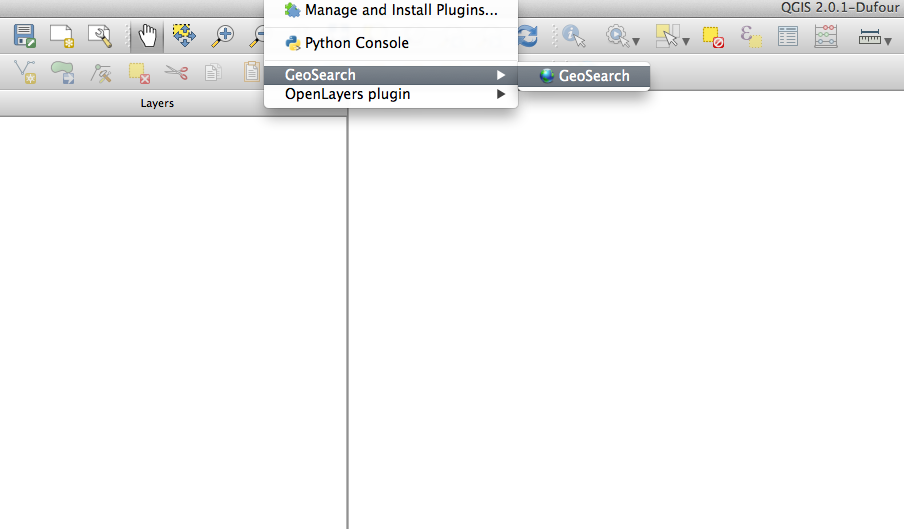
You can now use the GeoSearch plugin to search for placenames. Click on Plugins ‣ GeoSearch Plugin ‣ GeoSearch to open the GeoSearch dialog.
Search for Swellendam in the GeoSearch Dialog to locate it on your map:

10.2.4. In Conclusion
Il existe de nombreuses extensions disponibles pour QGIS. En utilisant les outils intégrés pour l’installation et la gestion de ces extensions, vous pouvez trouver de nouvelles extensions et en faire une utilisation optimale.
10.2.5. What’s Next?
Nous allons ensuite voir comment utiliser en temps réel des couches qui sont hébergées sur des serveurs distants.